
Powder Coating Process: Tips and Techniques
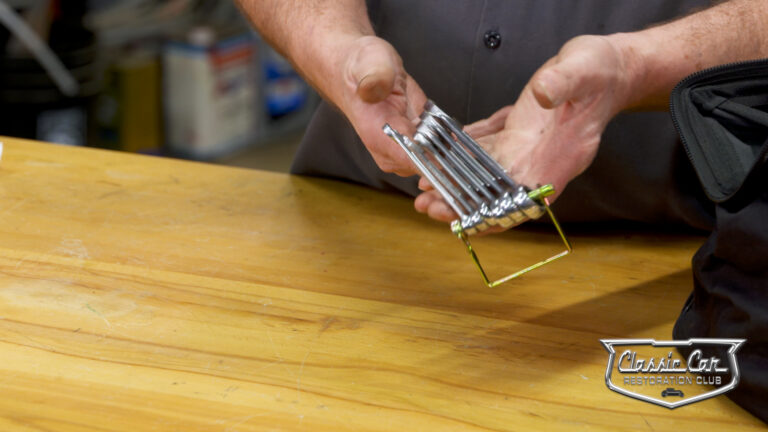
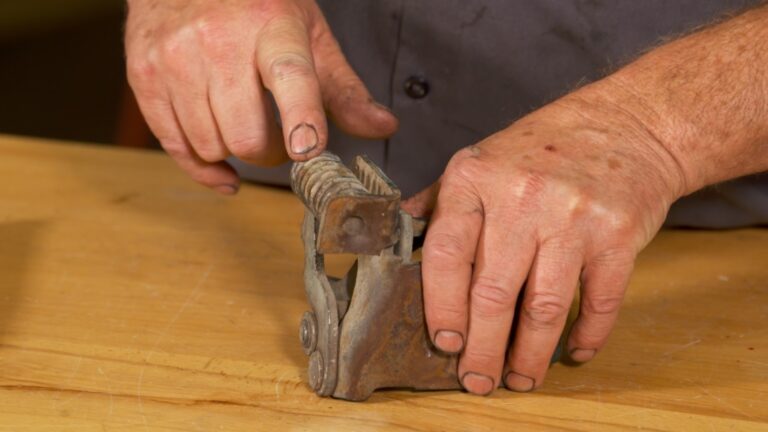
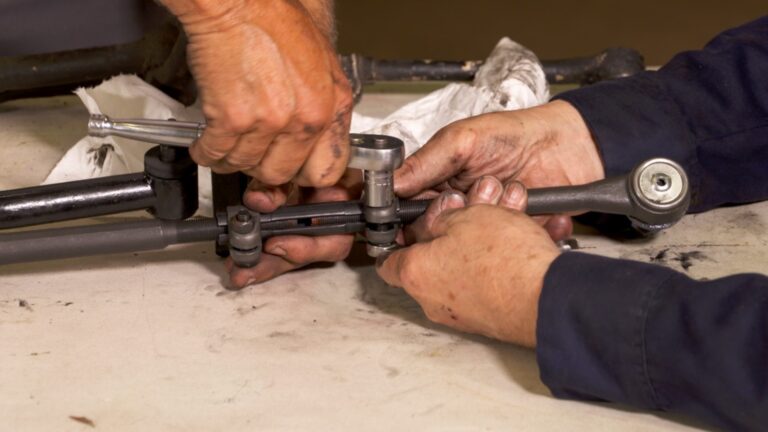
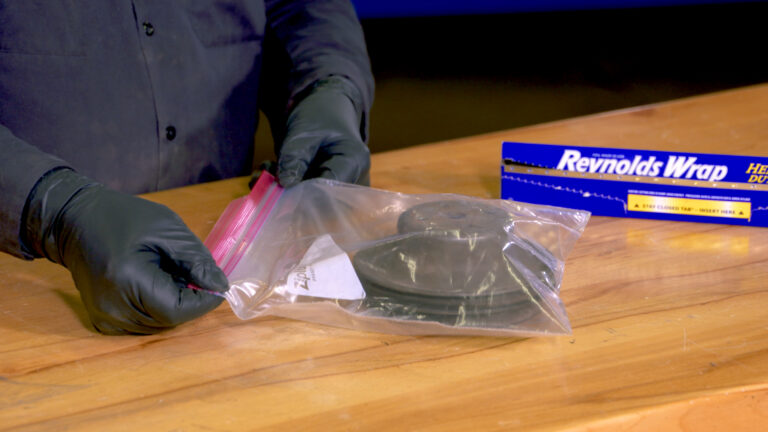
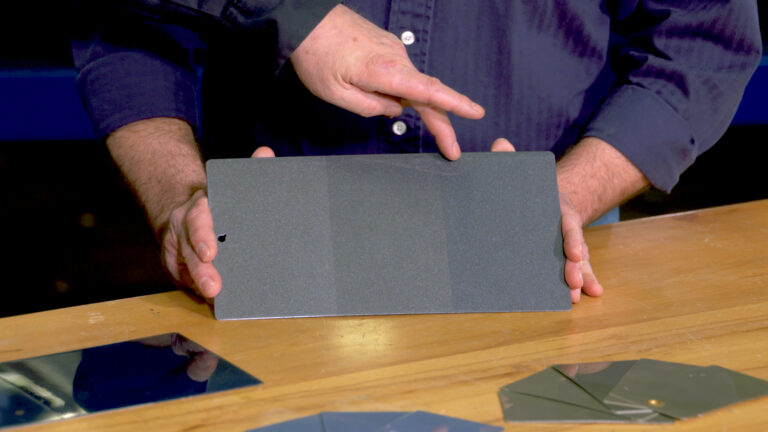
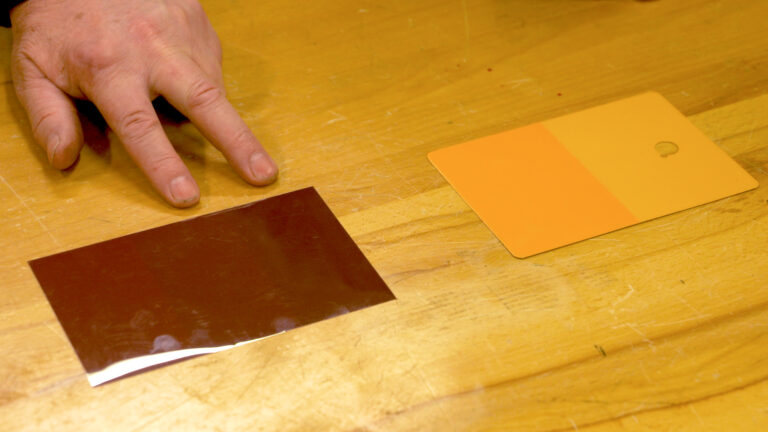
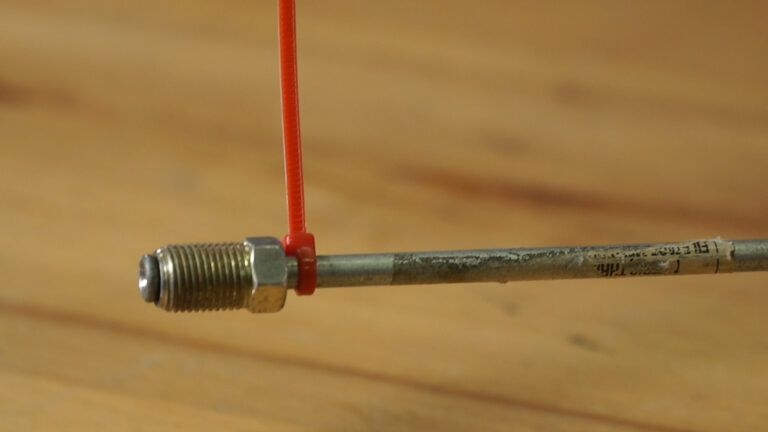
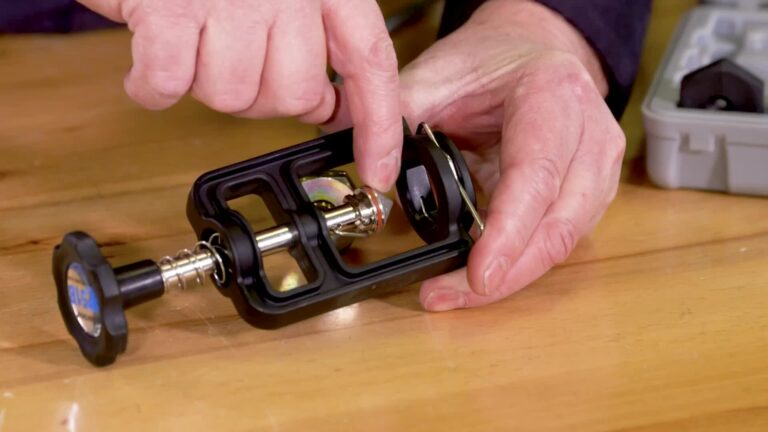
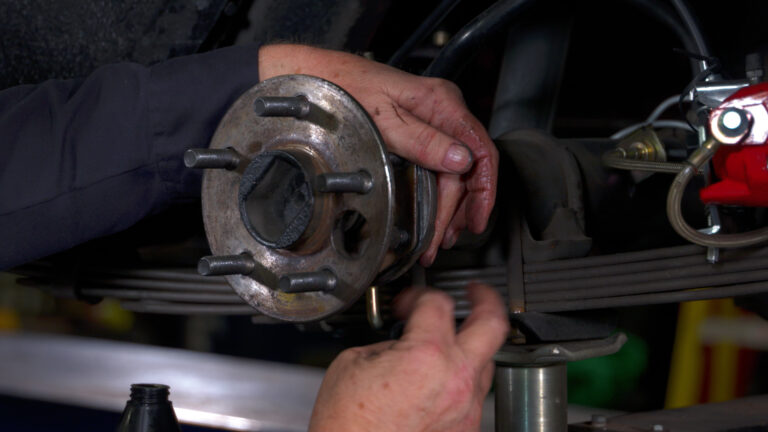
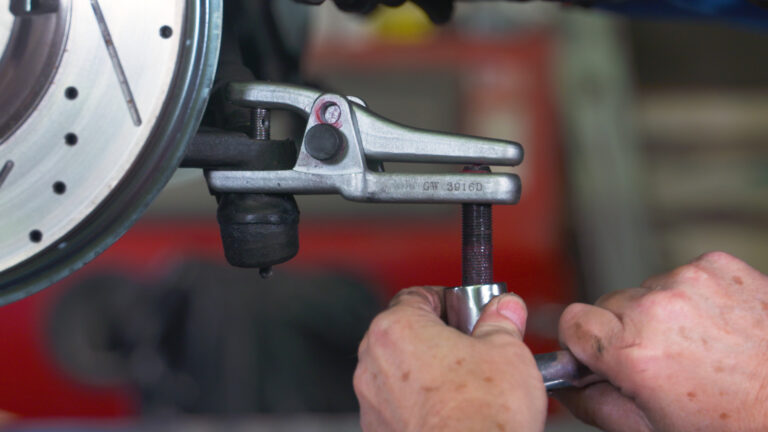
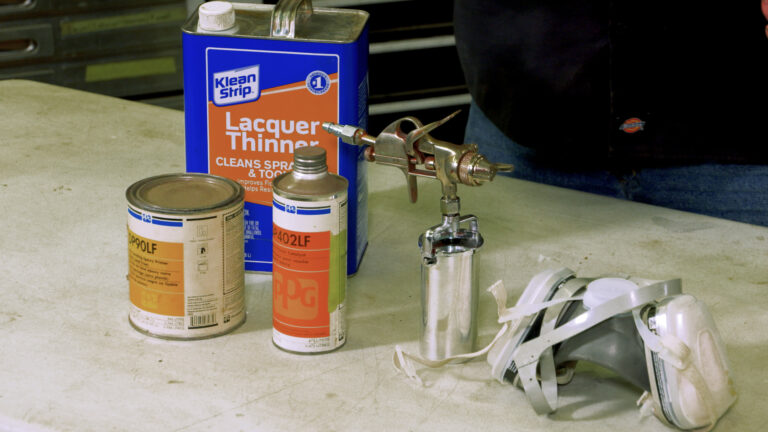
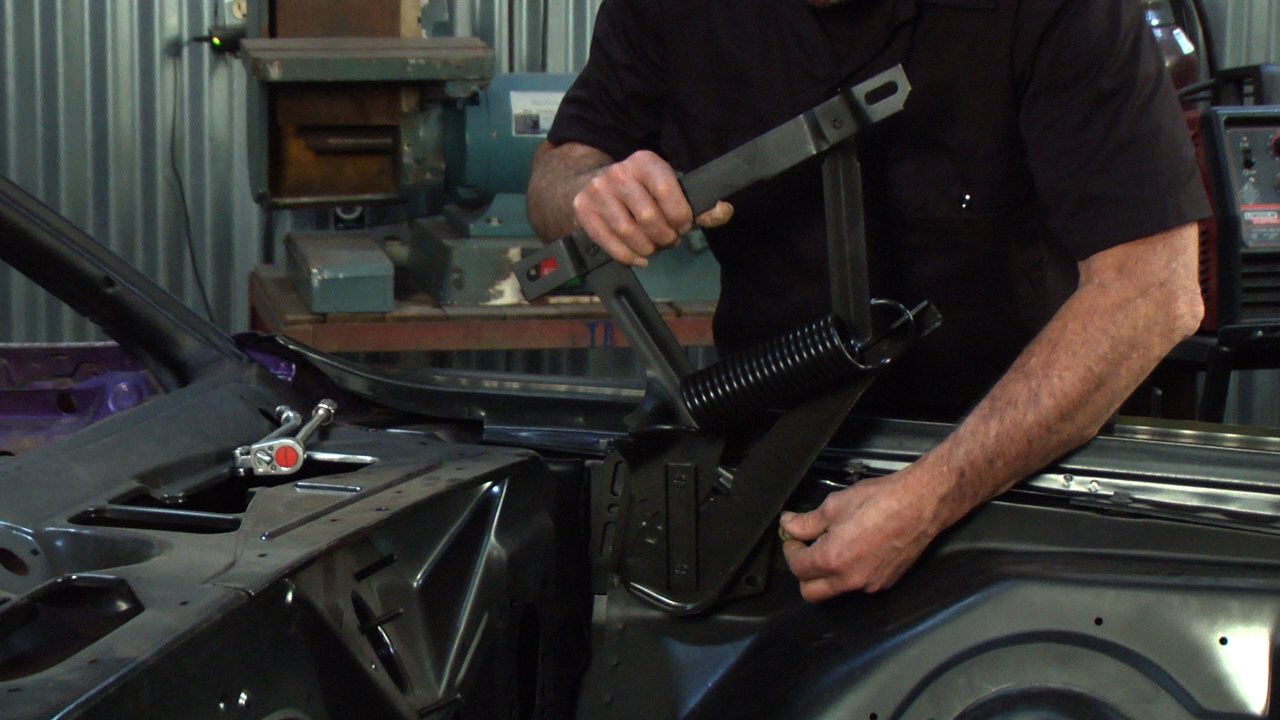
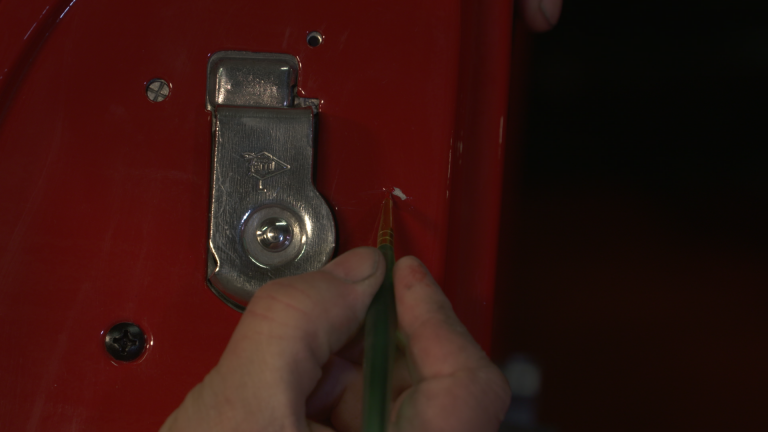
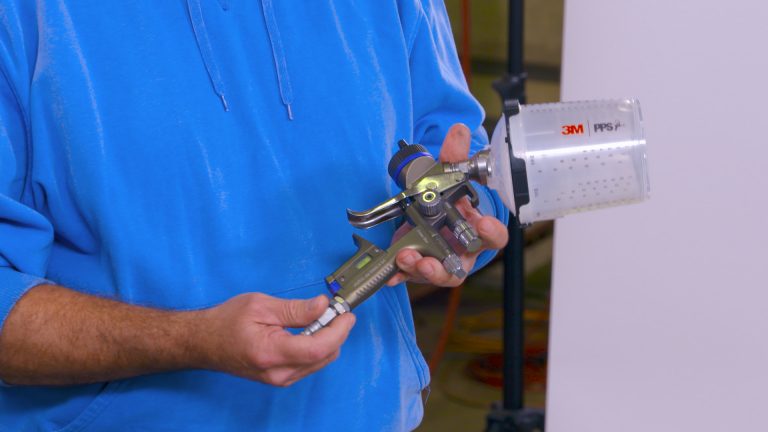
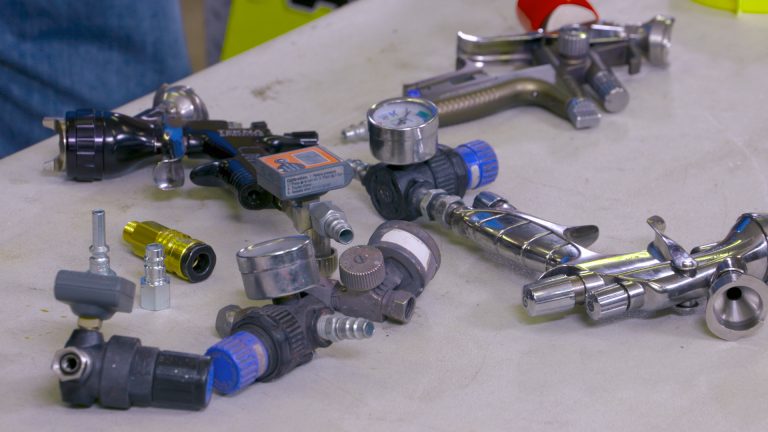
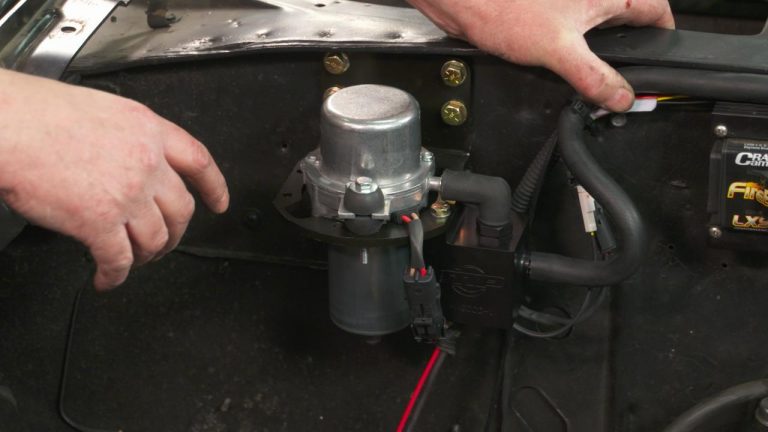
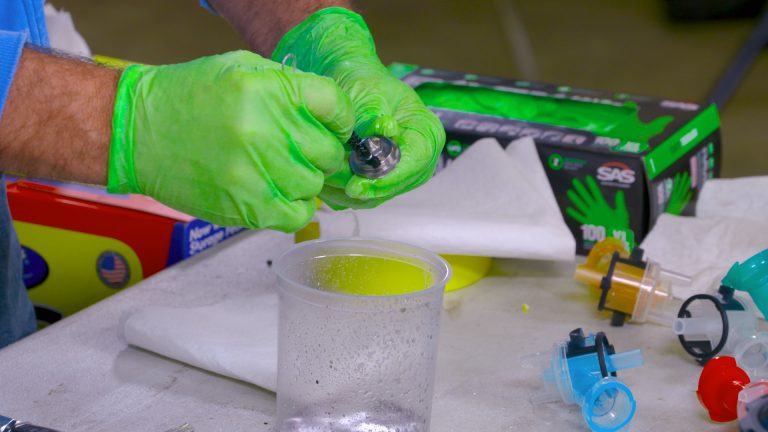
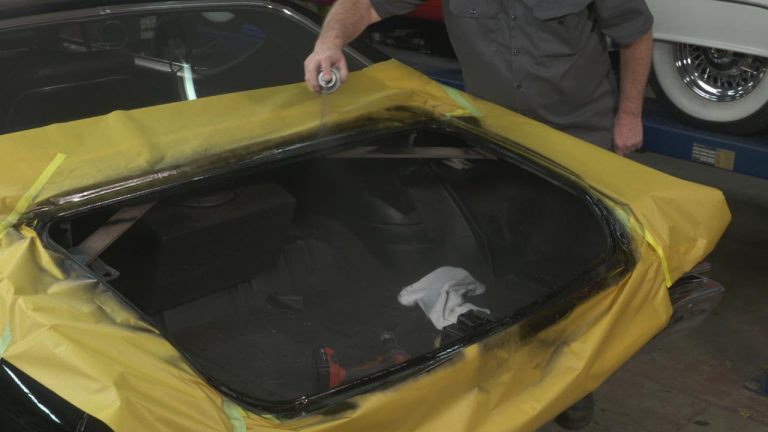
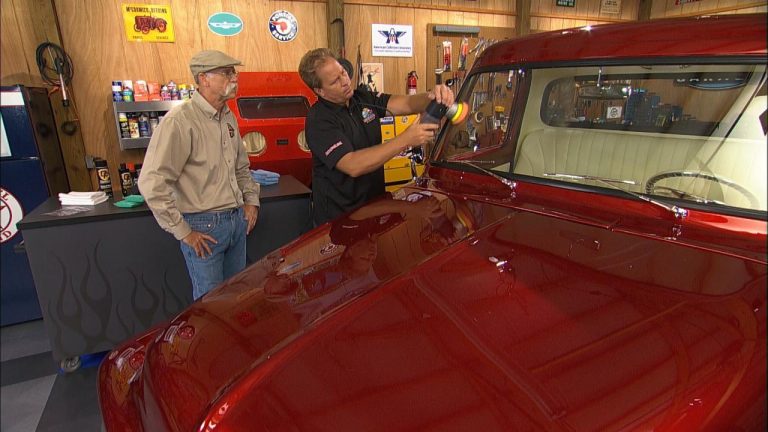
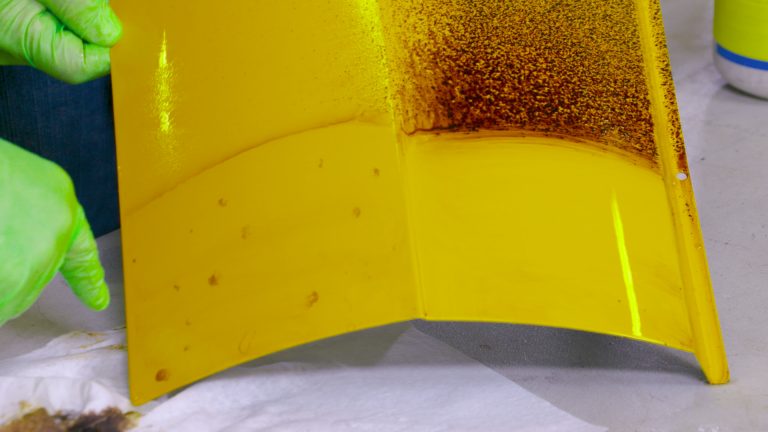
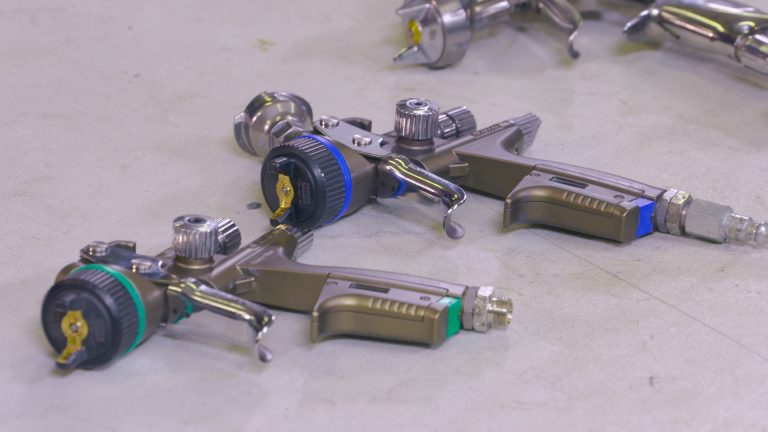
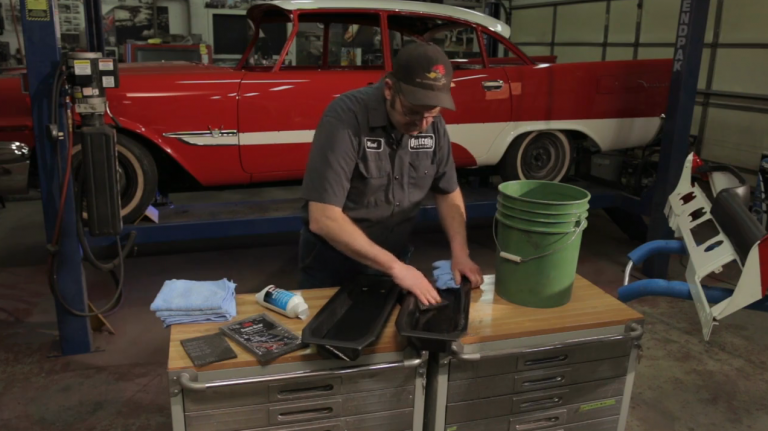
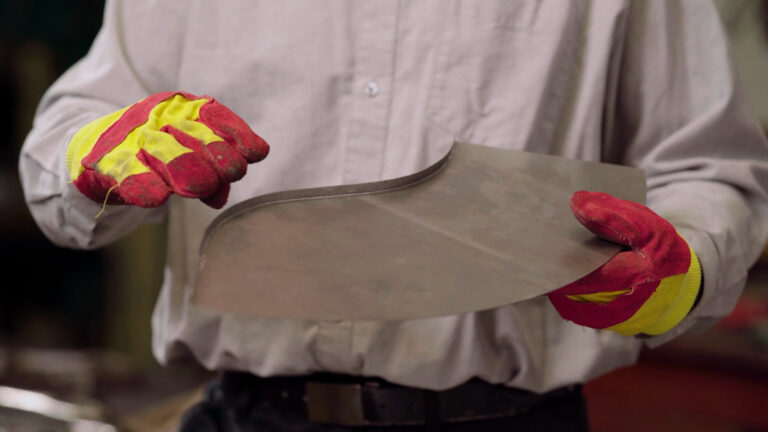
Mark SimpsonPowder coating gives you one of the most economical, color-durable, and longest lasting finishes available. Whether you’re coating engine brackets, master cylinders, or valve covers, there is simply no better way to apply a good looking yet tough finish. Mark Simpson takes us step-by-step through the powder coating process using the Eastwood HotCoat powder coating system. This system is a “must have”, for any enthusiast who is serious about completing high-quality restorations. You’ll see first hand how easy it is to create finishes that are far more resistant to chipping, scratches and wear than other finishes, and the color selection is virtually unlimited, with high and low gloss, metallic, and clear finishes available. The Eastwood UV-resistant powder coat colors stay bright and vibrant longer; but also check out their complete line of powder coating supplies, sure to give you all the help you need. These include powder coat paint guns, silicone plugs, hanging hooks, spray booths, ovens and more.
Share tips, start a discussion or ask one of our experts or other students a question.
Already a member? Sign in
3 Responses to “Powder Coating Process: Tips and Techniques”
Explore videos by Mark Simpson
You may be interested in
Premium Membership
Unlock exclusive member content from our industry experts.
- 24/7 Access to Premium Videos, Tips, and Techniques
- Step-by-Step Instructional Demos, Guides, and Tutorials
- 50% Off Video Downloads Purchased in the Classic Car Restoration Shop
- Access to Ask the Expert Program
Unlock exclusive member content from our industry experts.
- 24/7 Access to Premium Videos, Tips, and Techniques
- Step-by-Step Instructional Demos, Guides, and Tutorials
- 2 Full-Length Video Downloads to Watch Offline
- 50% Off Video Downloads Purchased in the Classic Car Restoration Shop
- Access to Ask the Expert Program
Gold Membership
$304 Value
Get everything included in Premium plus exclusive Gold Membership benefits.
- 24/7 Access to 1,500+ Premium Online Classes Across 20+ Categories
- Extensive Library of Downloadable Patterns and Recipes
- Stream and Download Classes Anywhere with the Craftsy App
- Share your Membership with up to 3 friends or family members
- 8 Full-Length Classes of Your Choice to Keep in Your Account for Life
- 10 Patterns, Guides, or Recipes of Your choice to Download to Your Devices
- 20% off Purchase-to-Own Classes in the Craftsy Shop (Select Classes Only)
- Access to Ask the Expert Program
- Exclusive GOLD LIVE Virtual Events

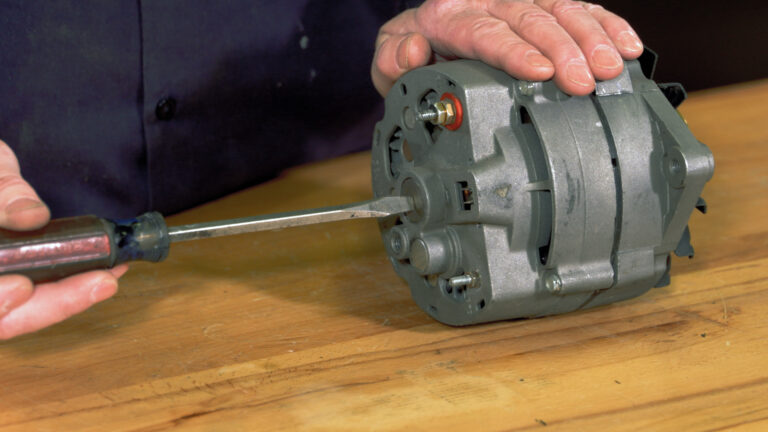
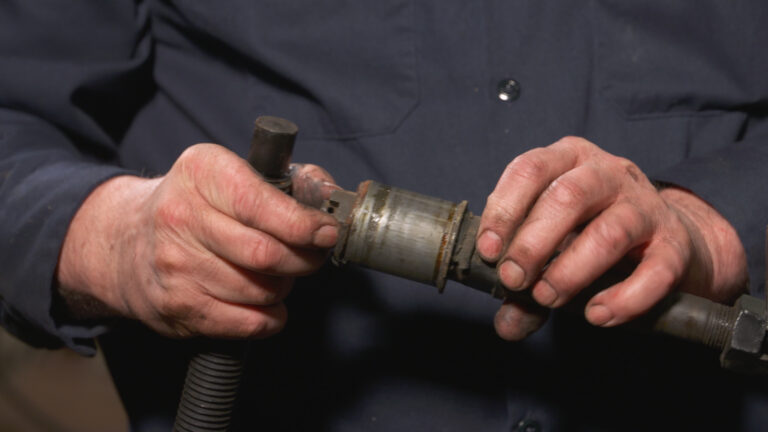
When powder coating the master cylinder do you have to take out the rubber seals in the cylinder before baking?
I have the same system from Eastwood. I've had good results thus far. Bought a 30" wall mount oven for the shop. For the most part, if you can fit it in the oven without knocking off the powder you're all set. Each powder has instructions for baking, so far the powder I'm using requires 450 for 10 minutes then 400 for 20 minutes. If a part is heavy, at the end of the baking time I will turn off the oven and leave it in to cool.
Nice video but how do you know how long to leave the part in the oven? thinner pieces compared to heavier ones, does the part need to come up to a certain temp.?