
Classic Car Motor Assembly: Fuel Pump and Water Pump
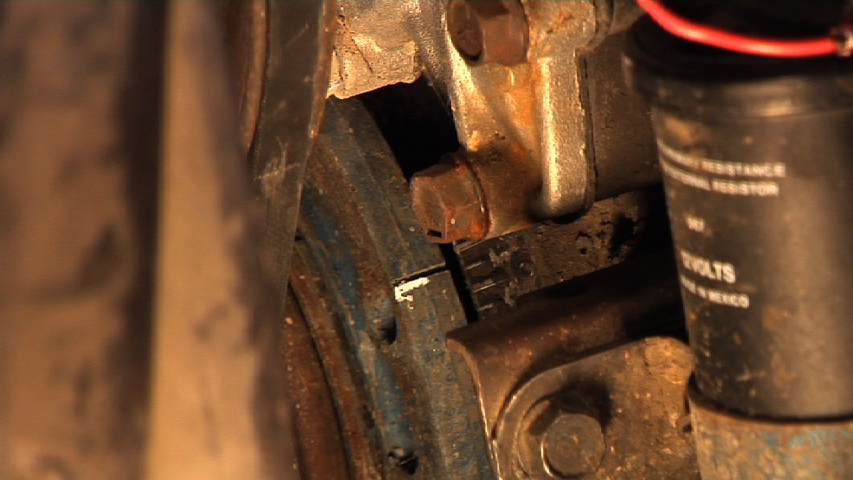
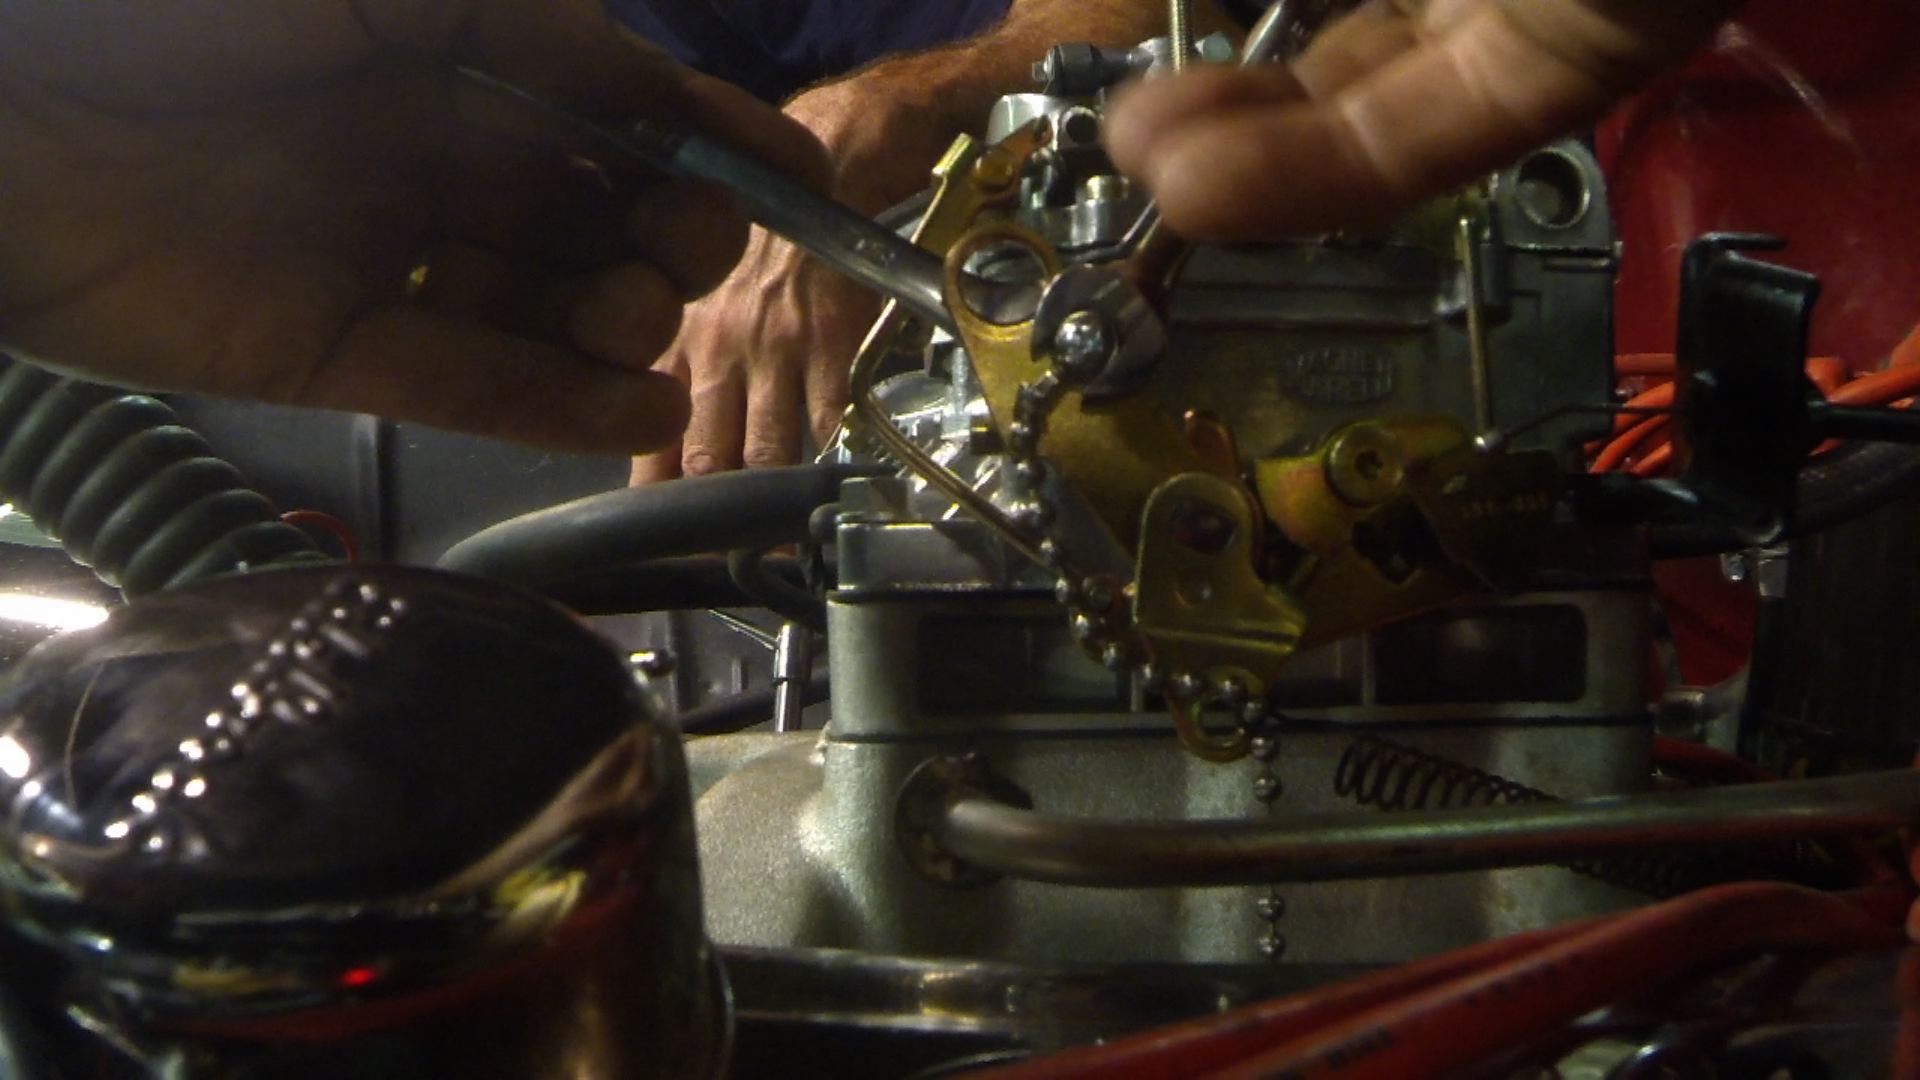
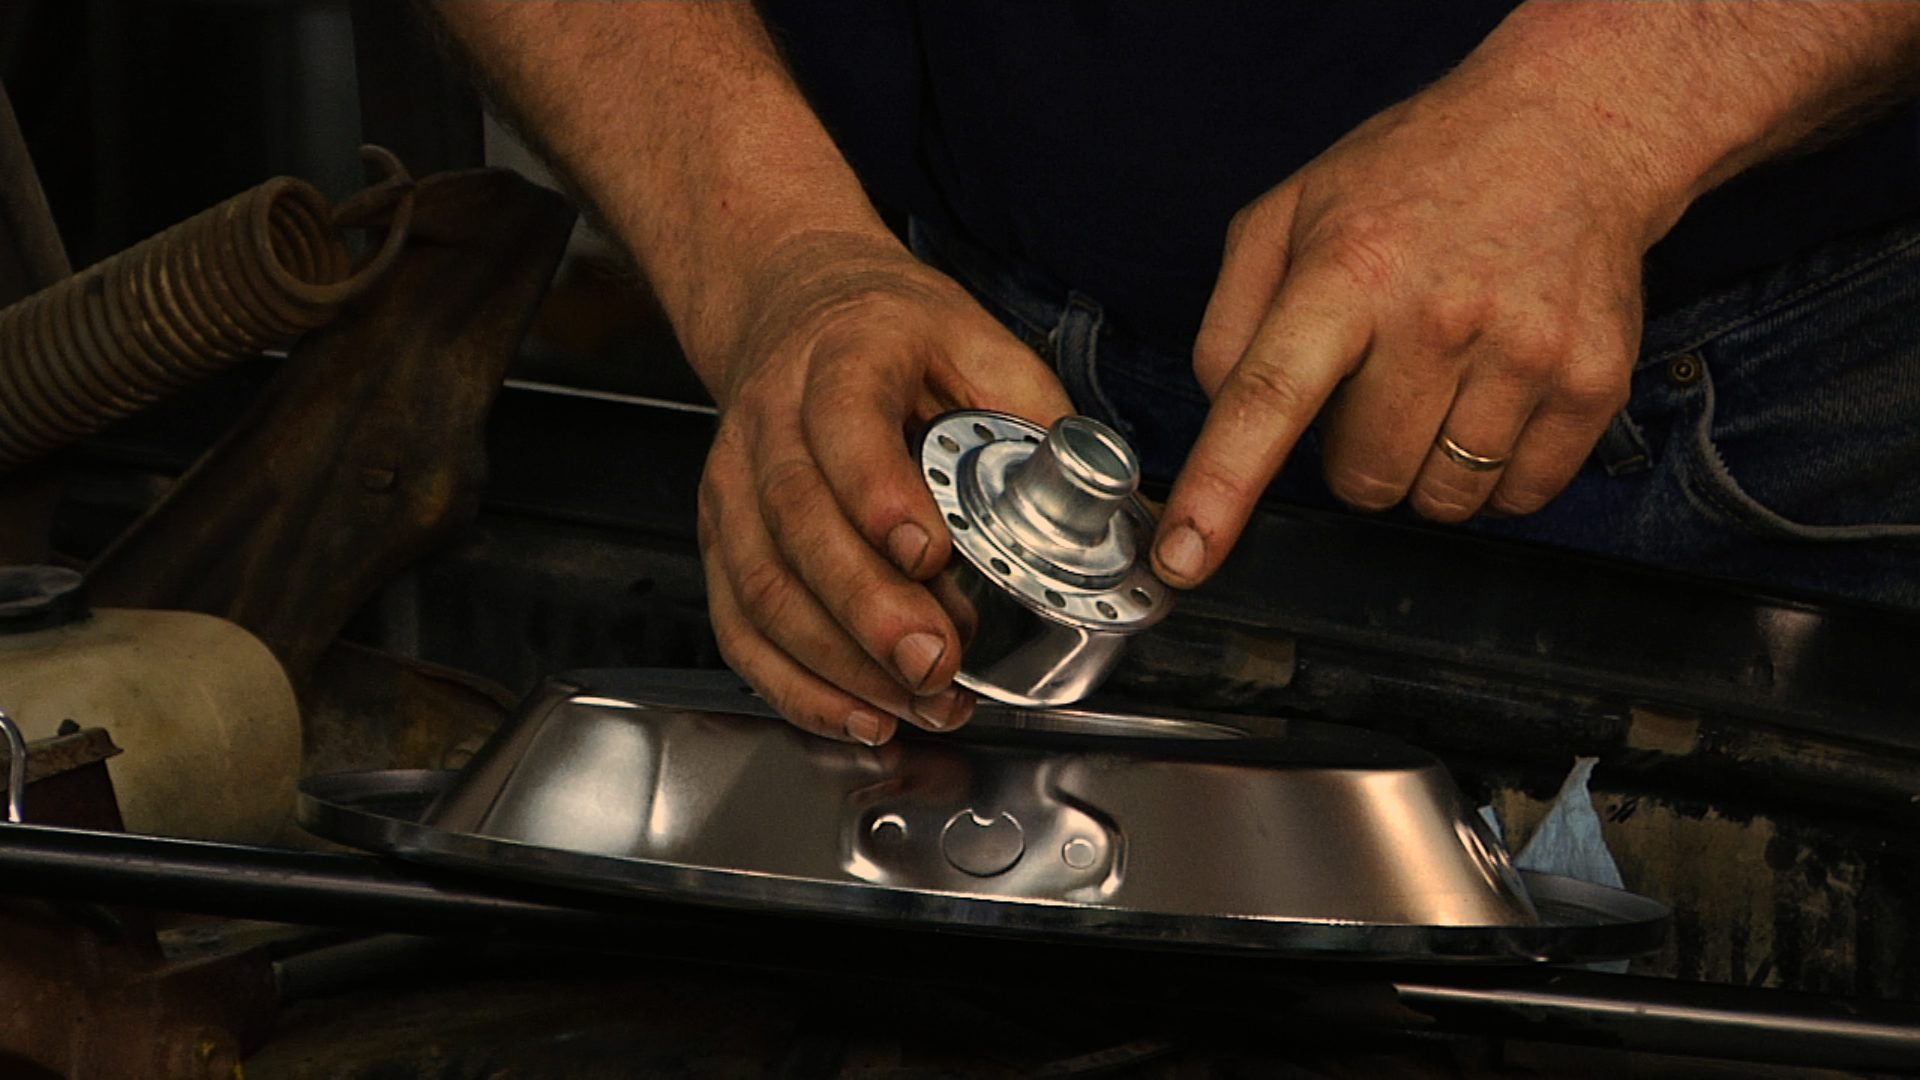
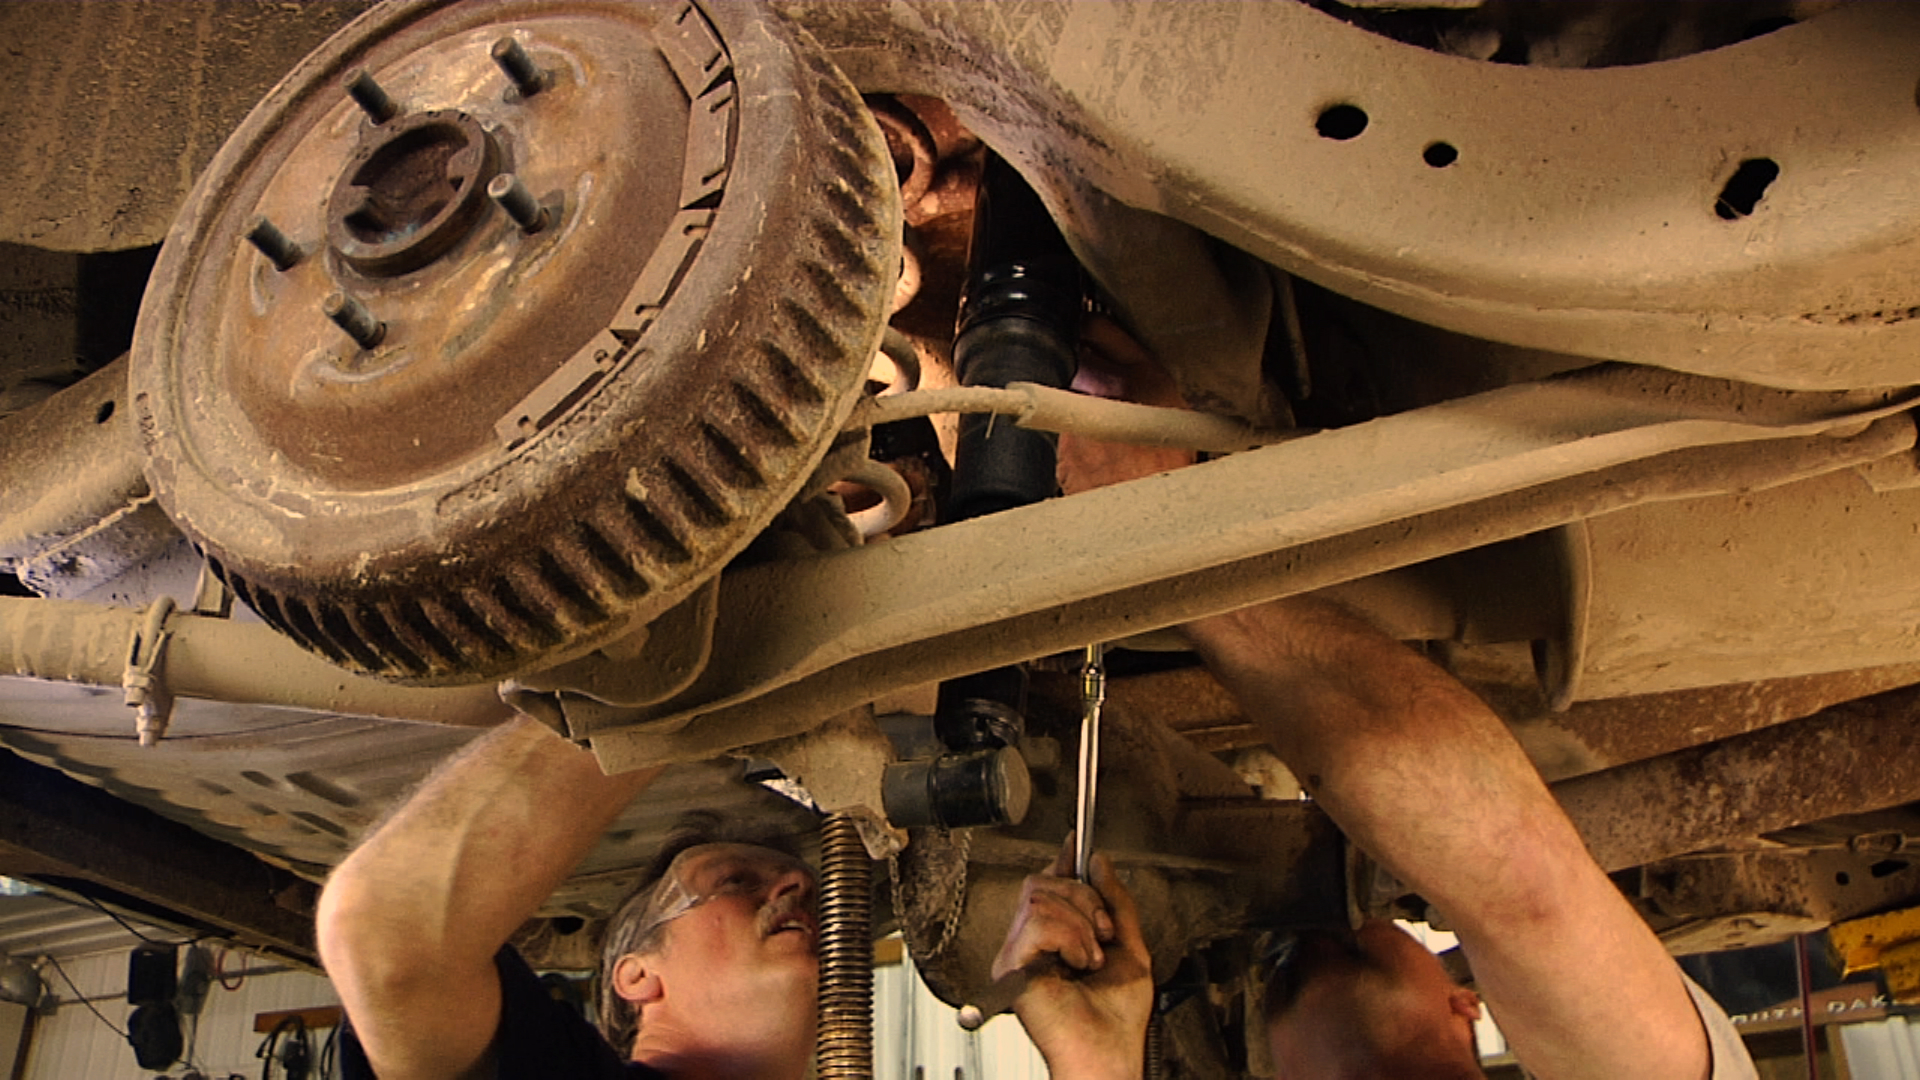
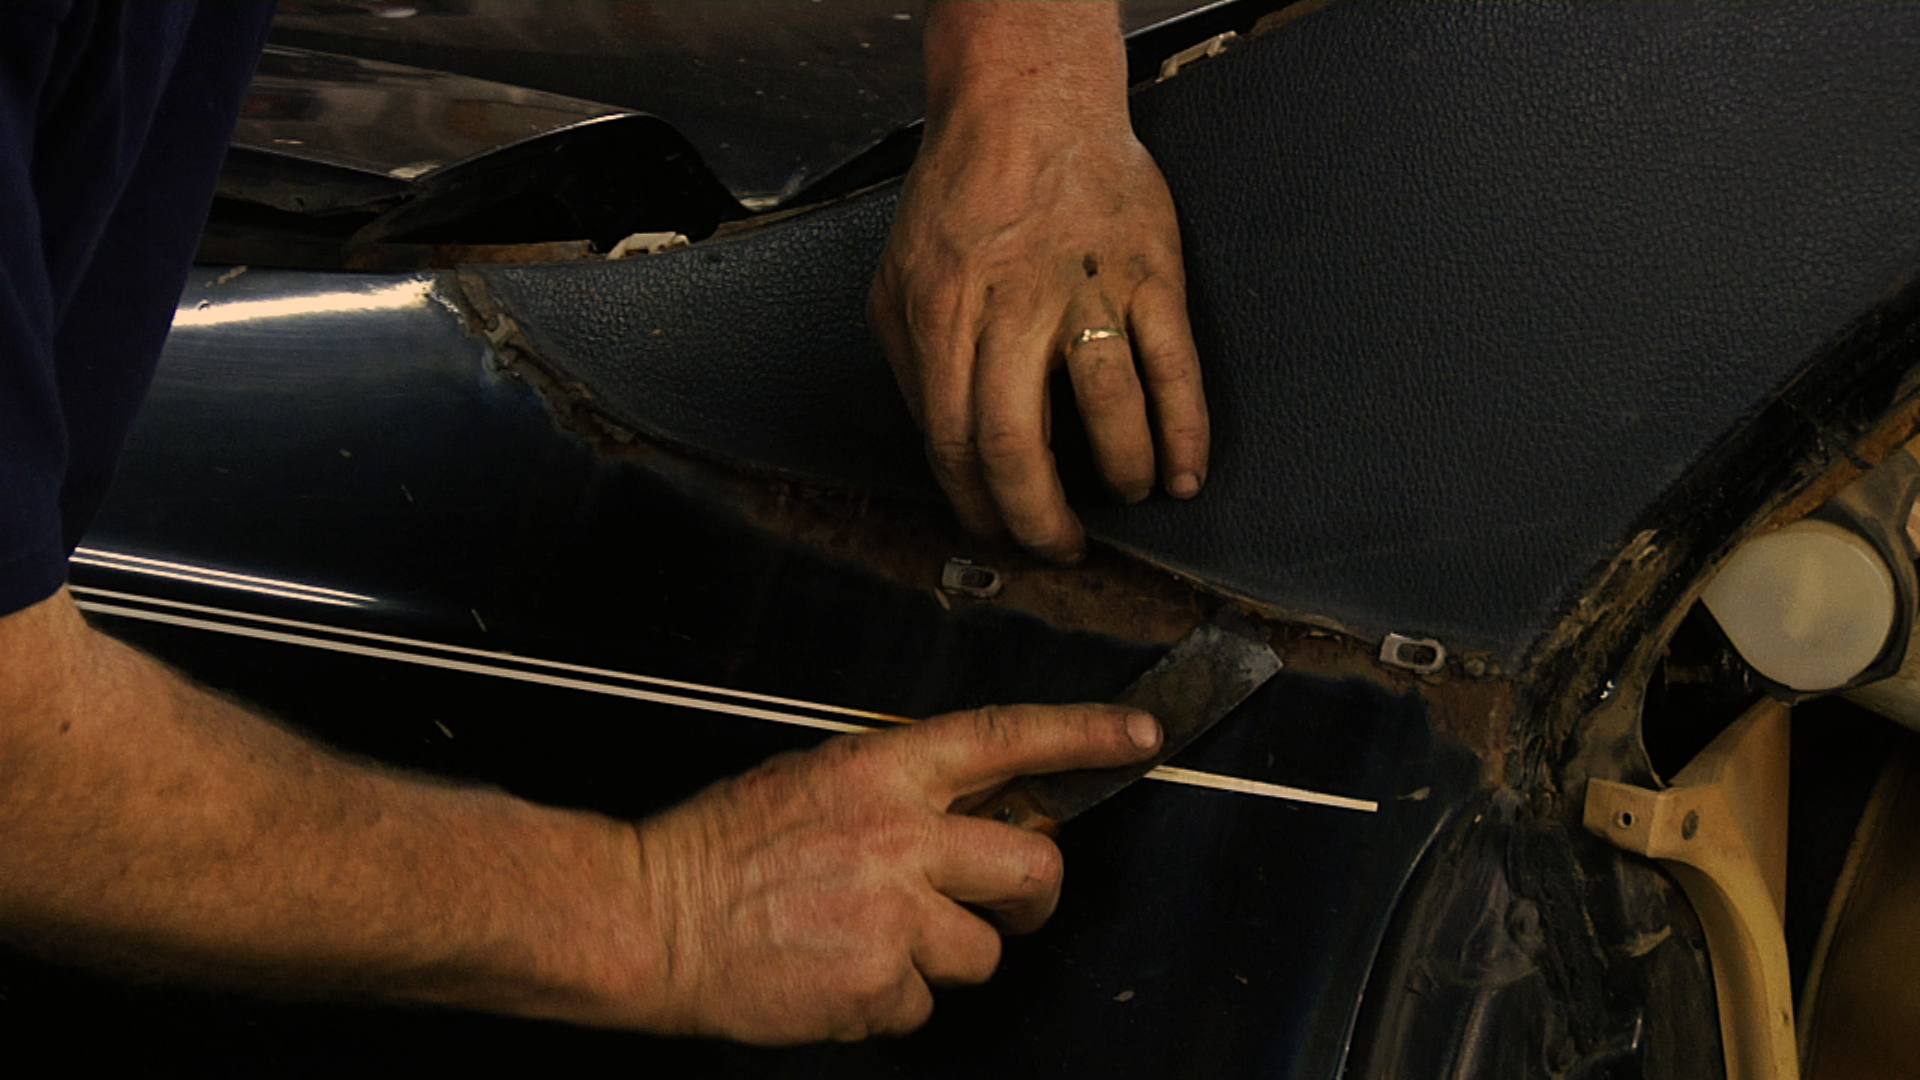
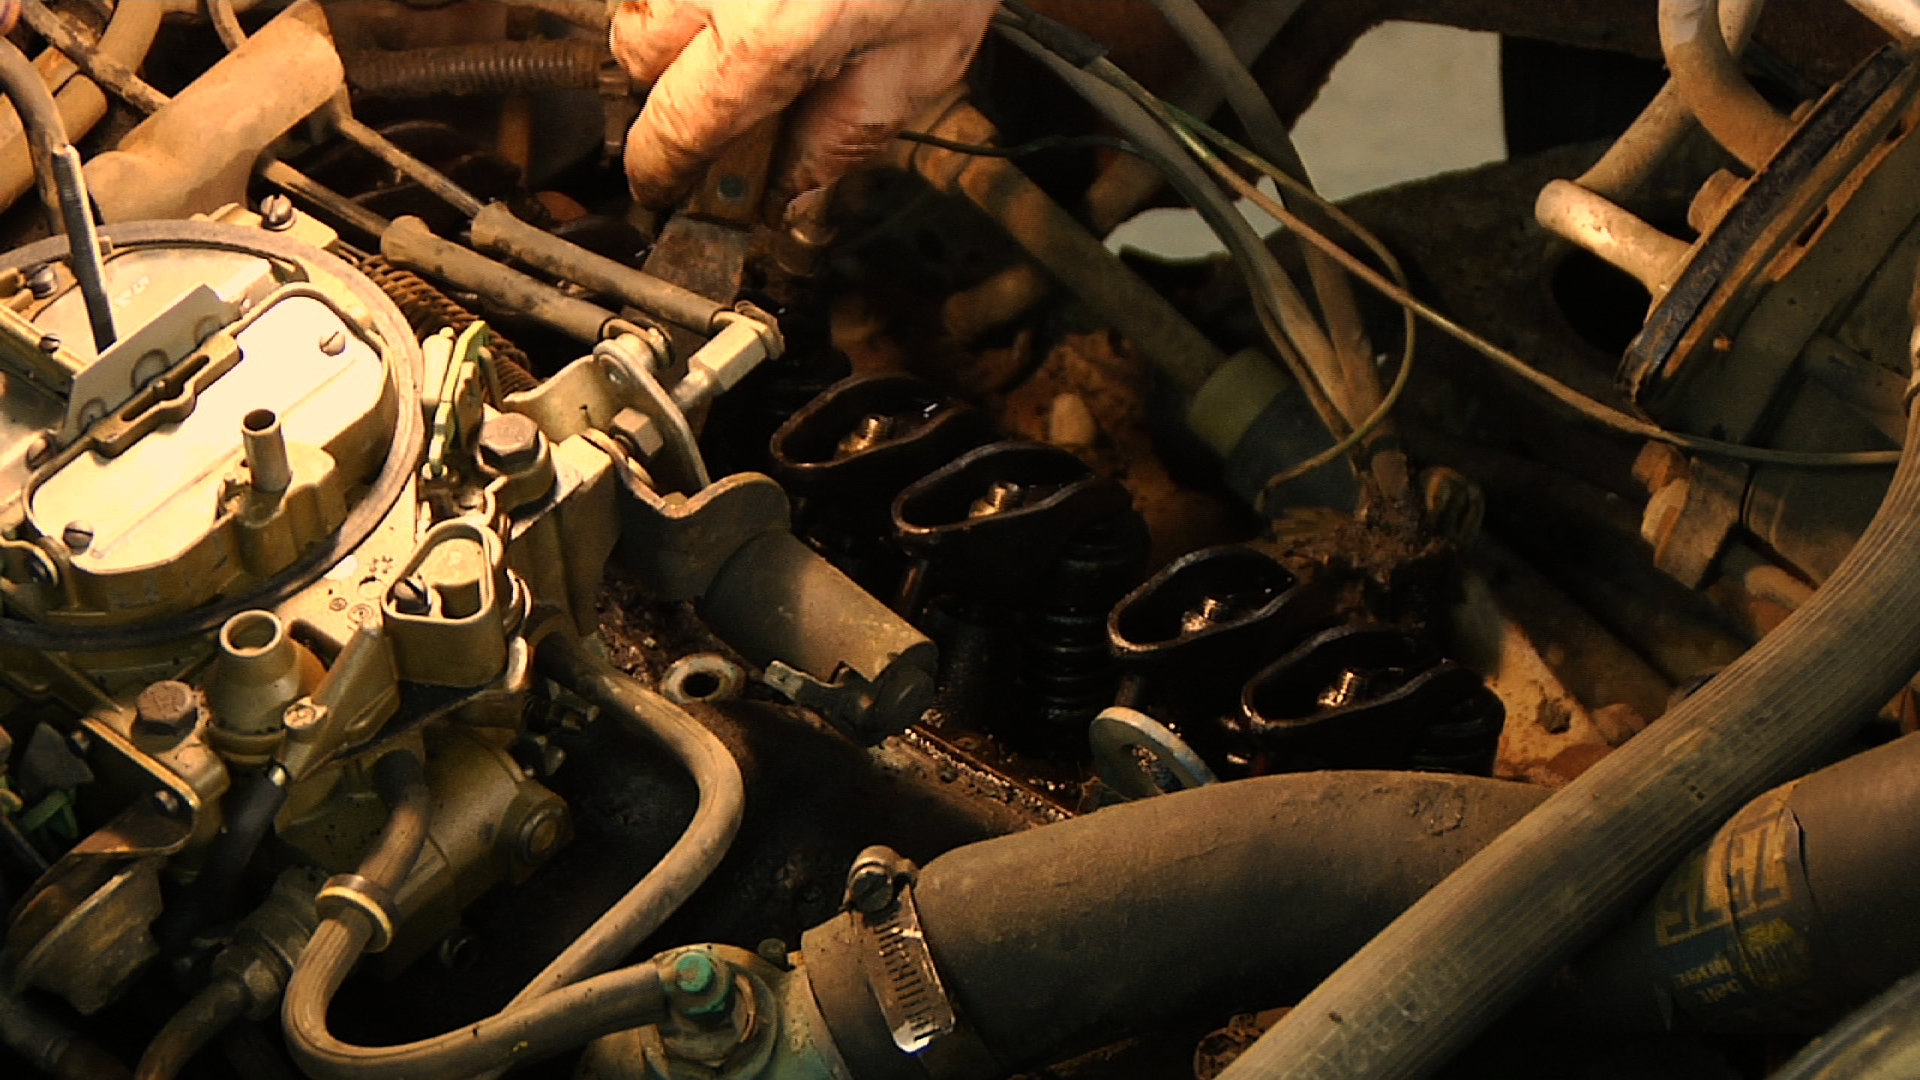
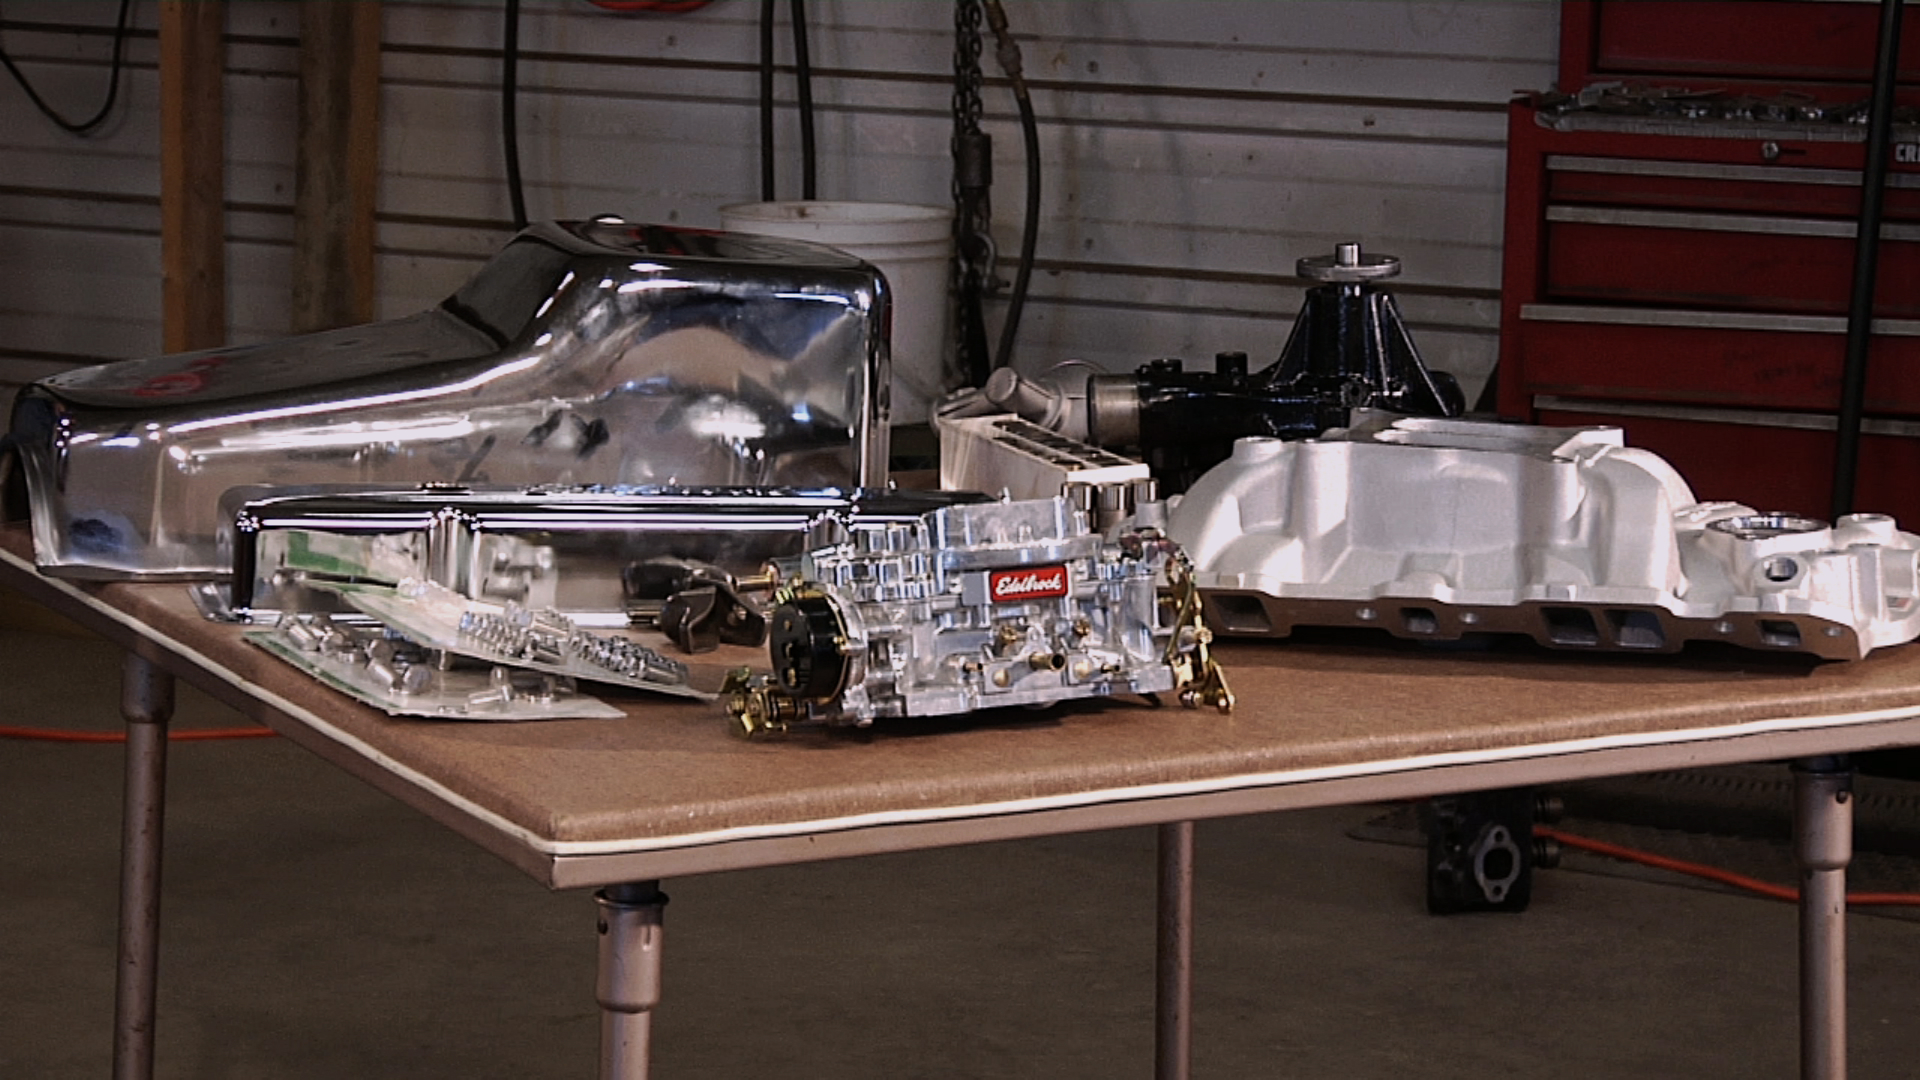
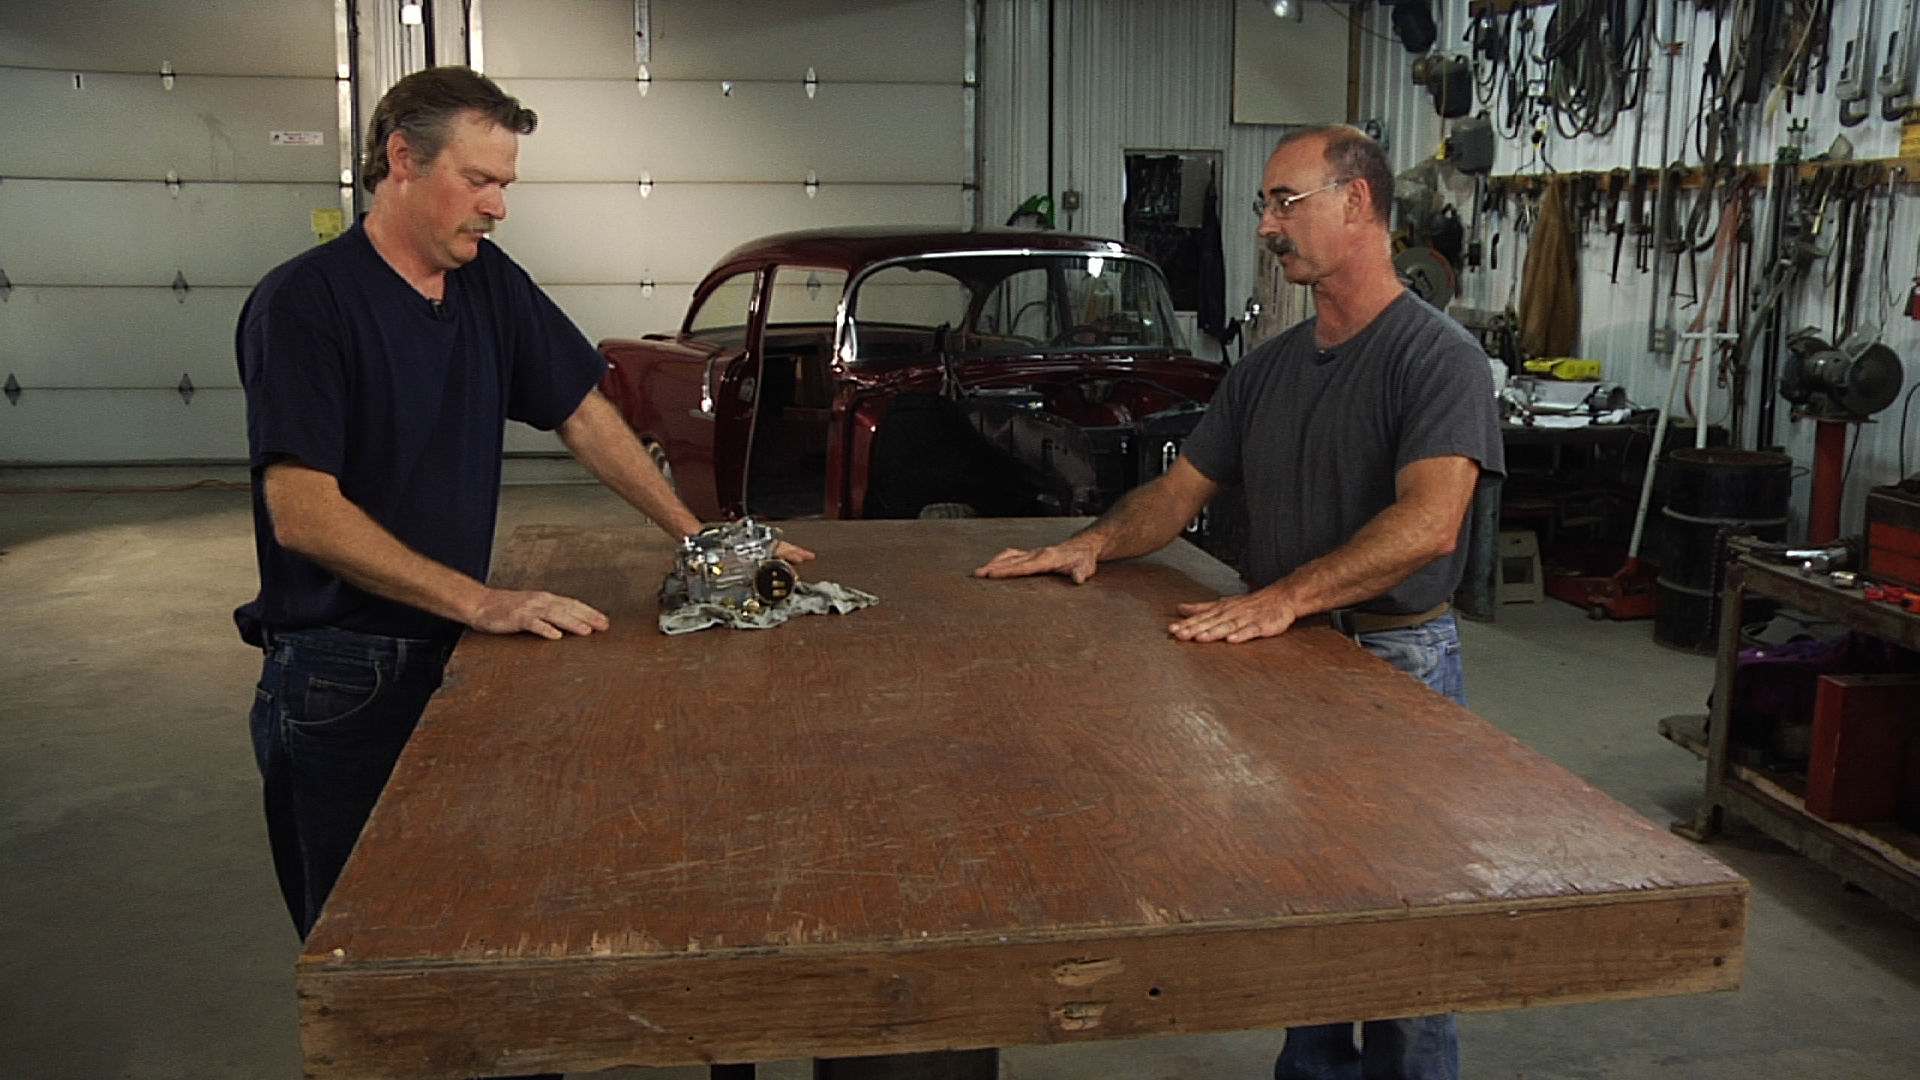
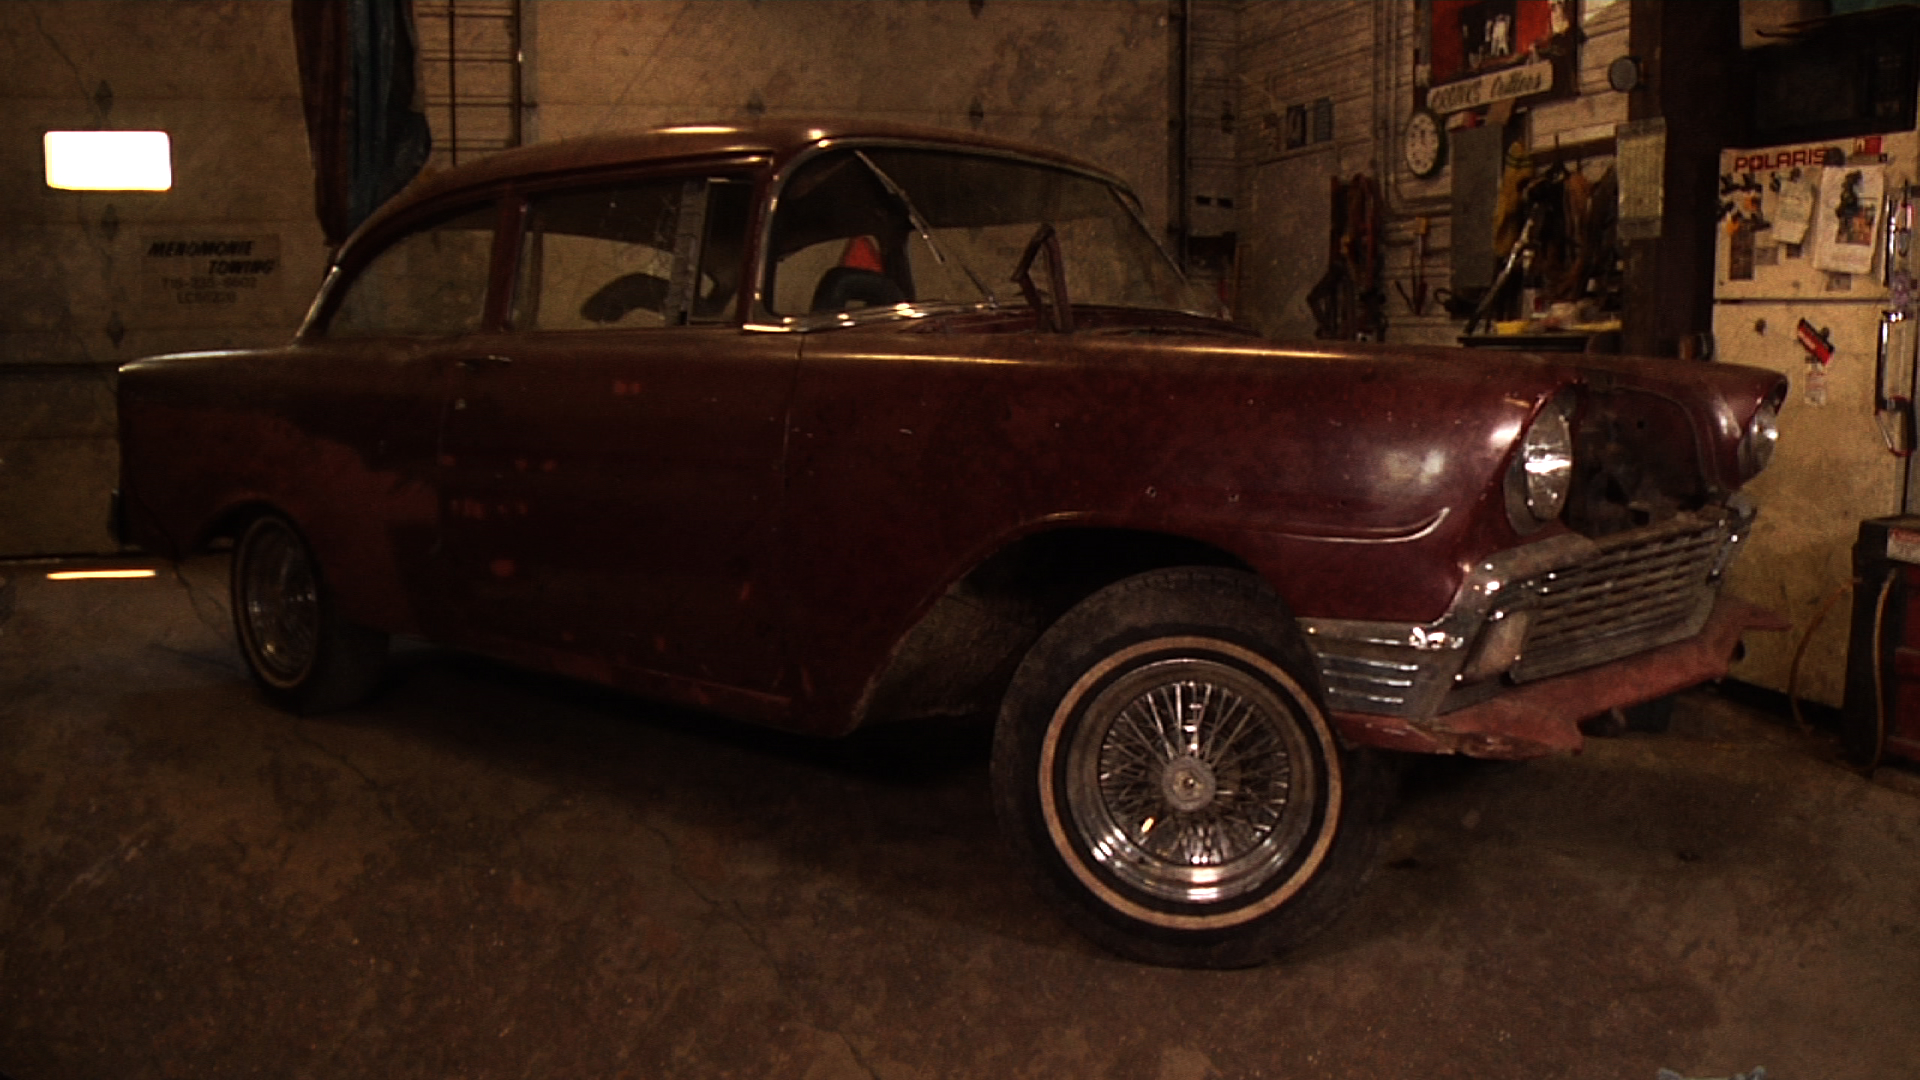
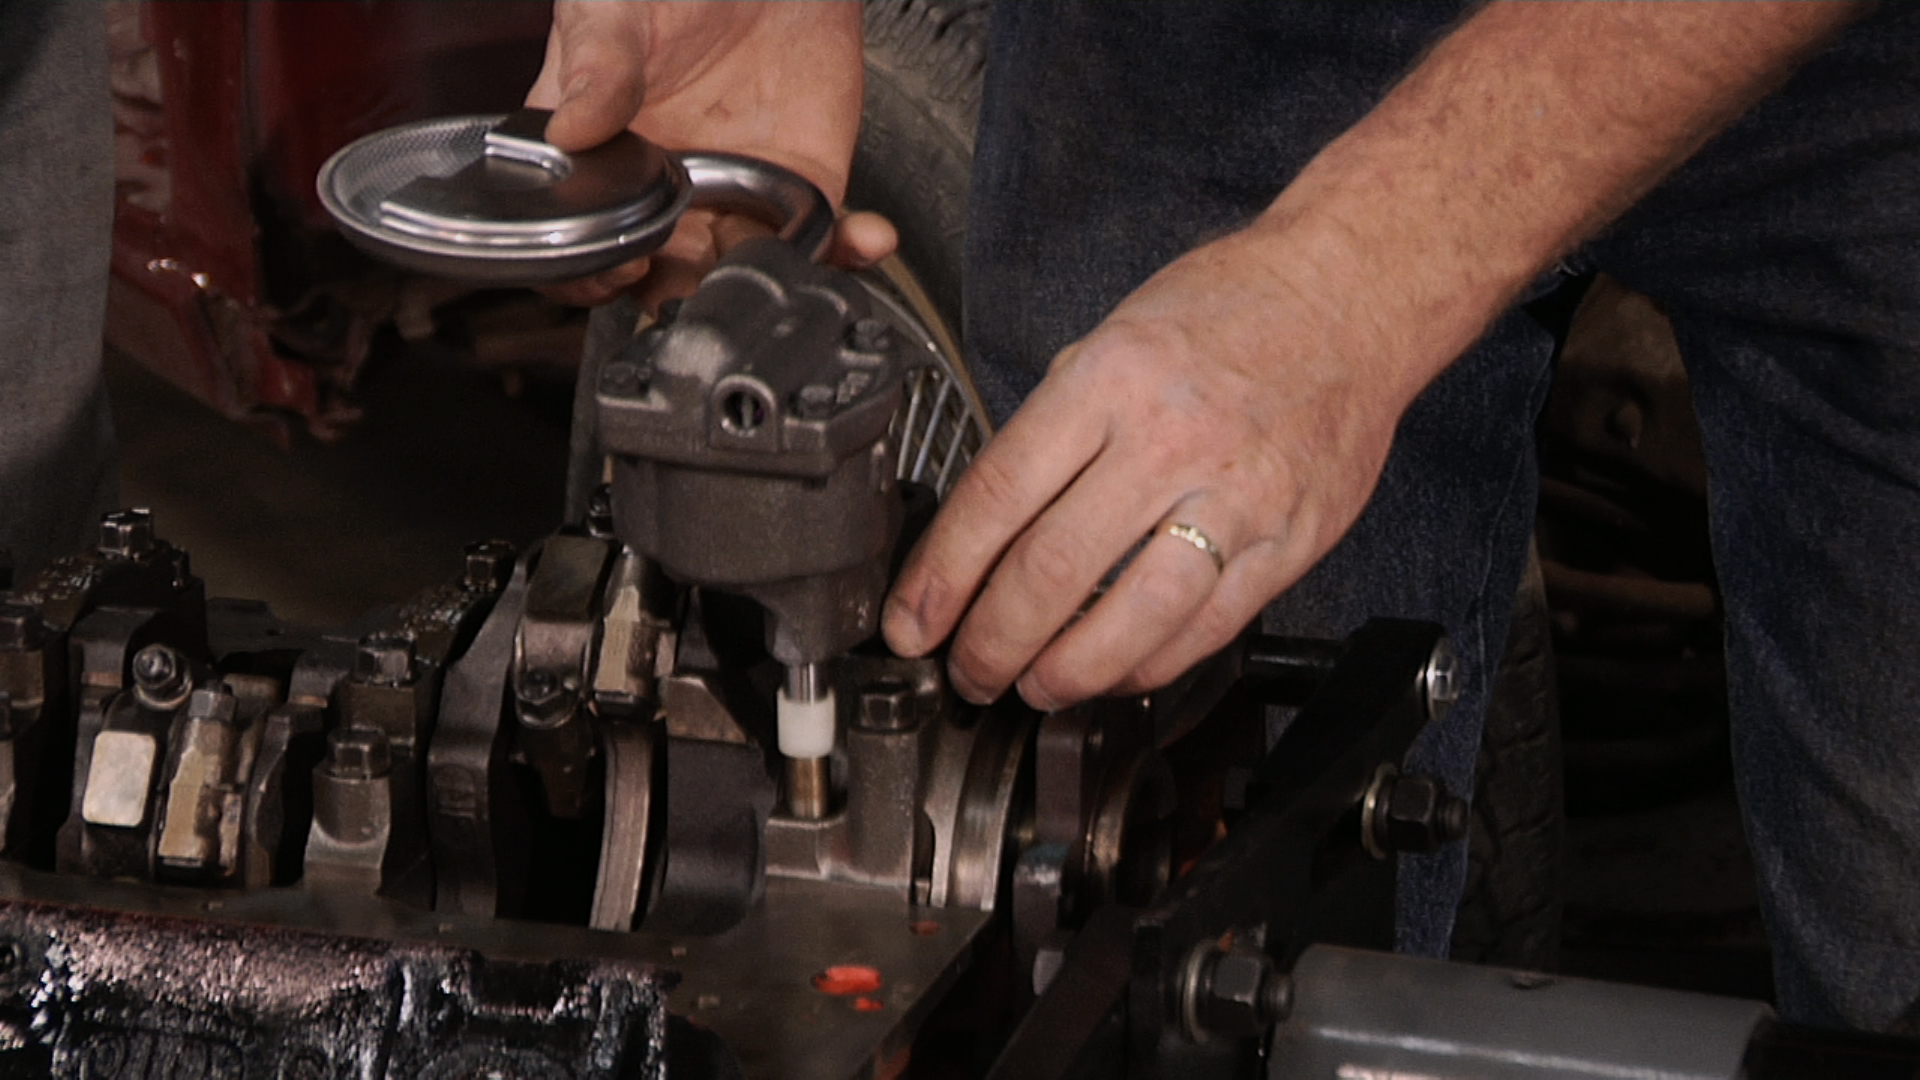
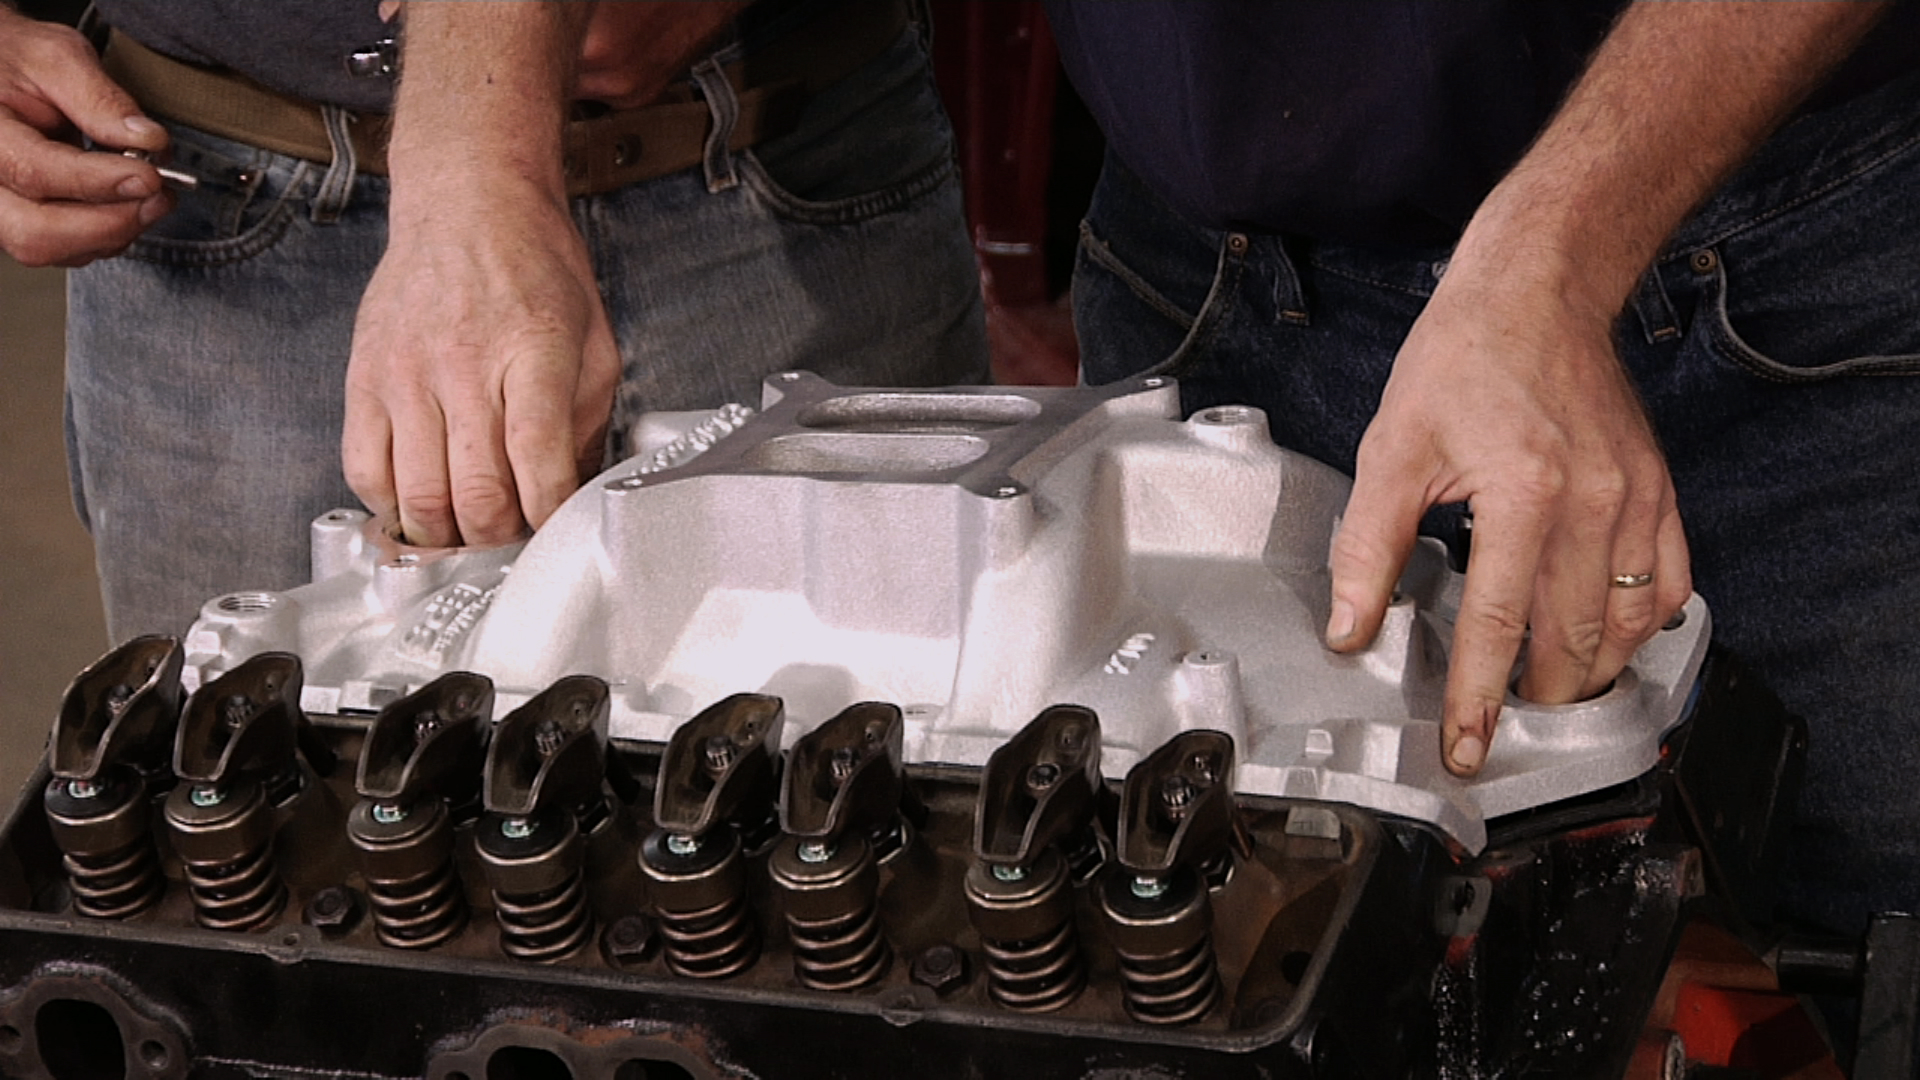
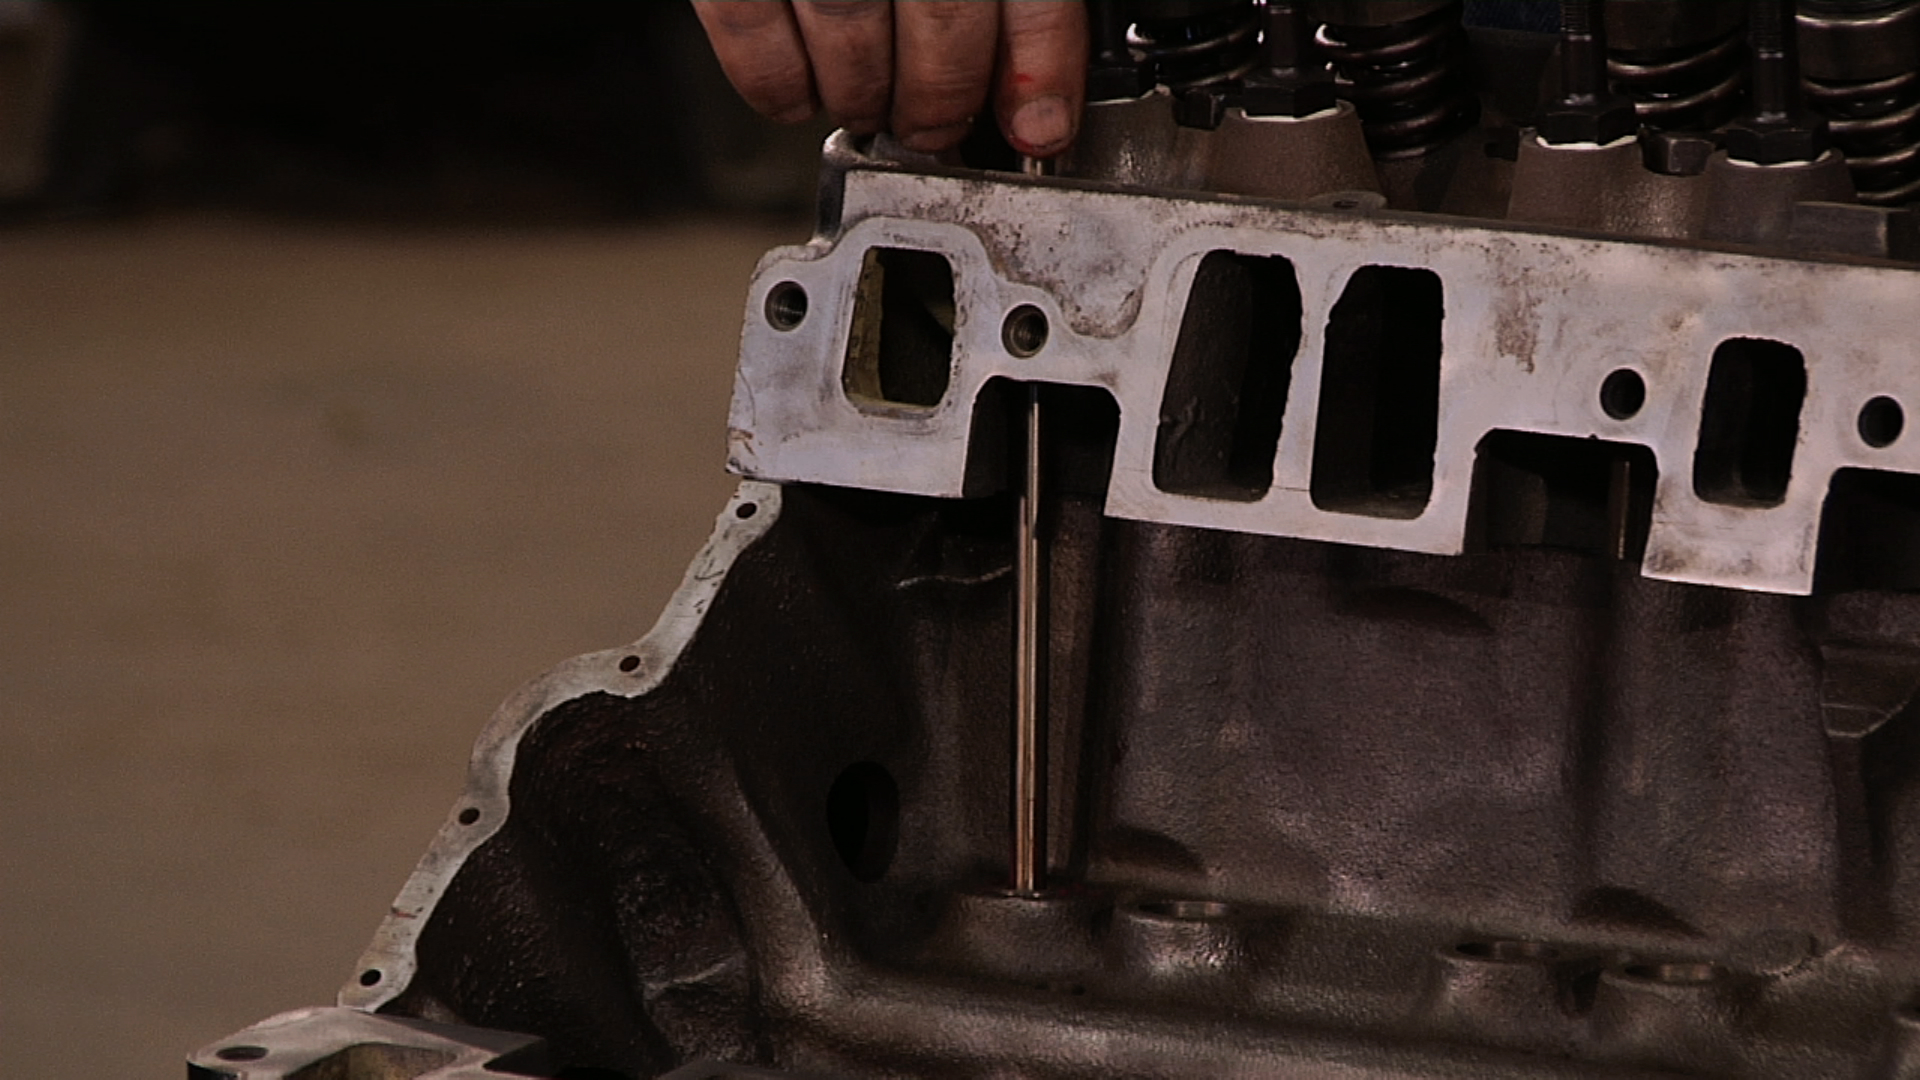
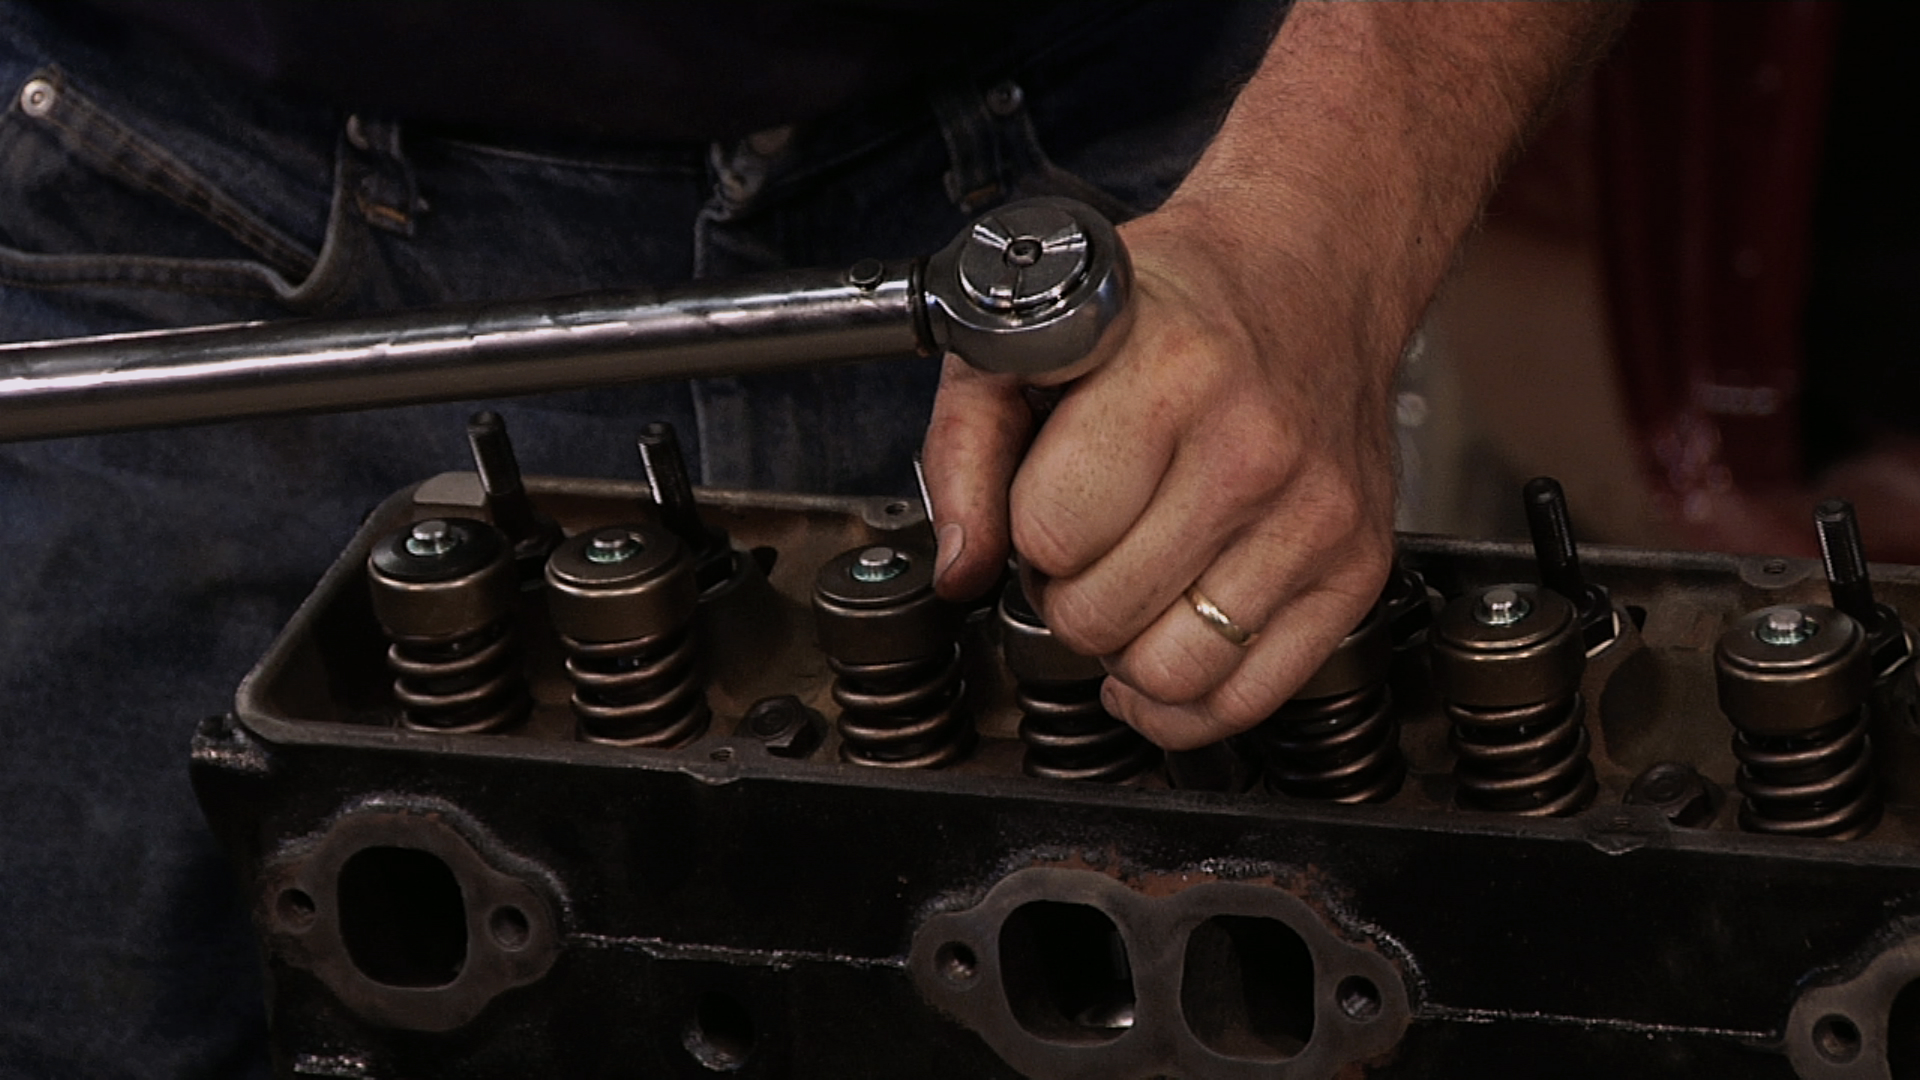
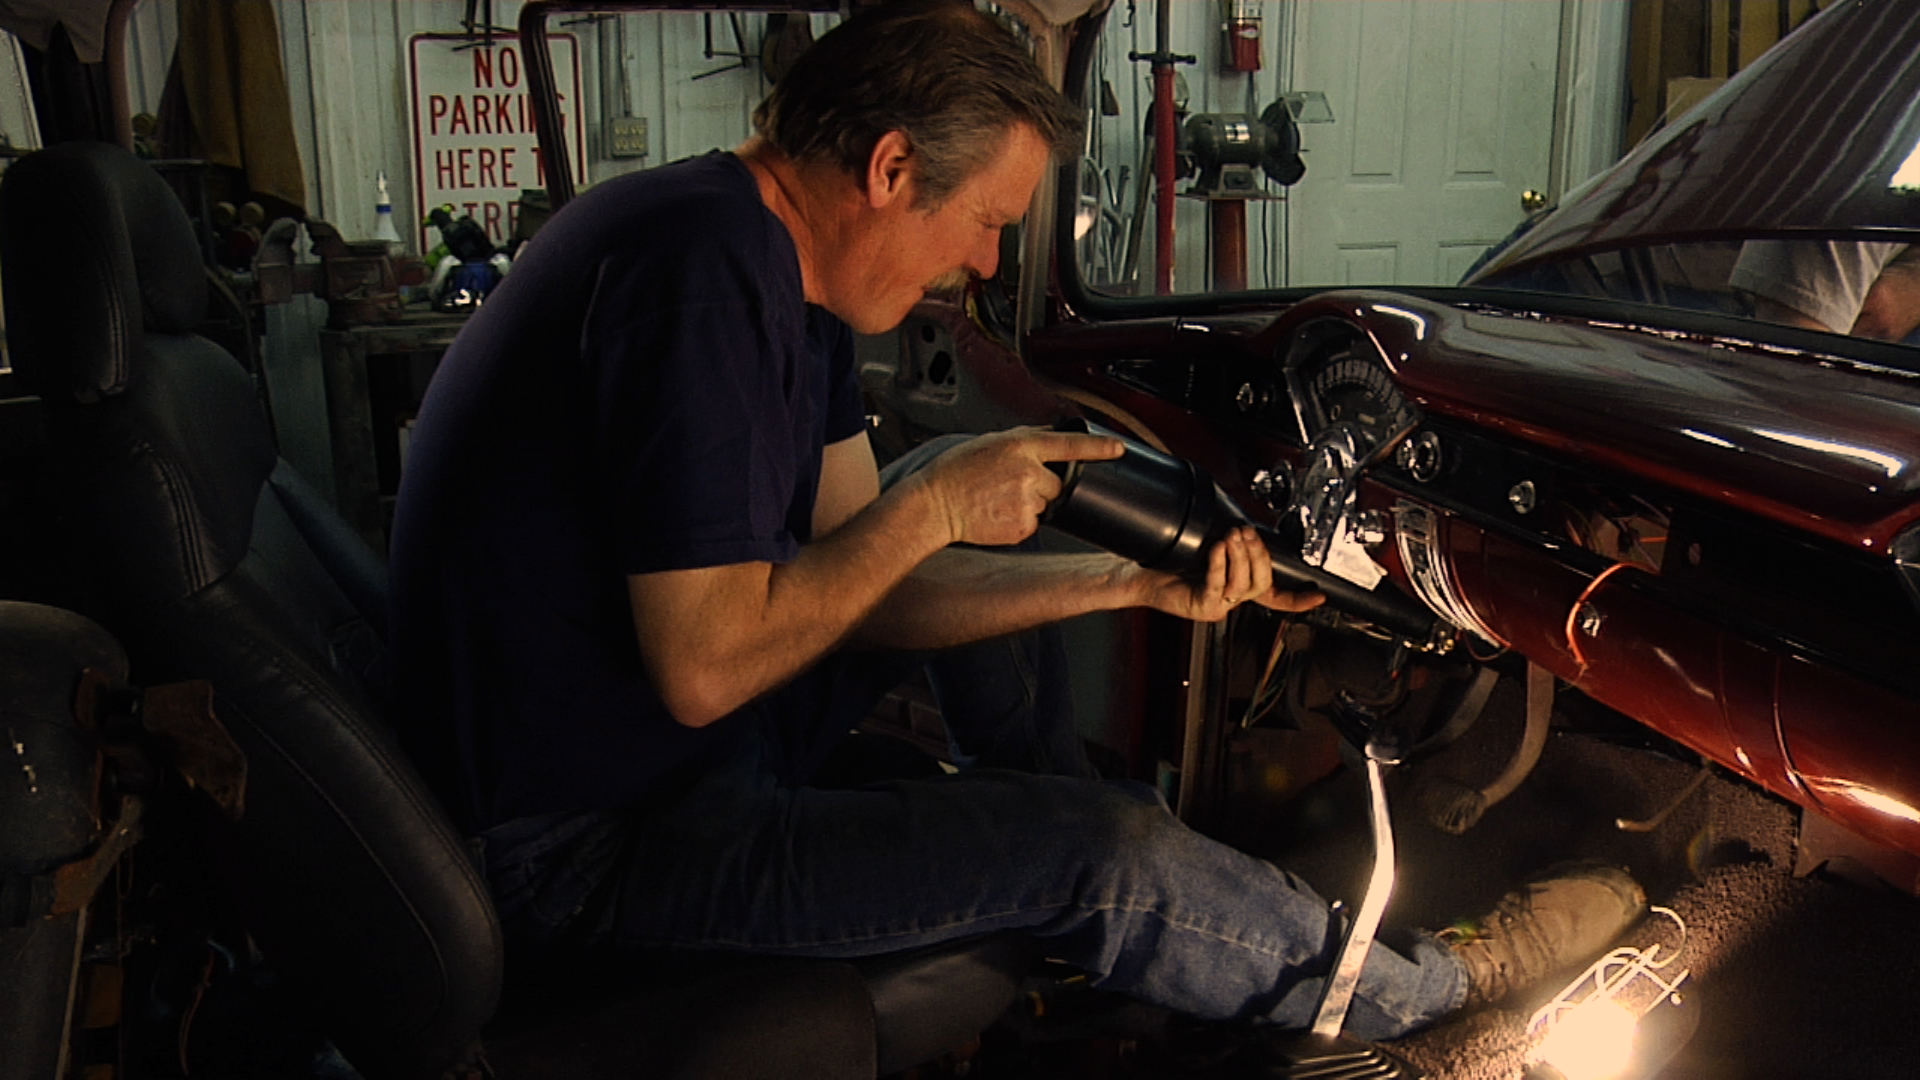
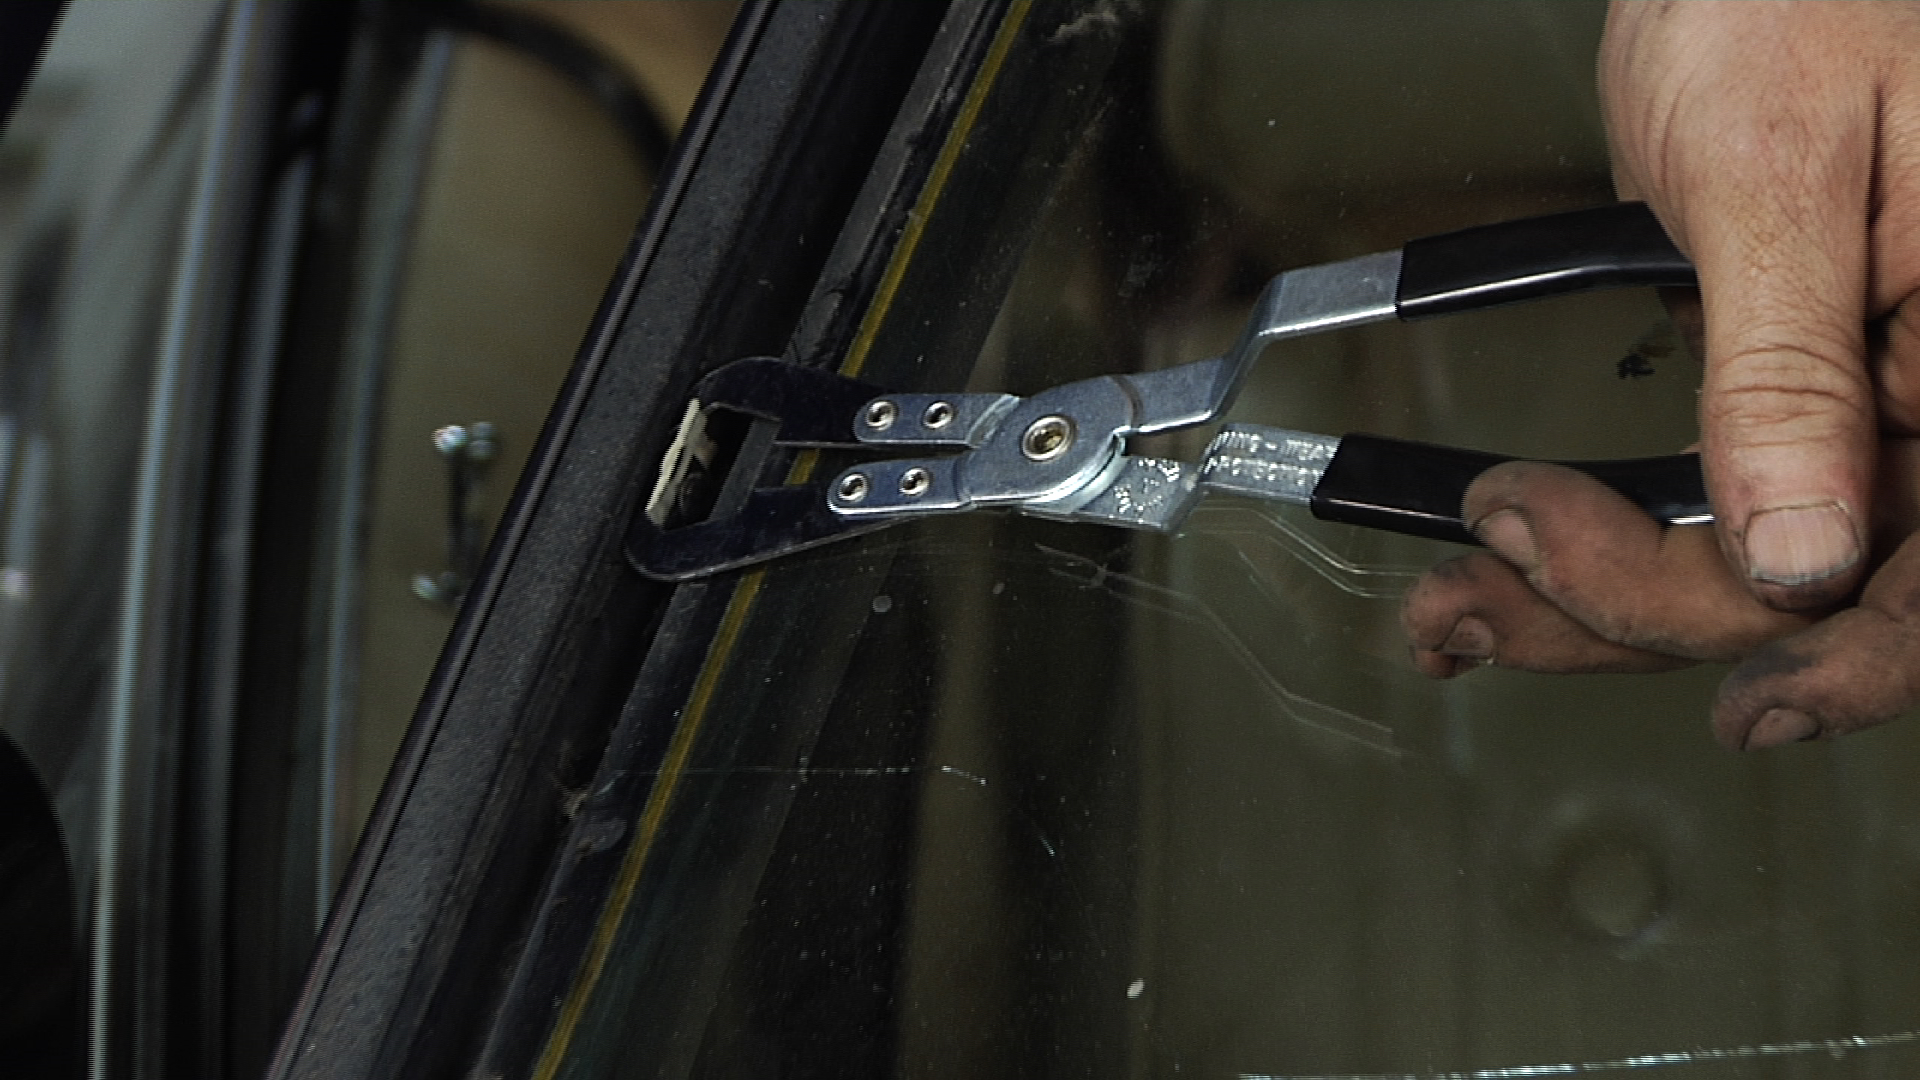
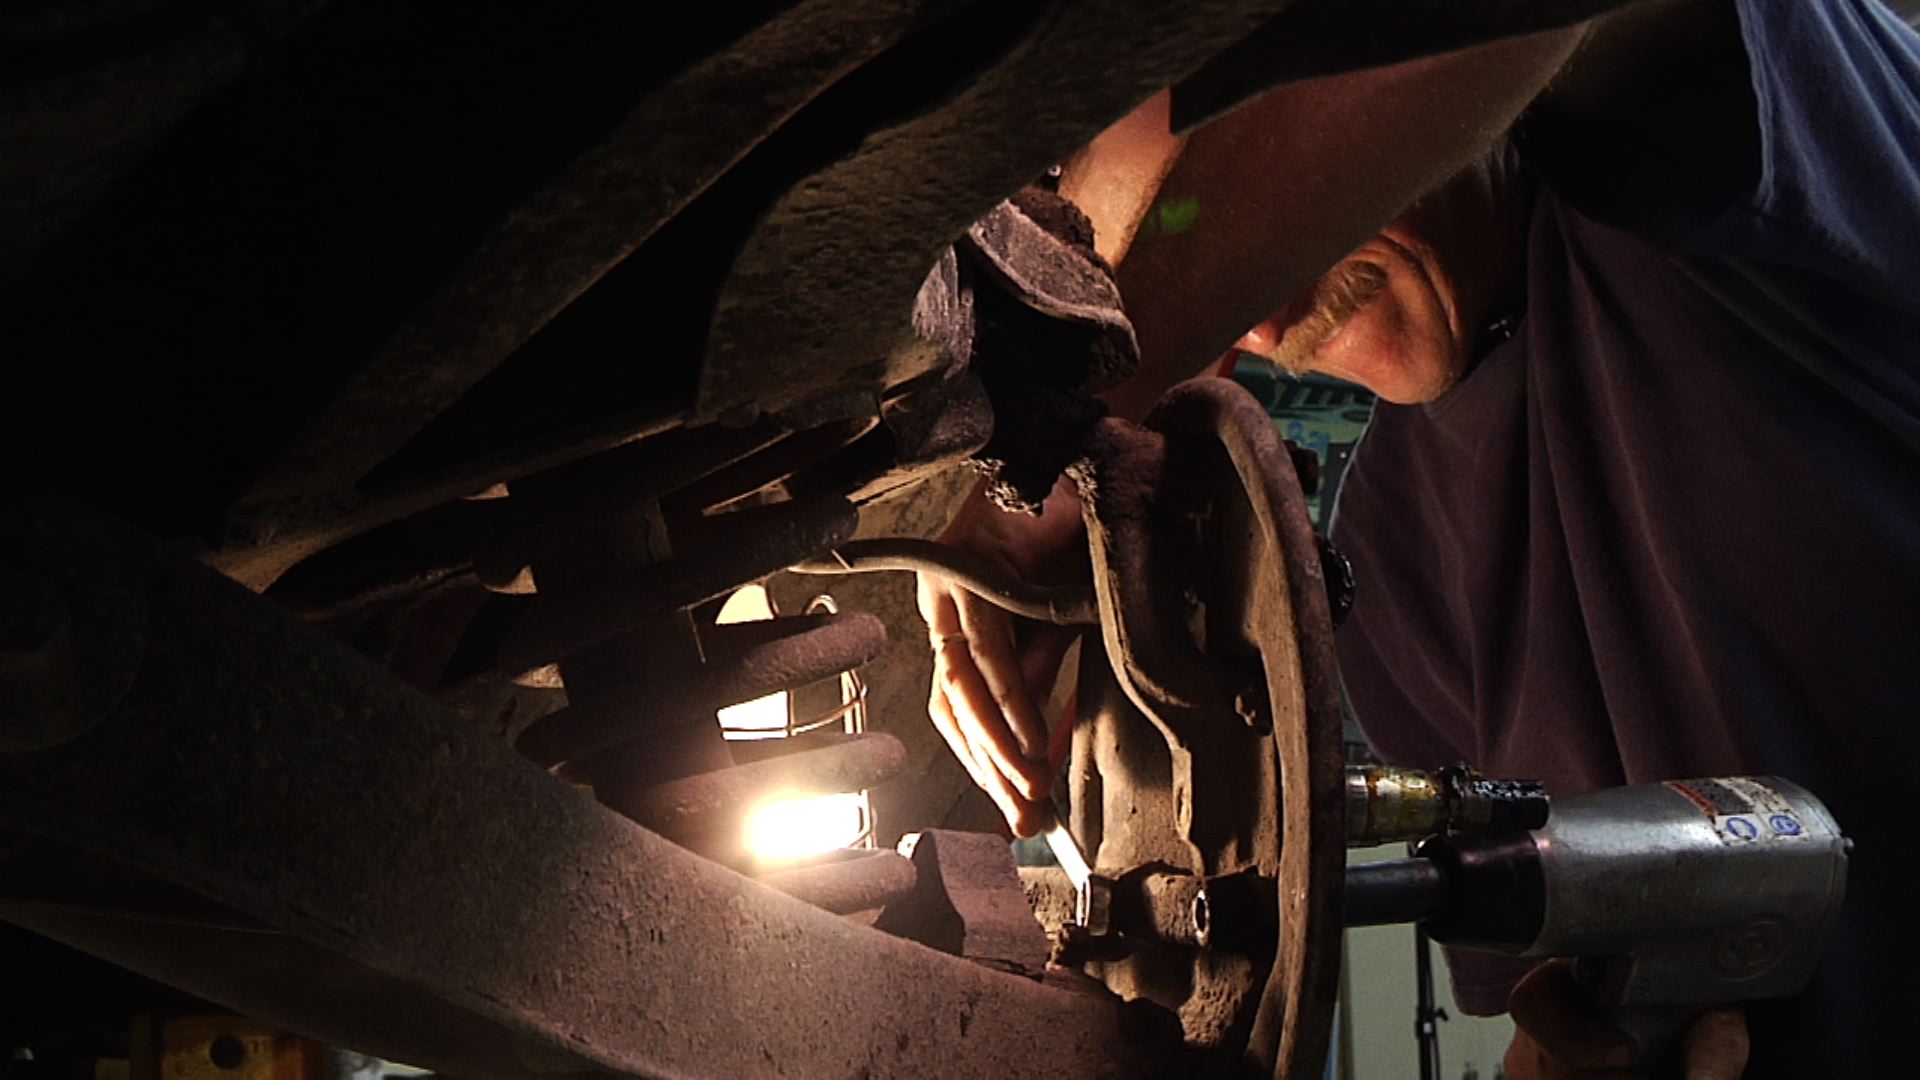
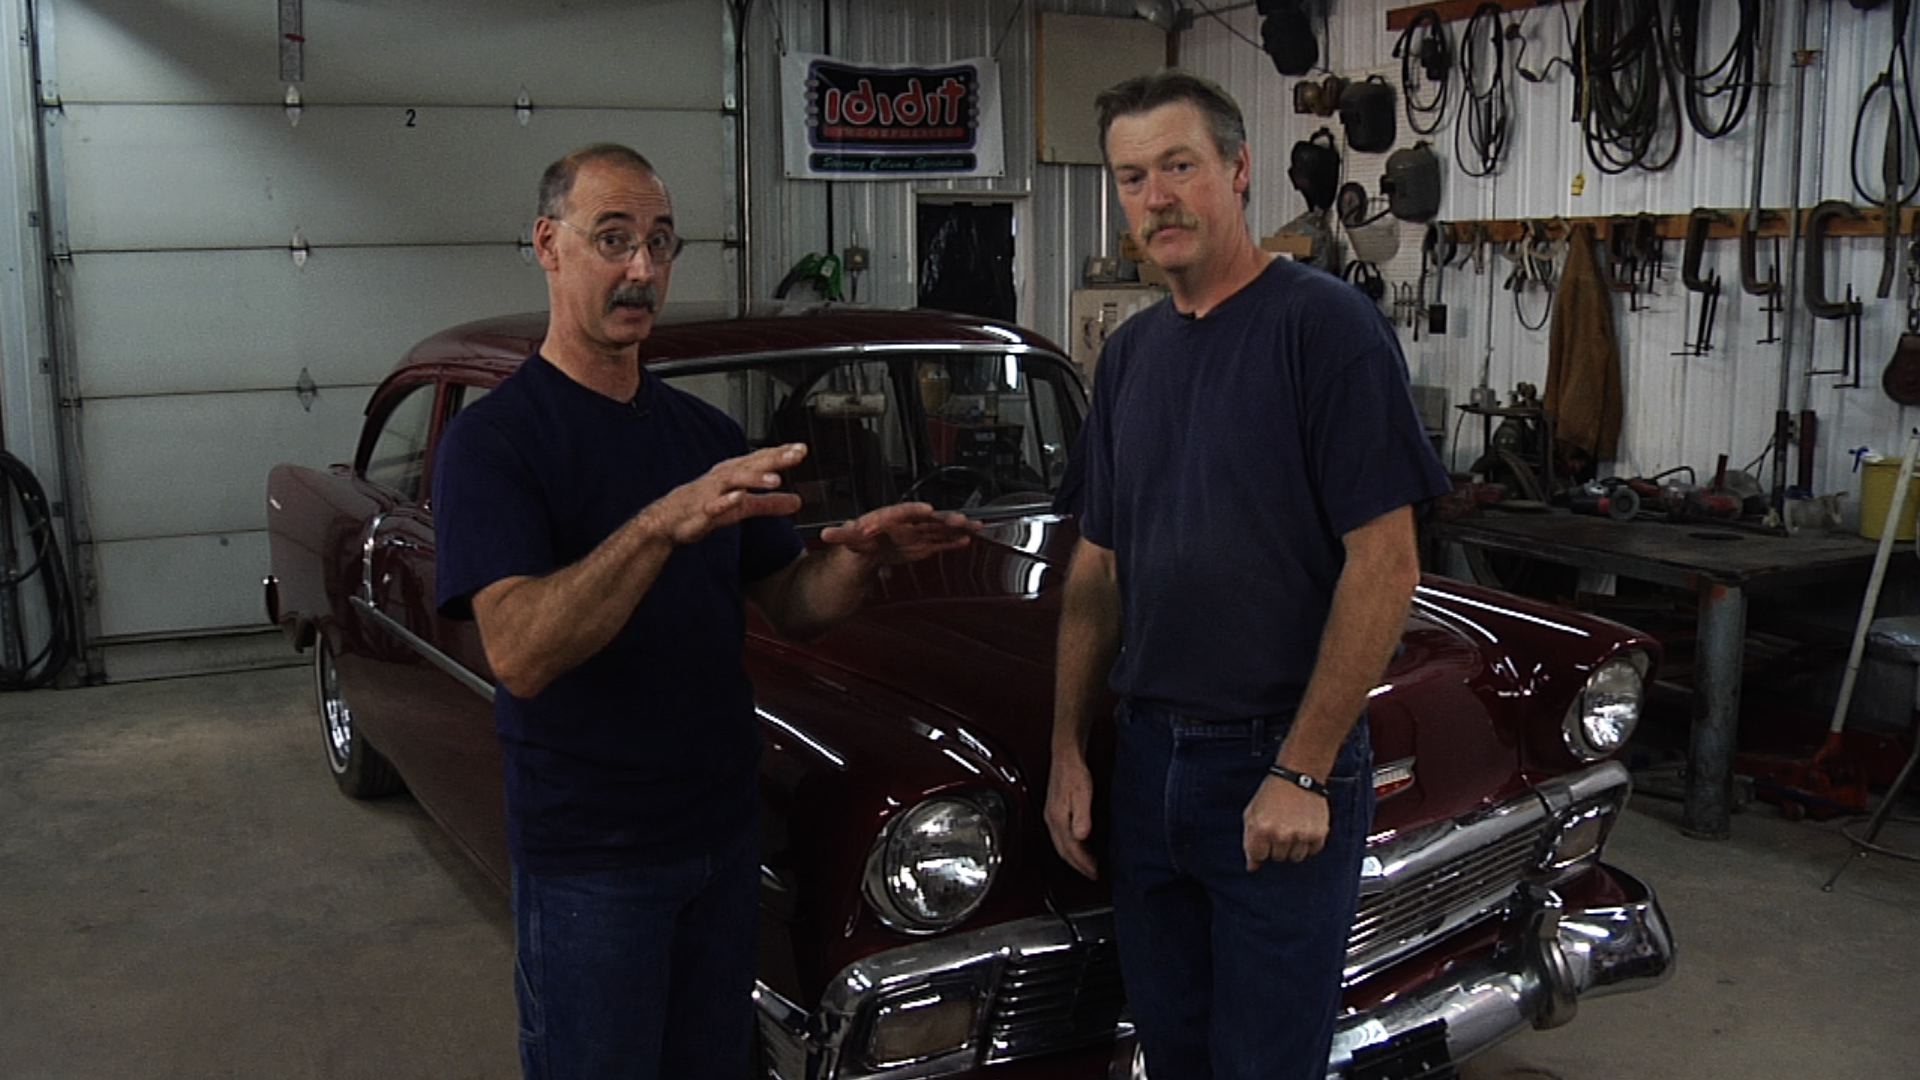
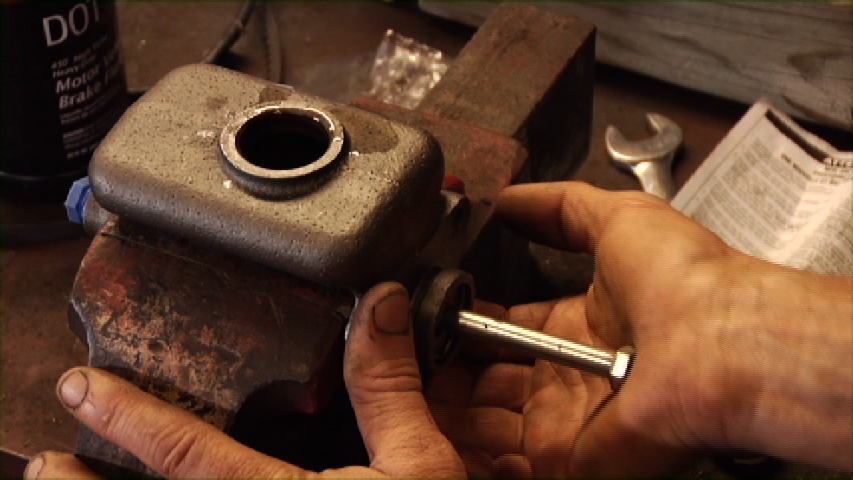
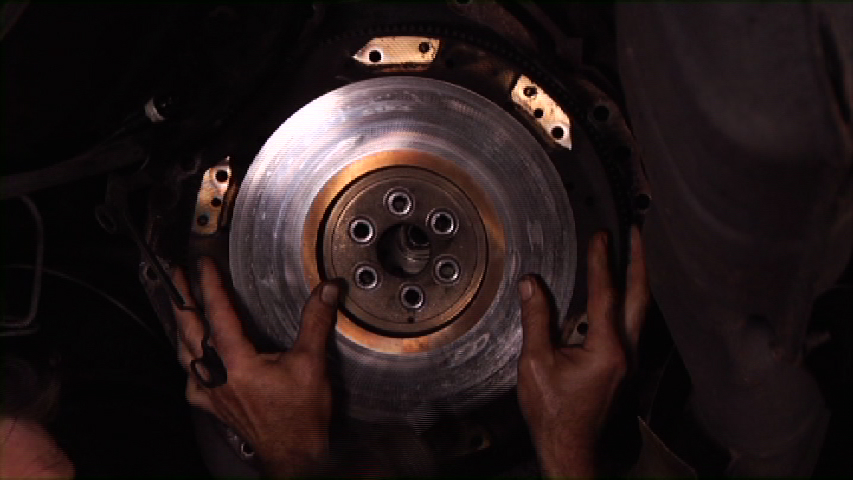
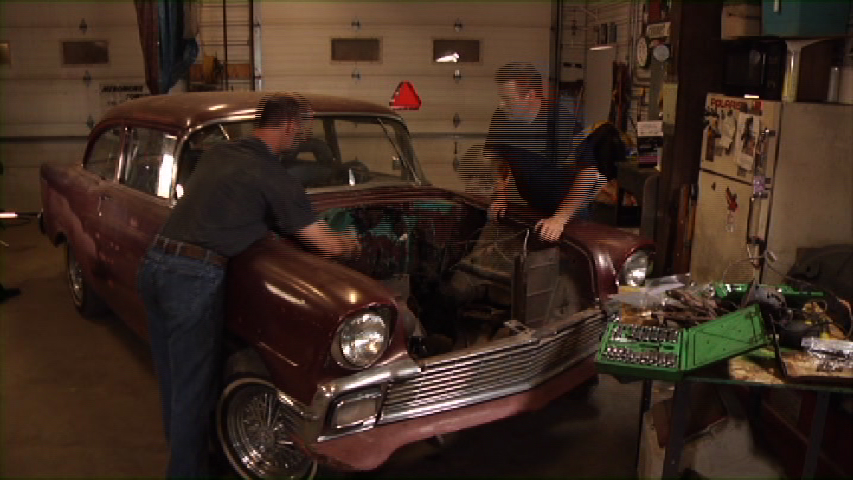
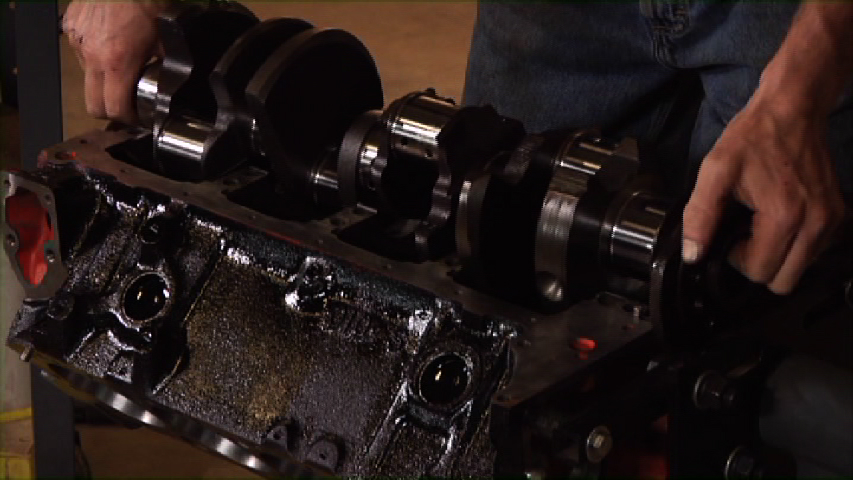
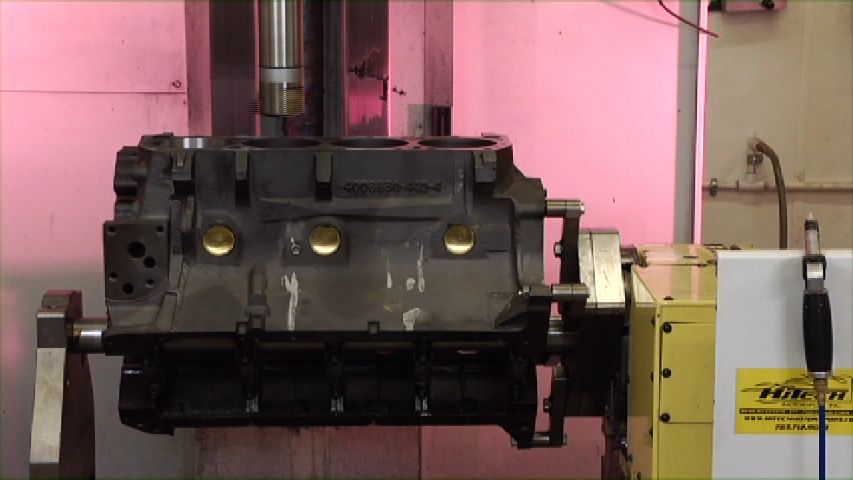
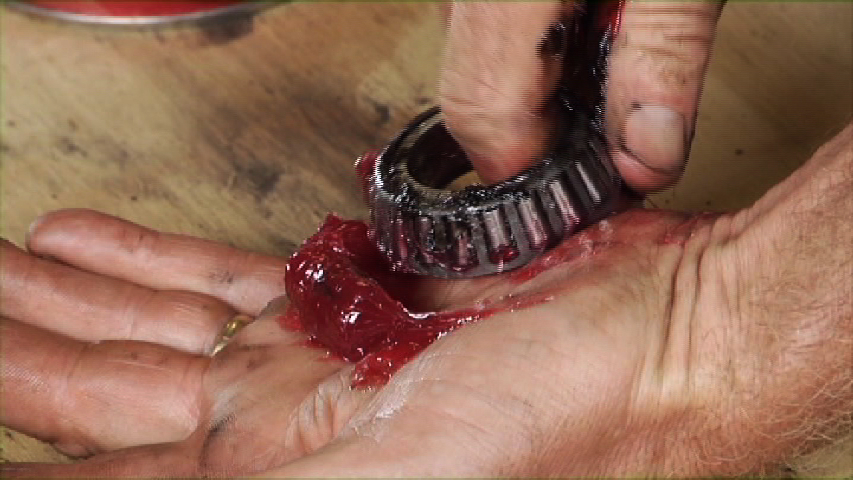
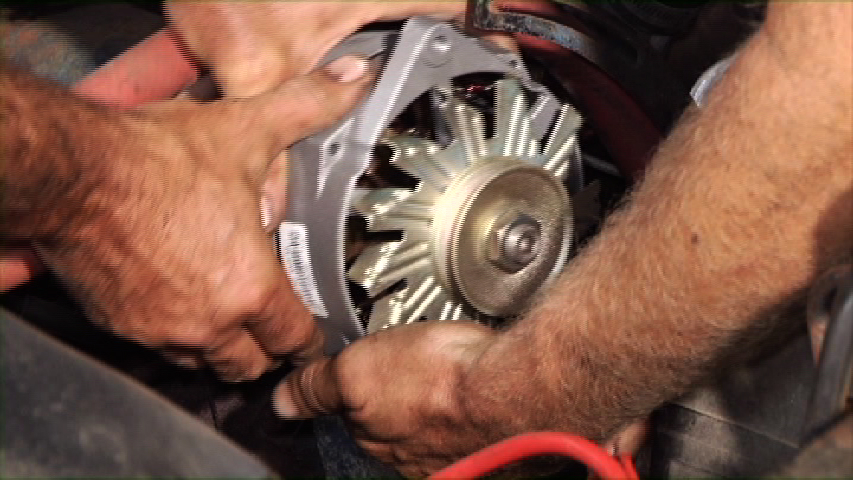
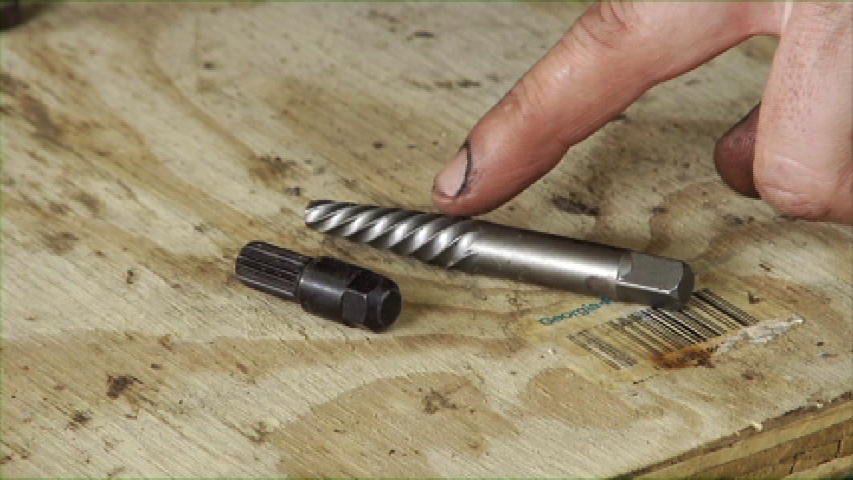
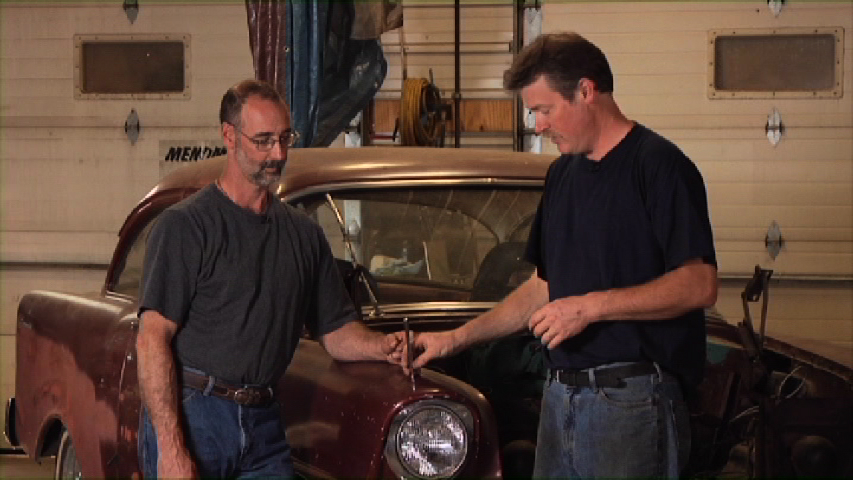
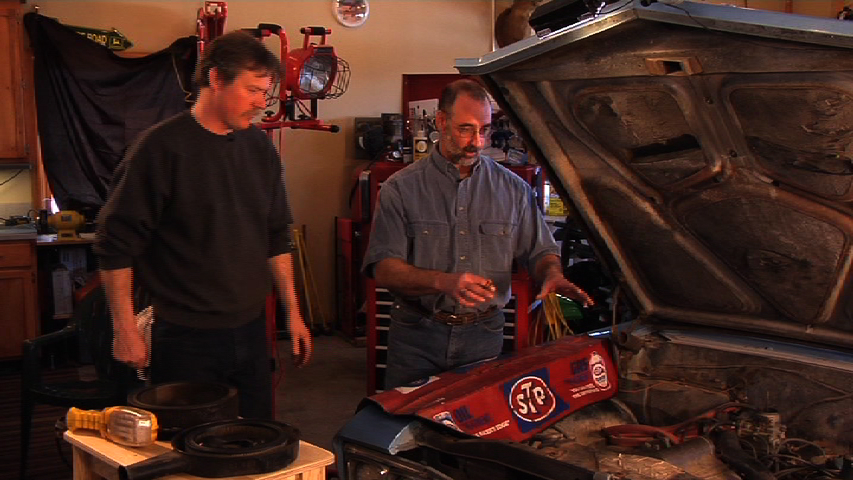
Brent Ackley & George VondriskaBrent Ackley and George Vondriska continue the motor assembly process by installing a fuel pump and water pump on the motor of a 1986 Chevy pickup that they’ll put into a 1956 Chevrolet 150. They teach you all of the important classic car maintenance tips and techniques that you’ll need, including how to properly prepare and put the fuel pump and water pump together, mount the pieces, and tighten the bolts.
Share tips, start a discussion or ask one of our experts or other students a question.
Make a comment:
Already a member? Sign in
3 Responses to “Classic Car Motor Assembly: Fuel Pump and Water Pump”
Explore videos by Brent Ackley & George Vondriska
Premium Membership
Unlock exclusive member content from our industry experts.
- 24/7 Access to Premium Videos, Tips, and Techniques
- Step-by-Step Instructional Demos, Guides, and Tutorials
- 50% Off Video Downloads Purchased in the Classic Car Restoration Shop
- Access to Ask the Expert Program
Unlock exclusive member content from our industry experts.
- 24/7 Access to Premium Videos, Tips, and Techniques
- Step-by-Step Instructional Demos, Guides, and Tutorials
- 2 Full-Length Video Downloads to Watch Offline
- 50% Off Video Downloads Purchased in the Classic Car Restoration Shop
- Access to Ask the Expert Program
Gold Membership
$304 Value
Get everything included in Premium plus exclusive Gold Membership benefits.
- 24/7 Access to Premium Videos, Tips, and Techniques
- Step-by-Step Instructional Demos, Guides, and Tutorials
- 10 Full-Length Video Downloads, added to your account, to Watch Offline
- ‘Wheel Bolt Circle’ Downloadable Guide, added to your account
- Discounts on Purchase-to-Own Content in the Classic Car Restoration Club Shop
- Access to Ask the Expert Program
Get exclusive premium content! Sign up for a membership now!
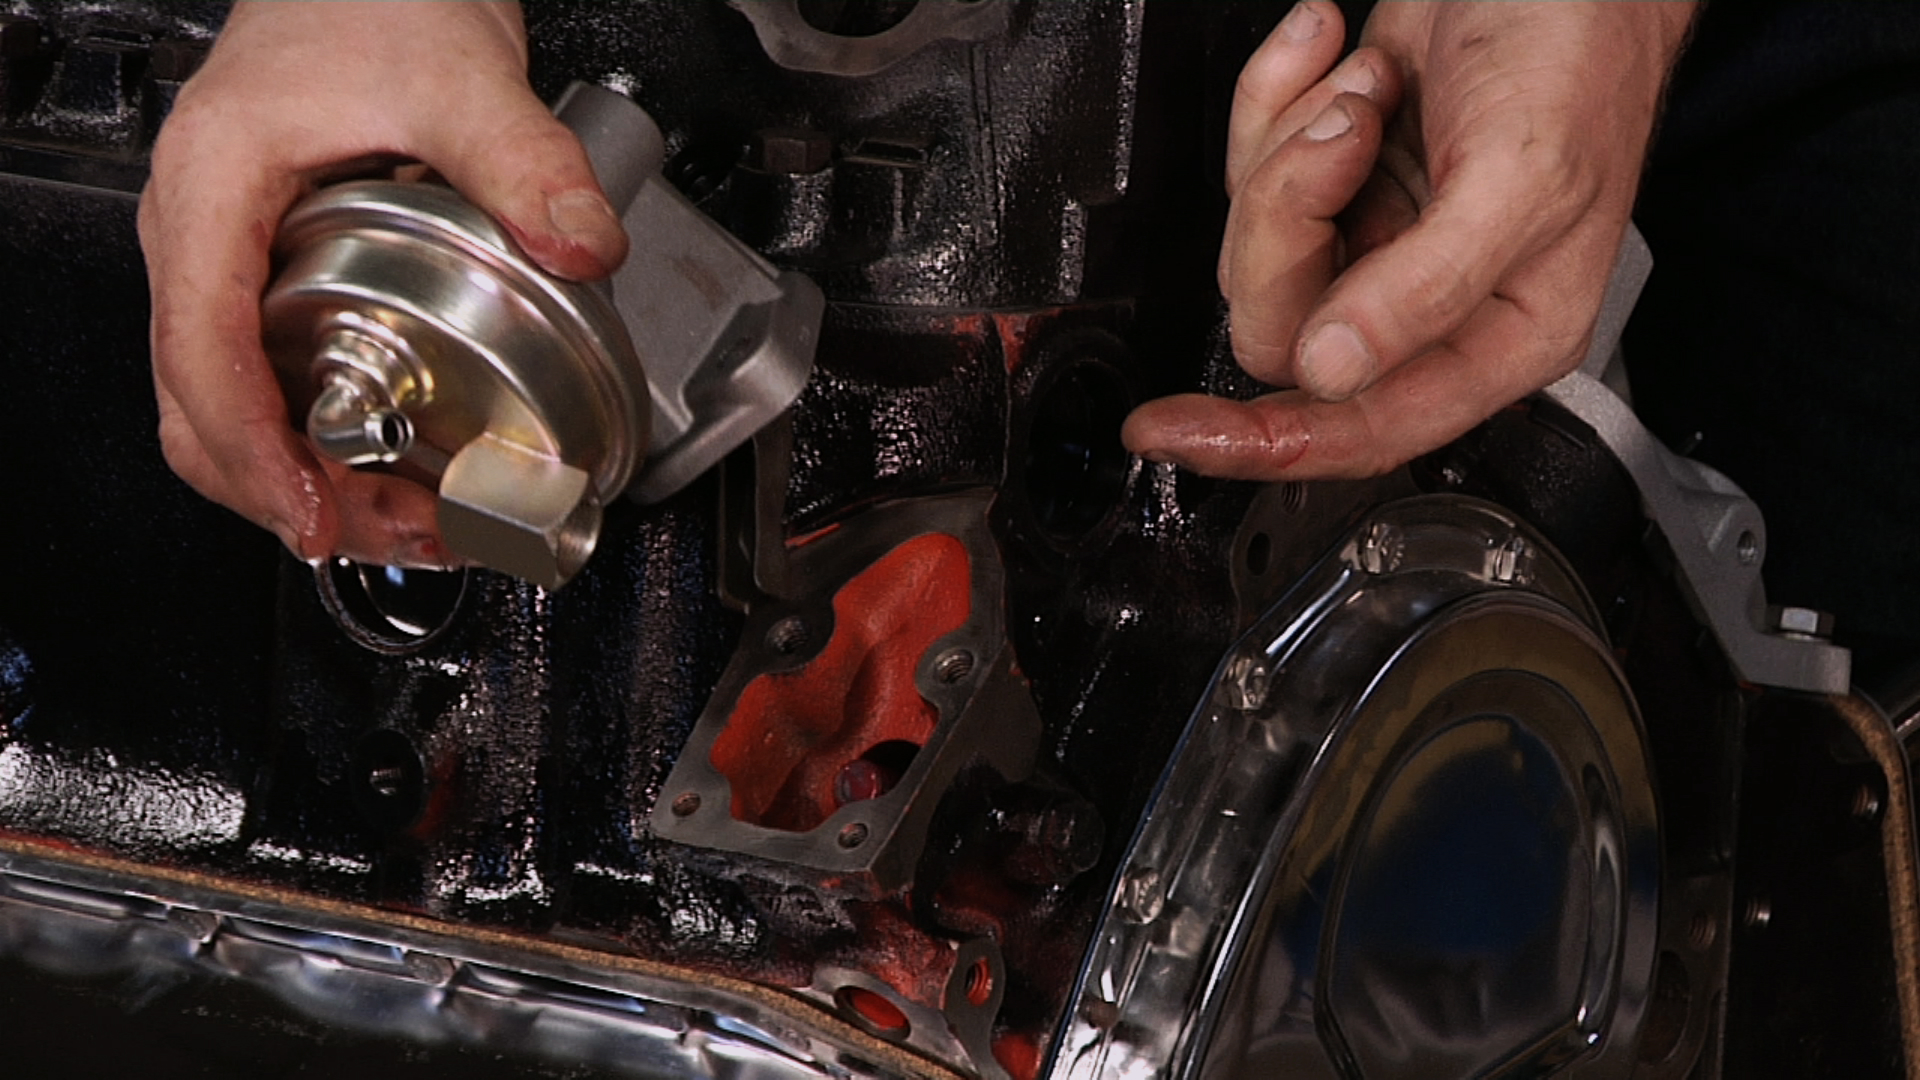
you didn't mention or show gaskets nor your favorite method of sealant ie, gasket goop, grease, or nothing? Not a good video.
No gasket sealer of any kind? No torqueing either? You guys are much more confident than I am, lol.
First thing to do is determine if it is misinsg fuel of spark or both when it will . If it is just misinsg fuel, concentrate on this area.If it is misinsg Spark, it is most likely a ignitiion module(most common)If it is misinsg both, could be a bad or computer. You can scan the yourself and see if there are any codes stored that might give a hint as to what is triggering the probelm. Here is how: