Replacing Upper & Lower Ball Joints
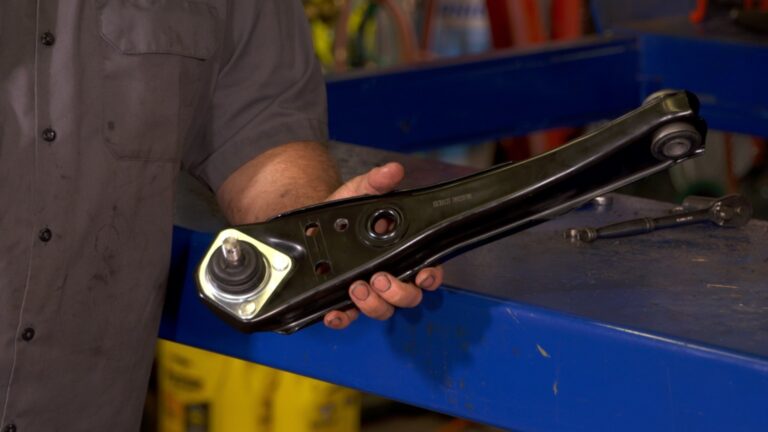
Mark Simpson & Ross KiehlIn the early days of the automobile, most cars’ front wheels turned on king pins attached to a solid axle. But as the roads and technology improved, the king pin was replaced by the Ball Joint in the 1950s. Ball joints served to simplify the front suspension system and offered better steering performance; they are also subjected to the adverse effects of rough roads and cornering. Even with routine lubrication and maintenance, over time they are prone to failure. Grinding noises or excessive steering play can be signs of joint failure, although it is also a good idea to check the rubber boot on ball joints as a torn boot will lead to premature failure.
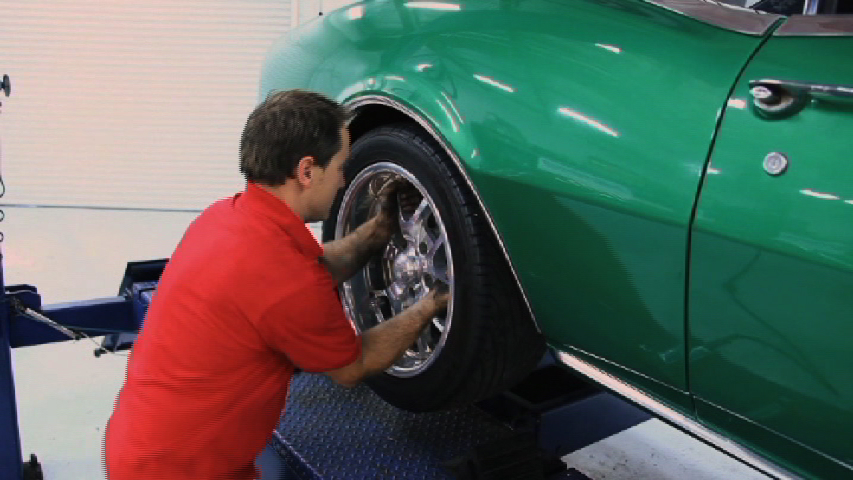
Ball joint failure is a not event to take lightly, as we’ve all probably seen a car on the side of the road with the front tire folded beneath it. These failures can lead to loss of control of your classic and the results could be far worse than simply losing your car. The first step to keeping your car on the road is regular inspection and lubrication of the front suspension components. If you’re unsure about the condition of your ball joints, have an alignment shop check them—most will do it for free or for a small nominal fee; that is well worth the peace of mind.
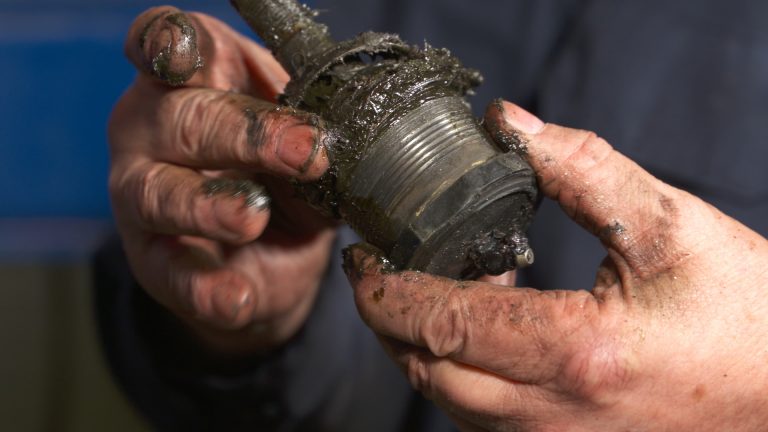
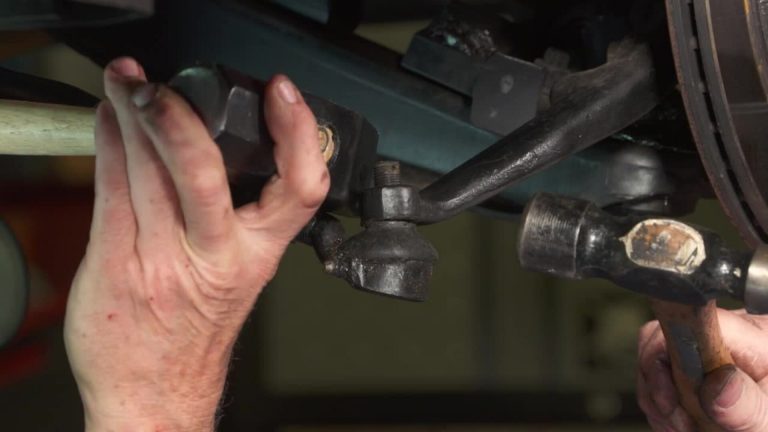
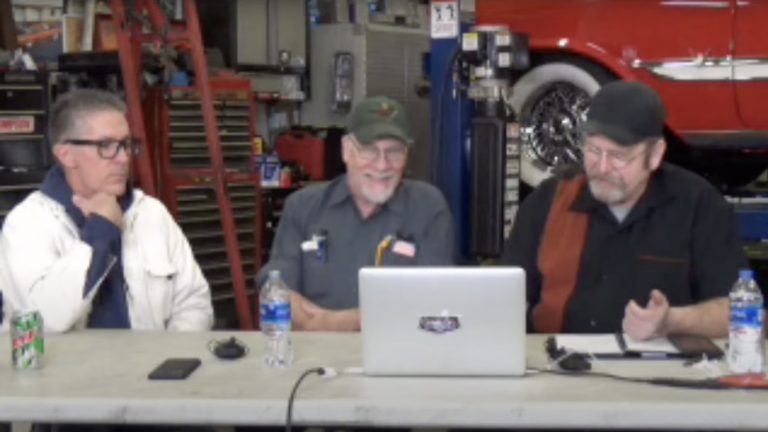
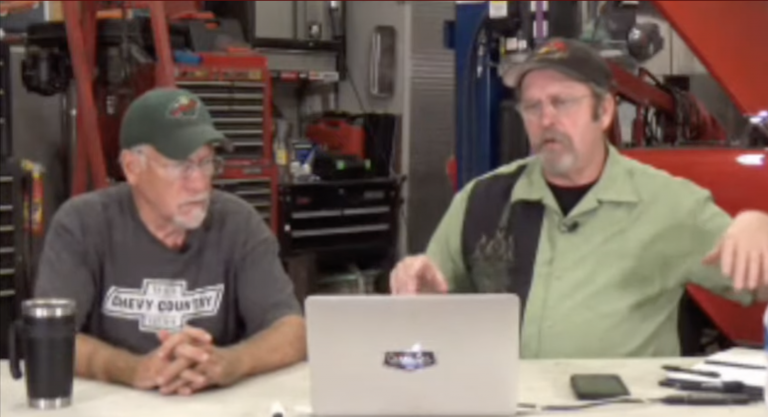
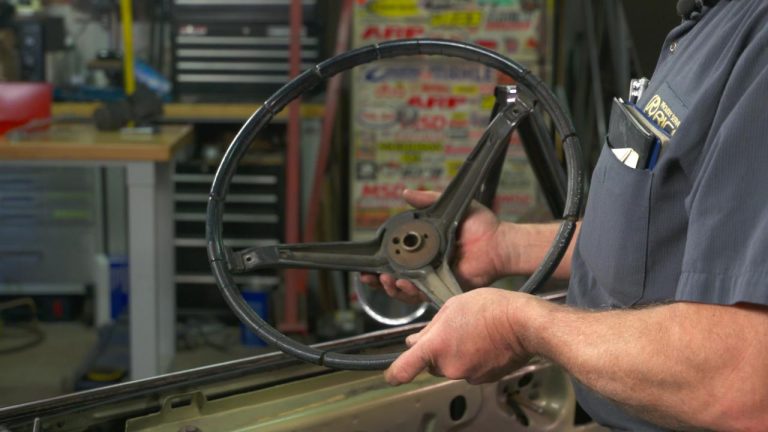
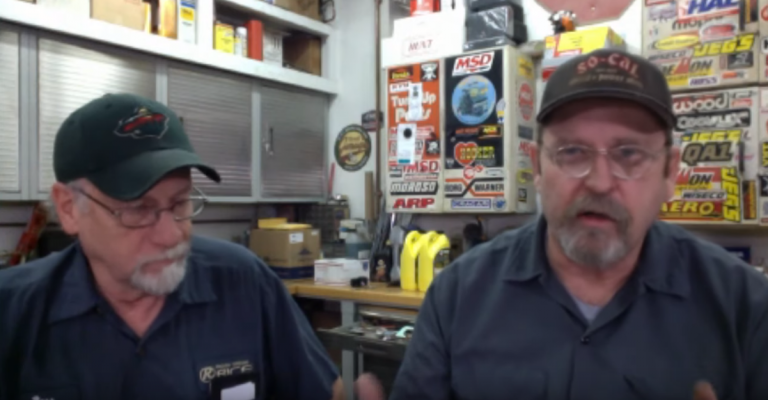
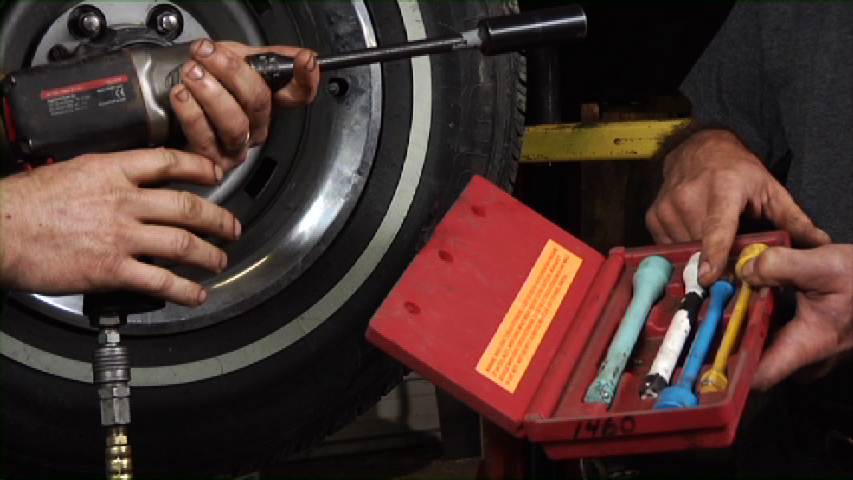
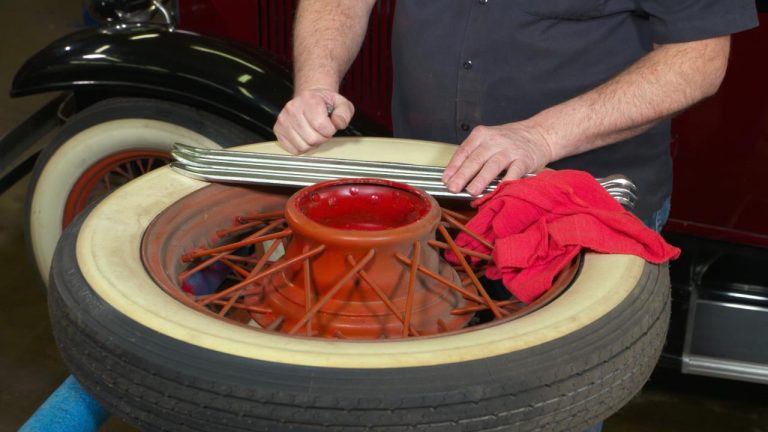
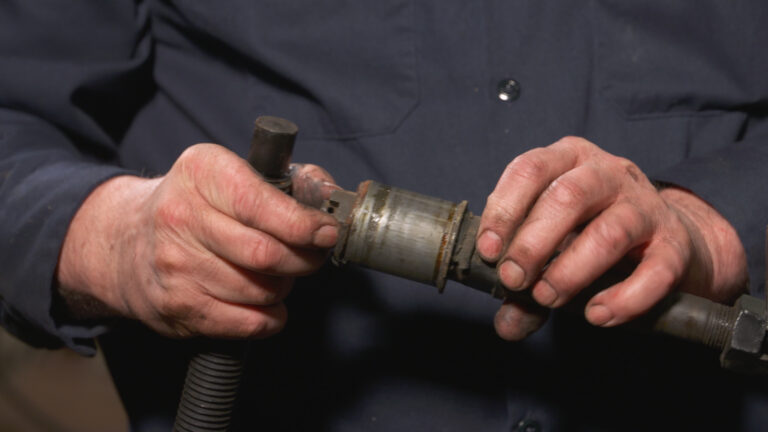
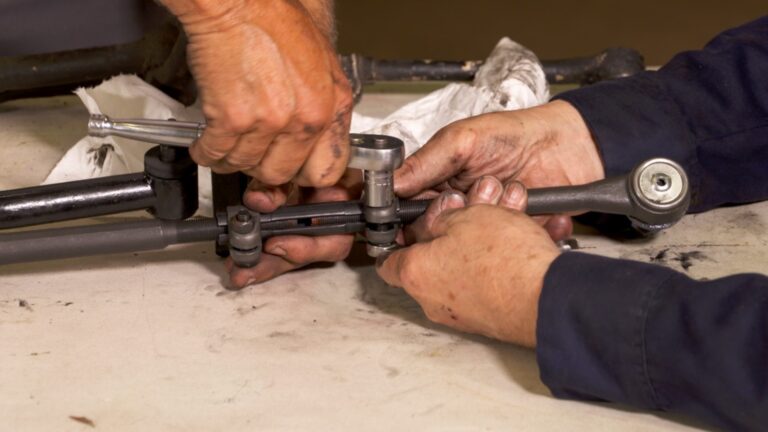
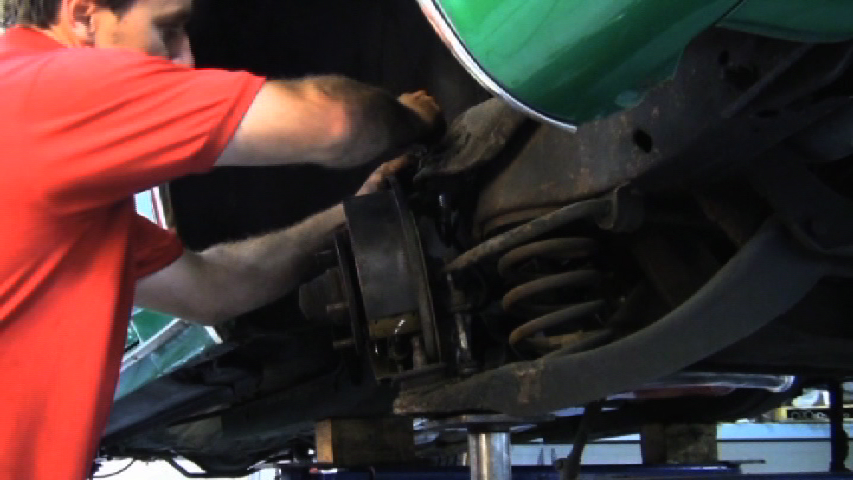
But even the best-maintained ball joint will eventually fail. The key is to identify failures early and to remove and replace the ball joints. We join Mark Simpson and Ross Kiehl in the shop as they take us through the process of removing the ball joints on a classic car. Their subject car uses screw-in ball joints, but the process is similar on most cars. This car uses a special ball joint socket and Mark demonstrates its use as we get this classic back on the road.
Explore videos by Mark Simpson & Ross Kiehl


You may be interested in

Premium Membership
Unlock exclusive member content from our industry experts.
- 24/7 Access to Premium Videos, Tips, and Techniques
- Step-by-Step Instructional Demos, Guides, and Tutorials
- 50% Off Video Downloads Purchased in the Classic Car Restoration Shop
- Access to Ask the Expert Program
Unlock exclusive member content from our industry experts.
- 24/7 Access to Premium Videos, Tips, and Techniques
- Step-by-Step Instructional Demos, Guides, and Tutorials
- 2 Full-Length Video Downloads to Watch Offline
- 50% Off Video Downloads Purchased in the Classic Car Restoration Shop
- Access to Ask the Expert Program
Gold Membership
$304 Value
Get everything included in Premium plus exclusive Gold Membership benefits.
- 24/7 Access to Premium Videos, Tips, and Techniques
- Step-by-Step Instructional Demos, Guides, and Tutorials
- 10 Full-Length Video Downloads, added to your account, to Watch Offline
- ‘Wheel Bolt Circle’ Downloadable Guide, added to your account
- Discounts on Purchase-to-Own Content in the Classic Car Restoration Club Shop
- Access to Ask the Expert Program