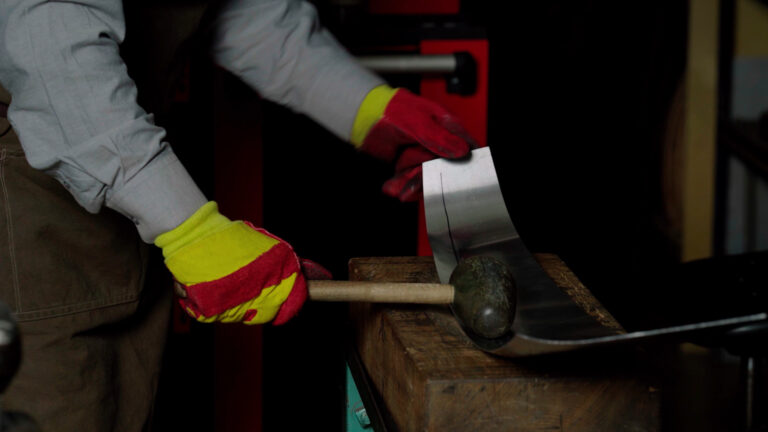
Installing an Inner Tube Patch
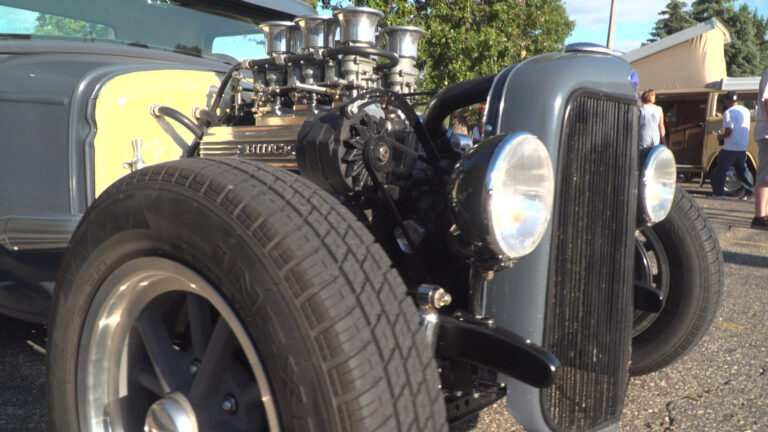
Mark SimpsonMid-fifties and earlier classic cars commonly used inner tubes in their tires. In fact, the first US auto manufacturer to use tubeless tires on production cars was Packard in 1954. Early roads were rough, and it was commonplace in the 1930s for drivers to install an inner tube patch while on the side of the road.
Service stations, tow trucks, and roadside service were simply not available in many parts of the country, which meant most drivers were also their own mechanic. As roads improved, so did the tires as they now needed to withstand high-speed turns and stopping. These improvements made it more difficult to remove the tires to service the inner tube without the aid of a tire machine.
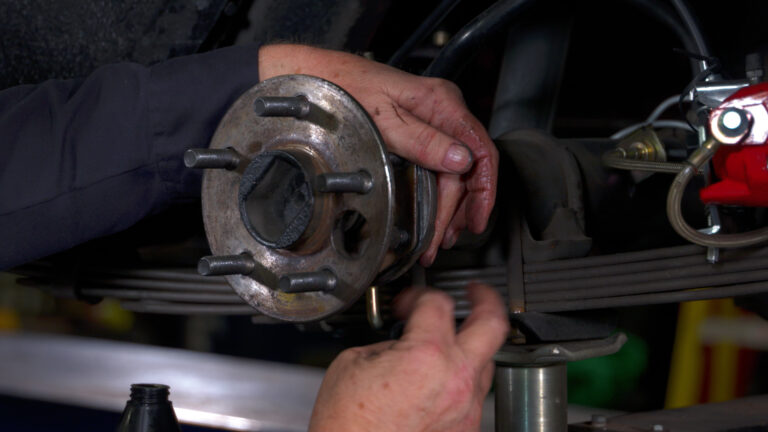
Today almost all tires are tubeless, and the technology behind them continues to advance with new compounds, lower profiles, and radial construction. Servicing tires on cars of the 1930s and earlier has once again returned to the car owner’s responsibility, as most modern equipment does not work on the narrow and tall-rimmed wheels of the era. Additionally, most tire repair shops simply don’t want the liability of servicing tires on wheels that are sometimes not replaceable.
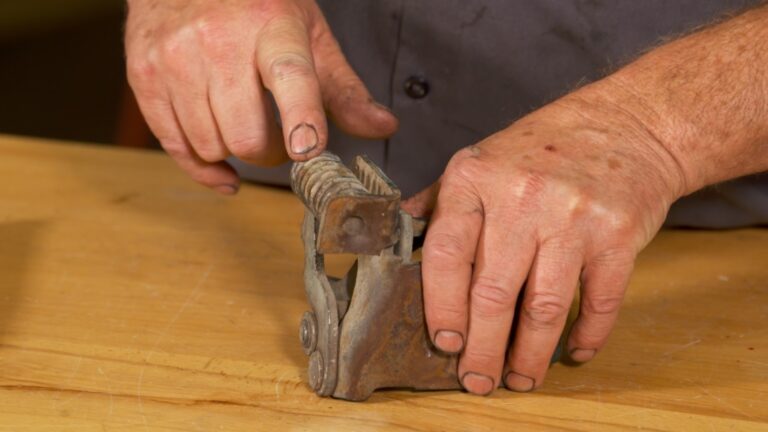
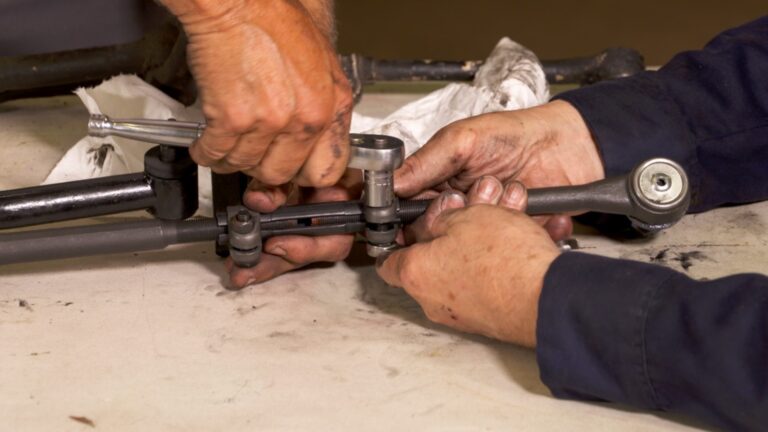
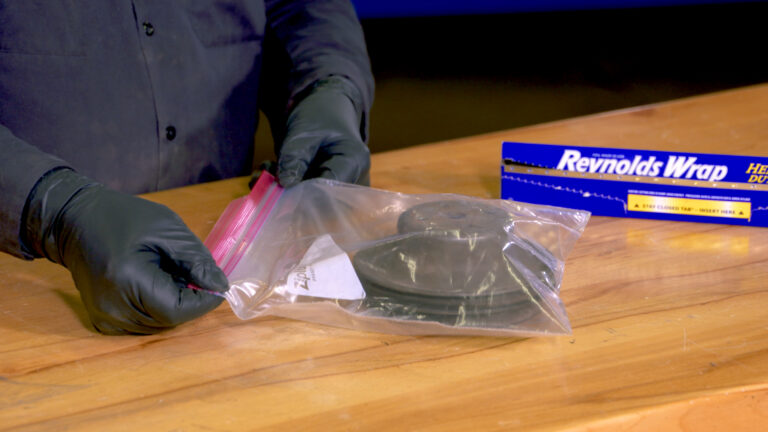
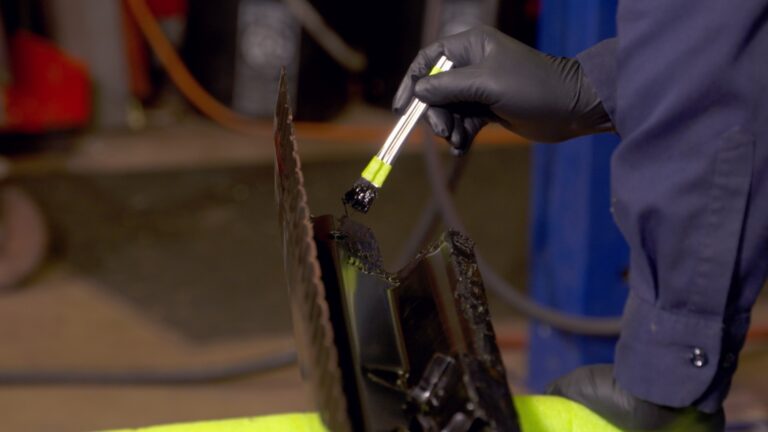
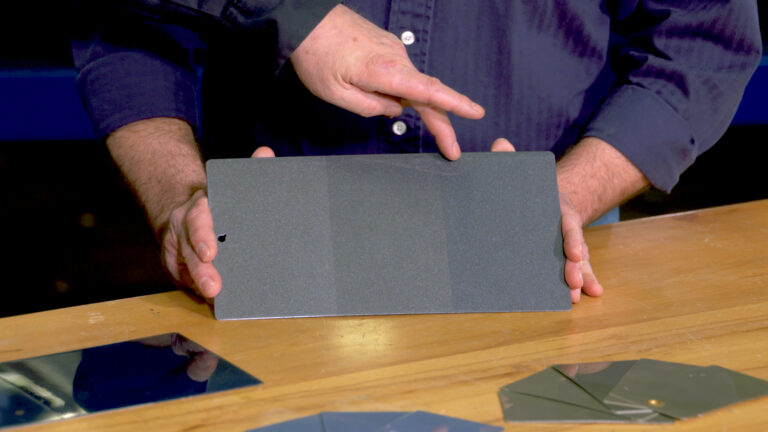
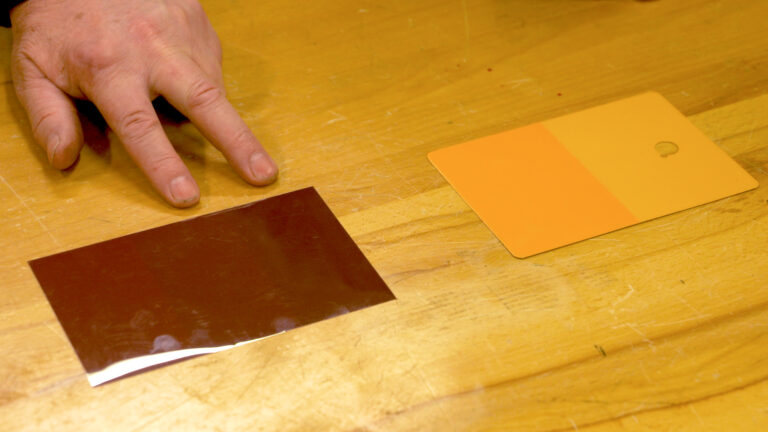
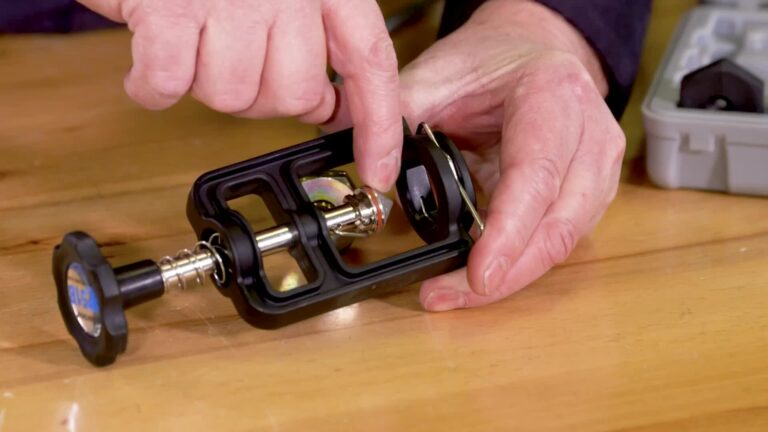
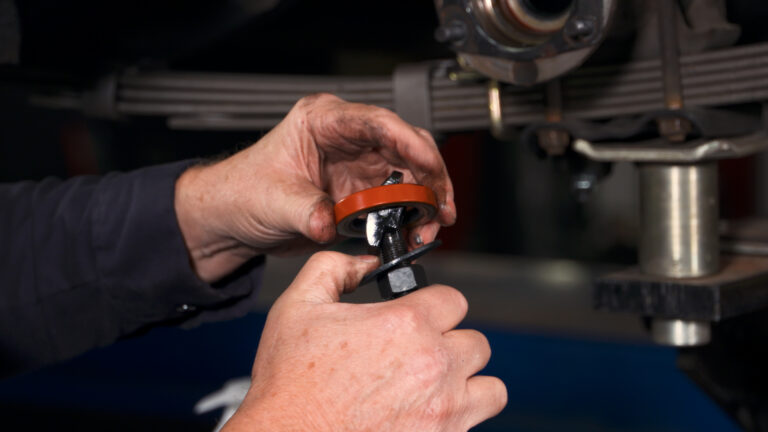
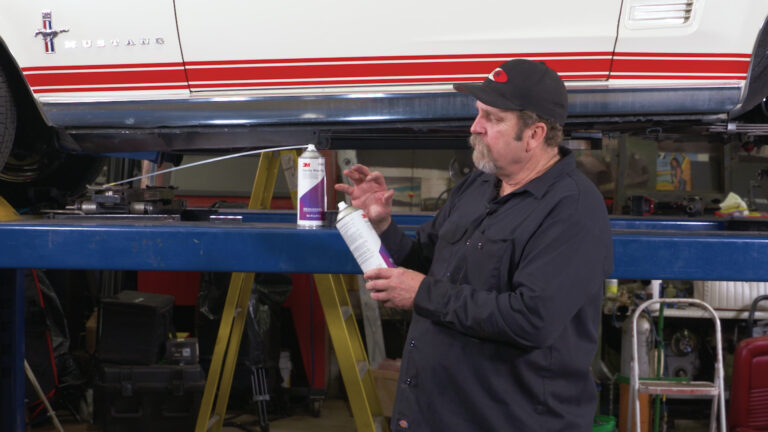
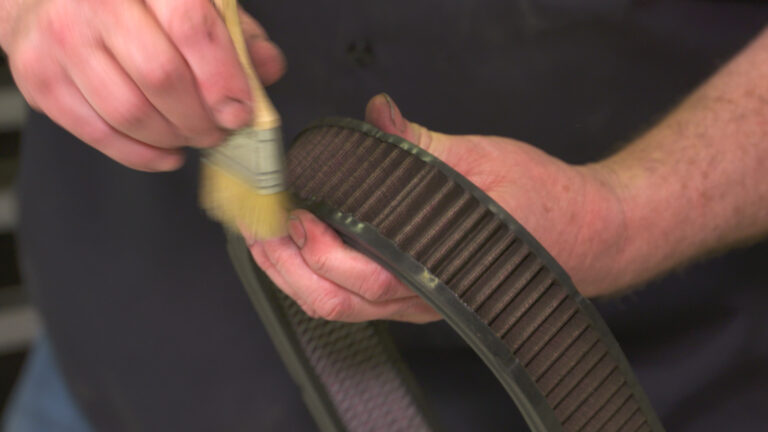
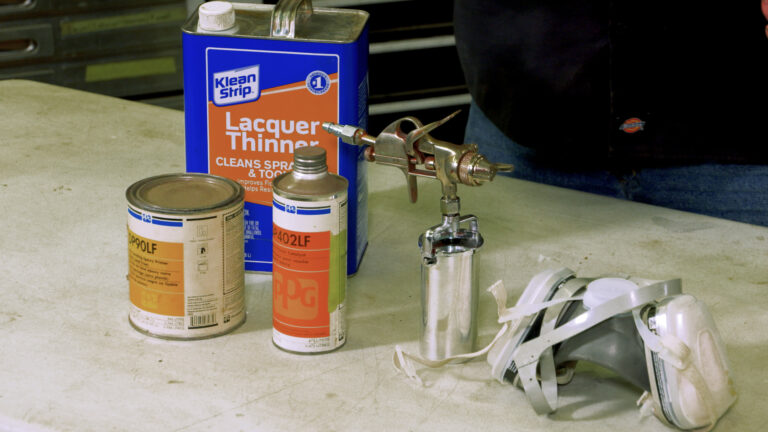
Repairing the inner tube on these early classic car wheels is not much different than repairing the inner tube on a bicycle. We join Mark Simpson as he takes us through the steps to clean, glue, and install an inner tube patch on a car inner tube. Simpson says that installing an inner tube patch is a task almost all classic car enthusiasts can tackle, and doing it correctly will ensure many trouble-free miles.
Explore videos by Mark Simpson


Premium Membership
Unlock exclusive member content from our industry experts.
- 24/7 Access to Premium Videos, Tips, and Techniques
- Step-by-Step Instructional Demos, Guides, and Tutorials
- 50% Off Video Downloads Purchased in the Classic Car Restoration Shop
- Access to Ask the Expert Program
Unlock exclusive member content from our industry experts.
- 24/7 Access to Premium Videos, Tips, and Techniques
- Step-by-Step Instructional Demos, Guides, and Tutorials
- 2 Full-Length Video Downloads to Watch Offline
- 50% Off Video Downloads Purchased in the Classic Car Restoration Shop
- Access to Ask the Expert Program
Gold Membership
$304 Value
Get everything included in Premium plus exclusive Gold Membership benefits.
- 24/7 Access to Premium Videos, Tips, and Techniques
- Step-by-Step Instructional Demos, Guides, and Tutorials
- 10 Full-Length Video Downloads, added to your account, to Watch Offline
- ‘Wheel Bolt Circle’ Downloadable Guide, added to your account
- Discounts on Purchase-to-Own Content in the Classic Car Restoration Club Shop
- Access to Ask the Expert Program