
Paint Stripper Hack
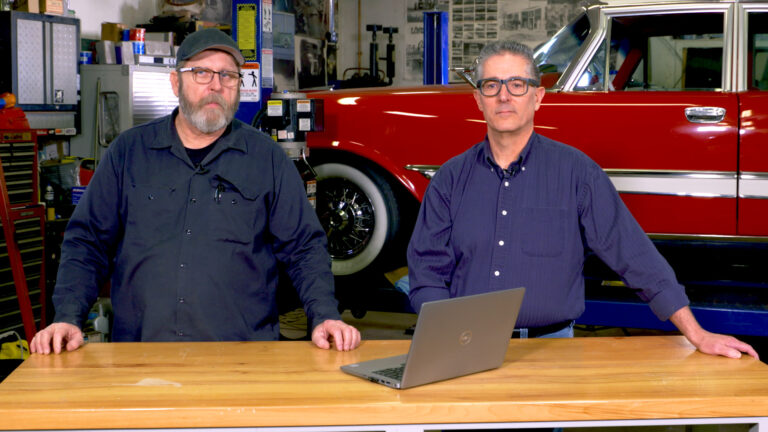
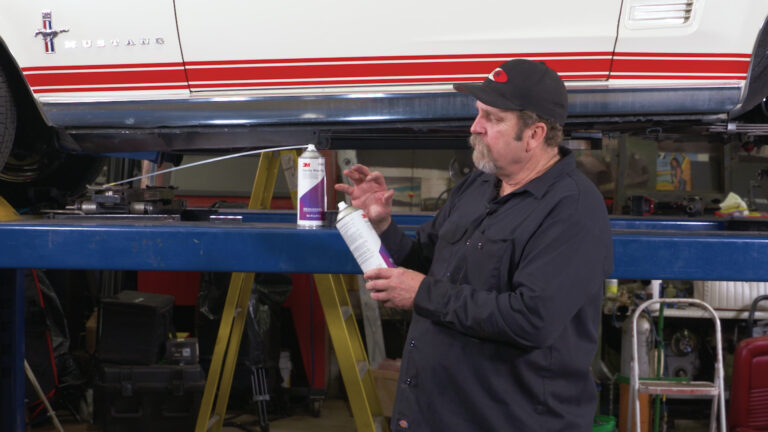
Mark SimpsonStripping paint off old cars is nearly as fun and as fast as watching paint dry. Oftentimes a coat of stripper is applied and you then move to other projects in the shop only to come back later to discover the stripper had dried out and the whole mess was still stuck to your part. Suddenly you’re applying a second coat just to soften up the paint stripper you’ve already applied and soon the entire shop is filled with the strong odor the process creates. Mark Simpson shares his tip to reduce the time spent applying additional coats of paint stripper and keep your shop smelling better.
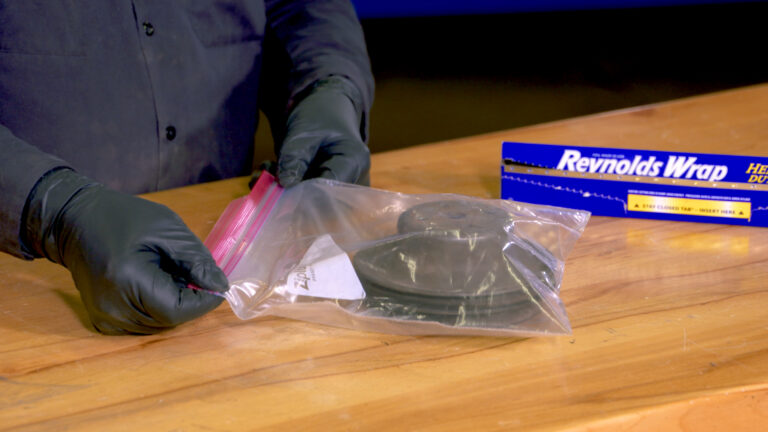
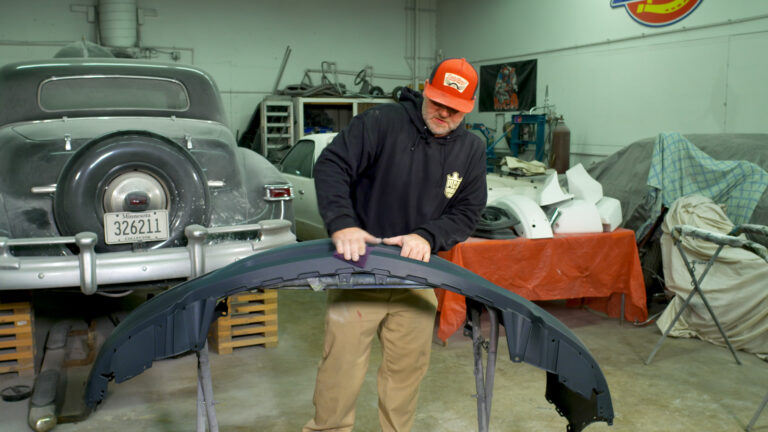
With a little preparation you can get many parts to strip clean with one application by either covering them in plastic or dropping them into a plastic storage bag. Plastic coverings keep the stripper from drying out too fast, also it keeps paint stripper wet longer working to cut through multiple coats of paint and greatly reduces the fumes in the shop. Here’s an overview of the process of placing items in a plastic bag or covering them with plastic after the stripper has been applied:
Preparation: Before you start, ensure that you are in a well-ventilated area, ideally outdoors, or in a workspace with proper ventilation. Wear appropriate personal protective equipment like gloves and safety goggles to protect your skin and eyes.
Select the Paint Stripper: There are various types of paint strippers available, including solvent-based, caustic-based, and bio-based options. Choose the one that suits the type of paint you want to remove and the material of the object.
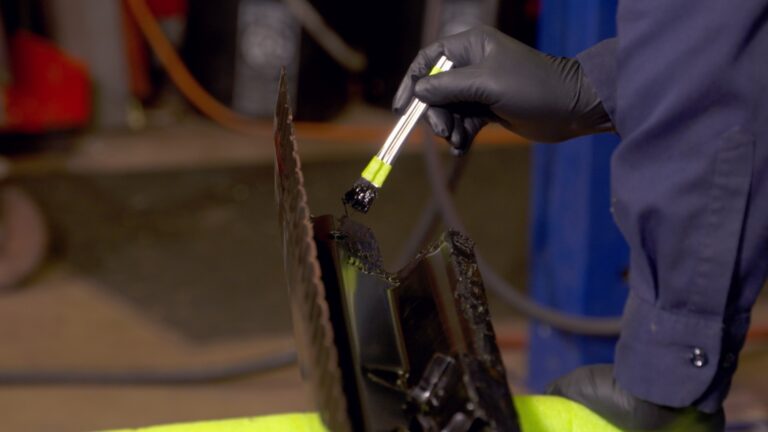
Apply the Stripper: Use a brush or a roller to apply the paint stripper evenly over the painted surface. Follow the manufacturer’s instructions for the recommended application thickness and wait time.
Wait for the Dwell Time: The paint stripper will need some time to soften the old paint. This dwell time varies depending on the product but is typically around 15-30 minutes.
Scrape Off the Paint: Once the paint has softened, use a coarse steel wool, scraper or putty knife to gently and carefully remove the softened paint. Be cautious not to damage the underlying surface. You may need to repeat this process if multiple layers of paint are present.
Rinse and Clean: After removing the paint, rinse the surface thoroughly with water to remove any residual paint stripper. Use a brush or abrasive pad to clean stubborn areas.
Once your parts are stripped and clean it’s time to begin the process of preparing the metal for either a self-etch primer or an epoxy primer. This is important as bare metal begins to oxidize as soon as it becomes exposed to air, and you do not want to have to deal with flash rust if your parts are exposed to air for too long.
Explore videos by Mark Simpson
Premium Membership
Unlock exclusive member content from our industry experts.
- 24/7 Access to Premium Videos, Tips, and Techniques
- Step-by-Step Instructional Demos, Guides, and Tutorials
- 50% Off Video Downloads Purchased in the Classic Car Restoration Shop
- Access to Ask the Expert Program
Unlock exclusive member content from our industry experts.
- 24/7 Access to Premium Videos, Tips, and Techniques
- Step-by-Step Instructional Demos, Guides, and Tutorials
- 2 Full-Length Video Downloads to Watch Offline
- 50% Off Video Downloads Purchased in the Classic Car Restoration Shop
- Access to Ask the Expert Program
Gold Membership
$304 Value
Get everything included in Premium plus exclusive Gold Membership benefits.
- 24/7 Access to Premium Videos, Tips, and Techniques
- Step-by-Step Instructional Demos, Guides, and Tutorials
- 10 Full-Length Video Downloads, added to your account, to Watch Offline
- ‘Wheel Bolt Circle’ Downloadable Guide, added to your account
- Discounts on Purchase-to-Own Content in the Classic Car Restoration Club Shop
- Access to Ask the Expert Program




Share tips, start a discussion or ask one of our experts or other students a question.
Already a member? Sign in
No Responses to “Paint Stripper Hack”