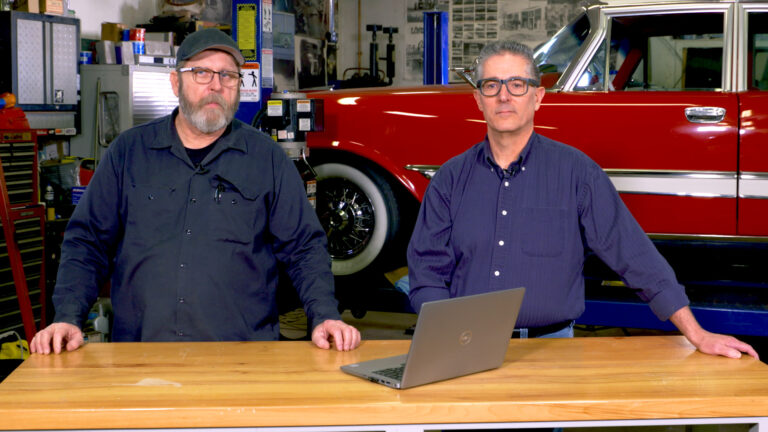
Gauge Plastic Restoration
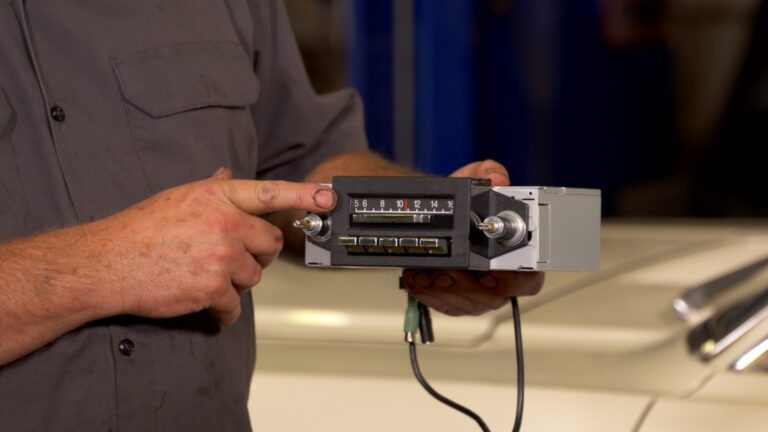
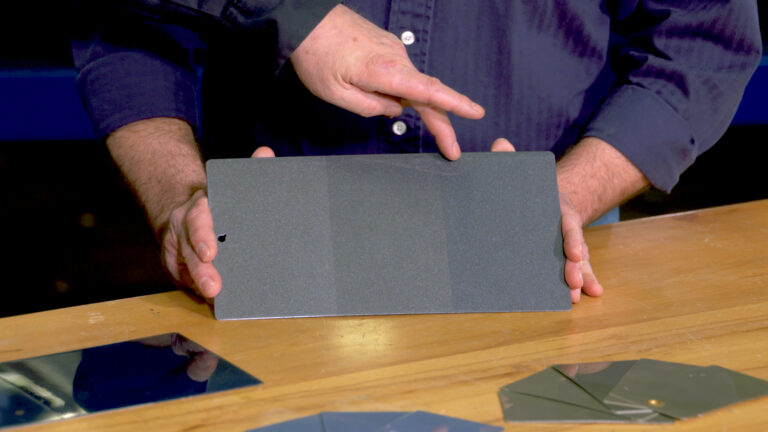
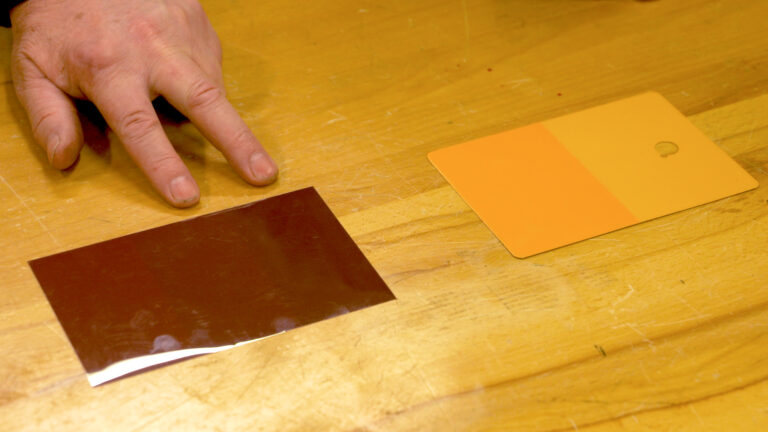
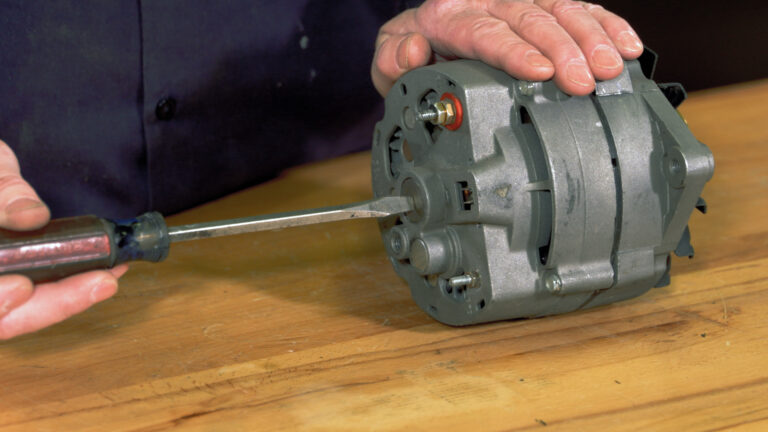
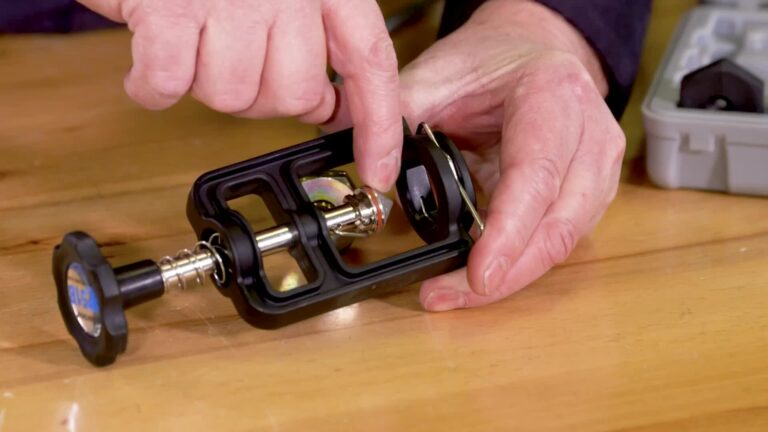
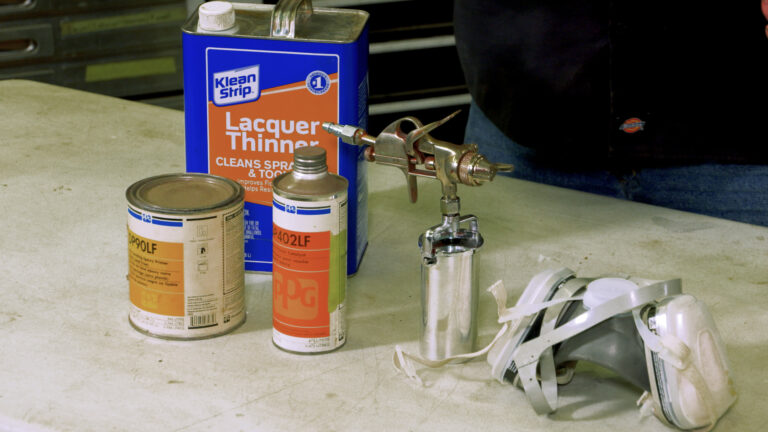
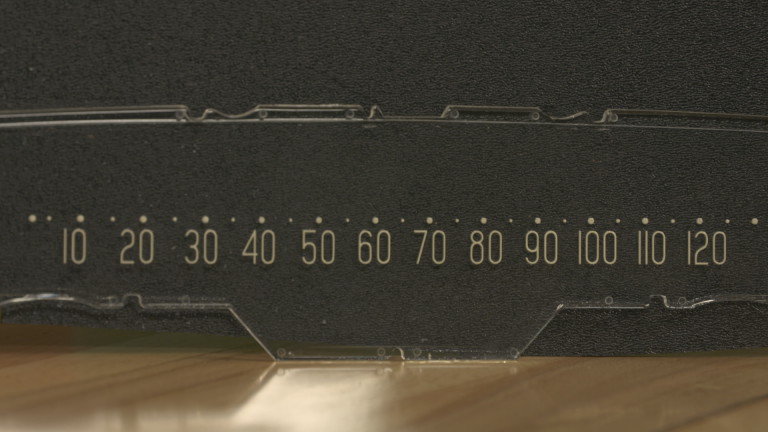
Mark SimpsonRestoring the plastic lenses on your instruments is an easy way to brighten the appearance of your dash. Mark Simpson shows how to properly sand, polish and repaint this gauge plastic to like new condition, saving you hundreds over buying new original dash plastic.
Explore videos by Mark Simpson


You may be interested in


Premium Membership
Unlock exclusive member content from our industry experts.
- 24/7 Access to Premium Videos, Tips, and Techniques
- Step-by-Step Instructional Demos, Guides, and Tutorials
- 50% Off Video Downloads Purchased in the Classic Car Restoration Shop
- Access to Ask the Expert Program
Unlock exclusive member content from our industry experts.
- 24/7 Access to Premium Videos, Tips, and Techniques
- Step-by-Step Instructional Demos, Guides, and Tutorials
- 2 Full-Length Video Downloads to Watch Offline
- 50% Off Video Downloads Purchased in the Classic Car Restoration Shop
- Access to Ask the Expert Program
Gold Membership
$304 Value
Get everything included in Premium plus exclusive Gold Membership benefits.
- 24/7 Access to Premium Videos, Tips, and Techniques
- Step-by-Step Instructional Demos, Guides, and Tutorials
- 10 Full-Length Video Downloads, added to your account, to Watch Offline
- ‘Wheel Bolt Circle’ Downloadable Guide, added to your account
- Discounts on Purchase-to-Own Content in the Classic Car Restoration Club Shop
- Access to Ask the Expert Program
Share tips, start a discussion or ask one of our experts or other students a question.
Already a member? Sign in
No Responses to “Gauge Plastic Restoration”