Replacing Rear Disc Brakes
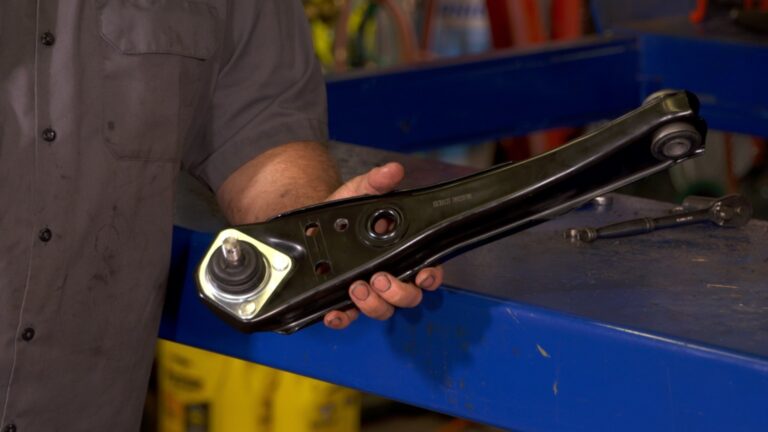
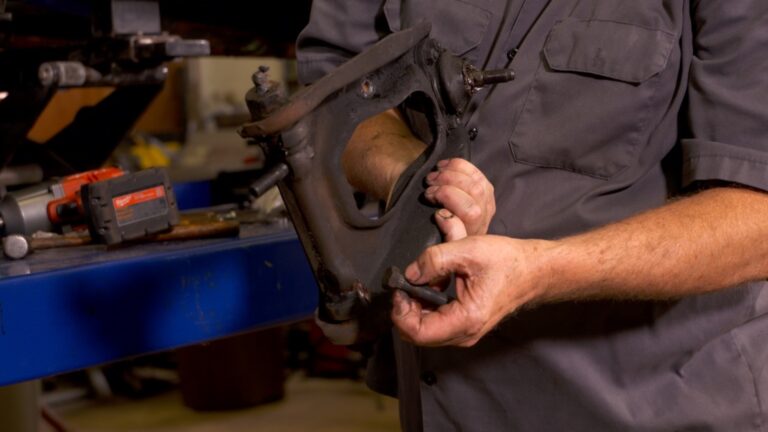
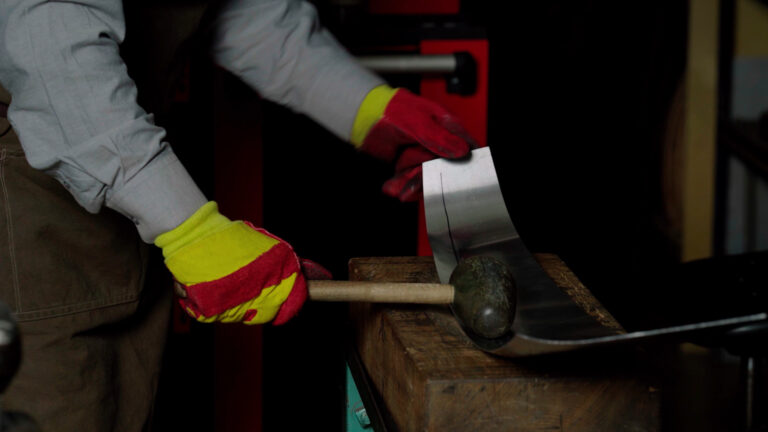
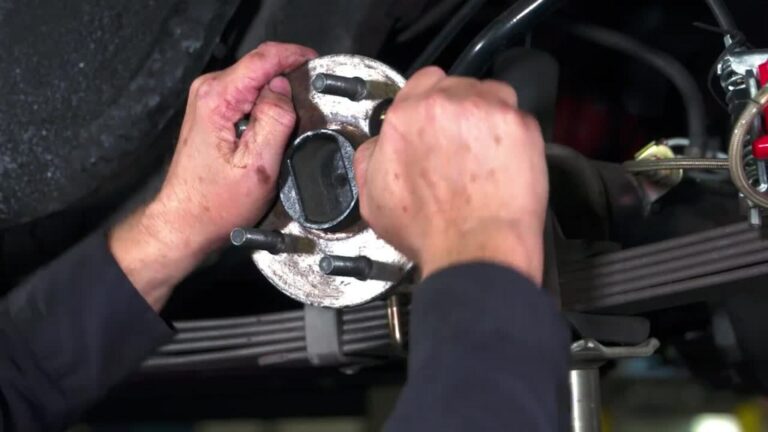
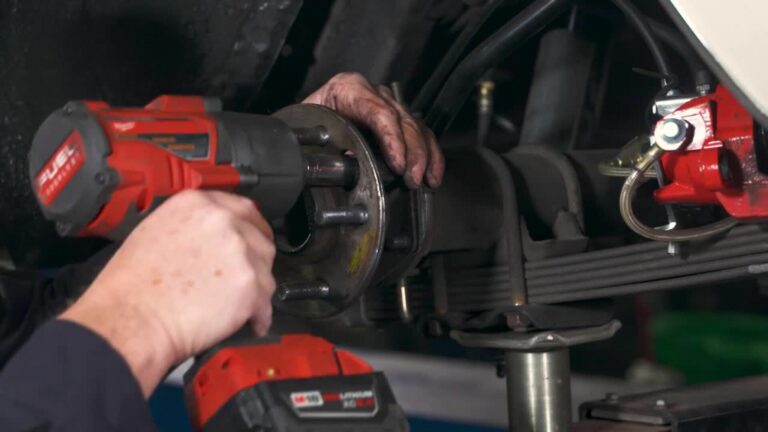
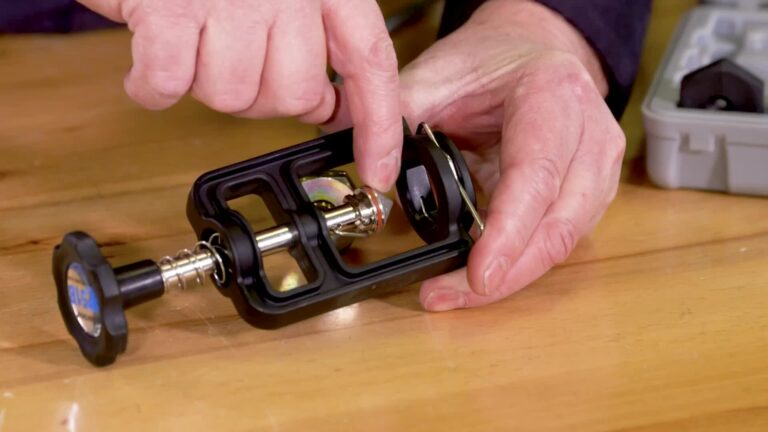
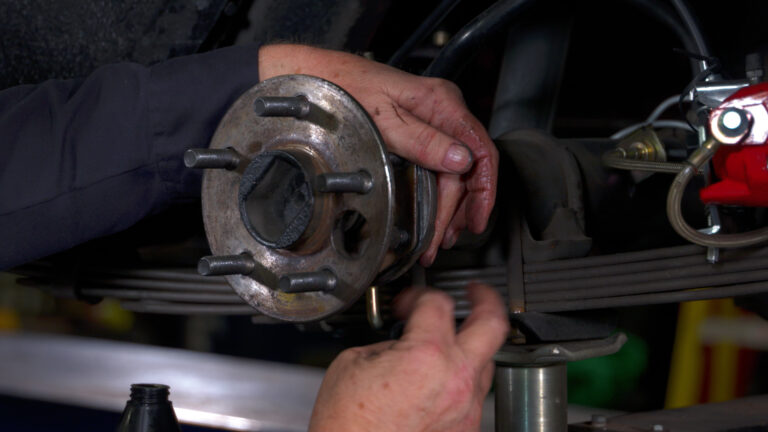
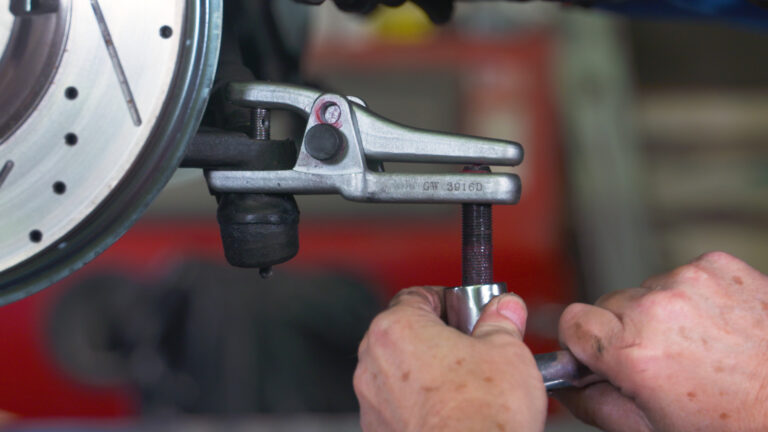
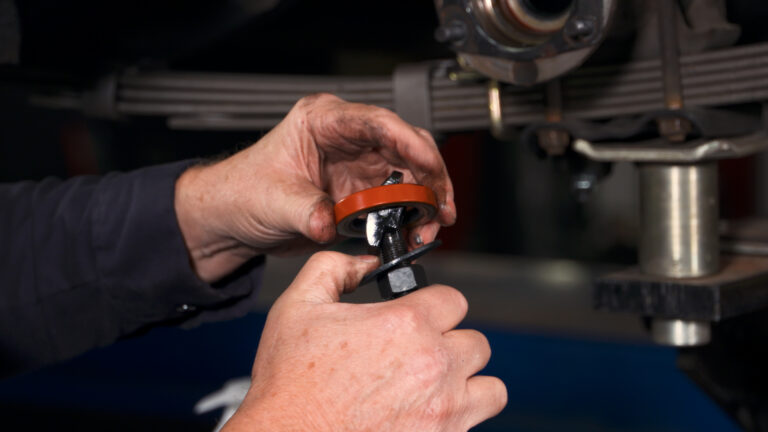
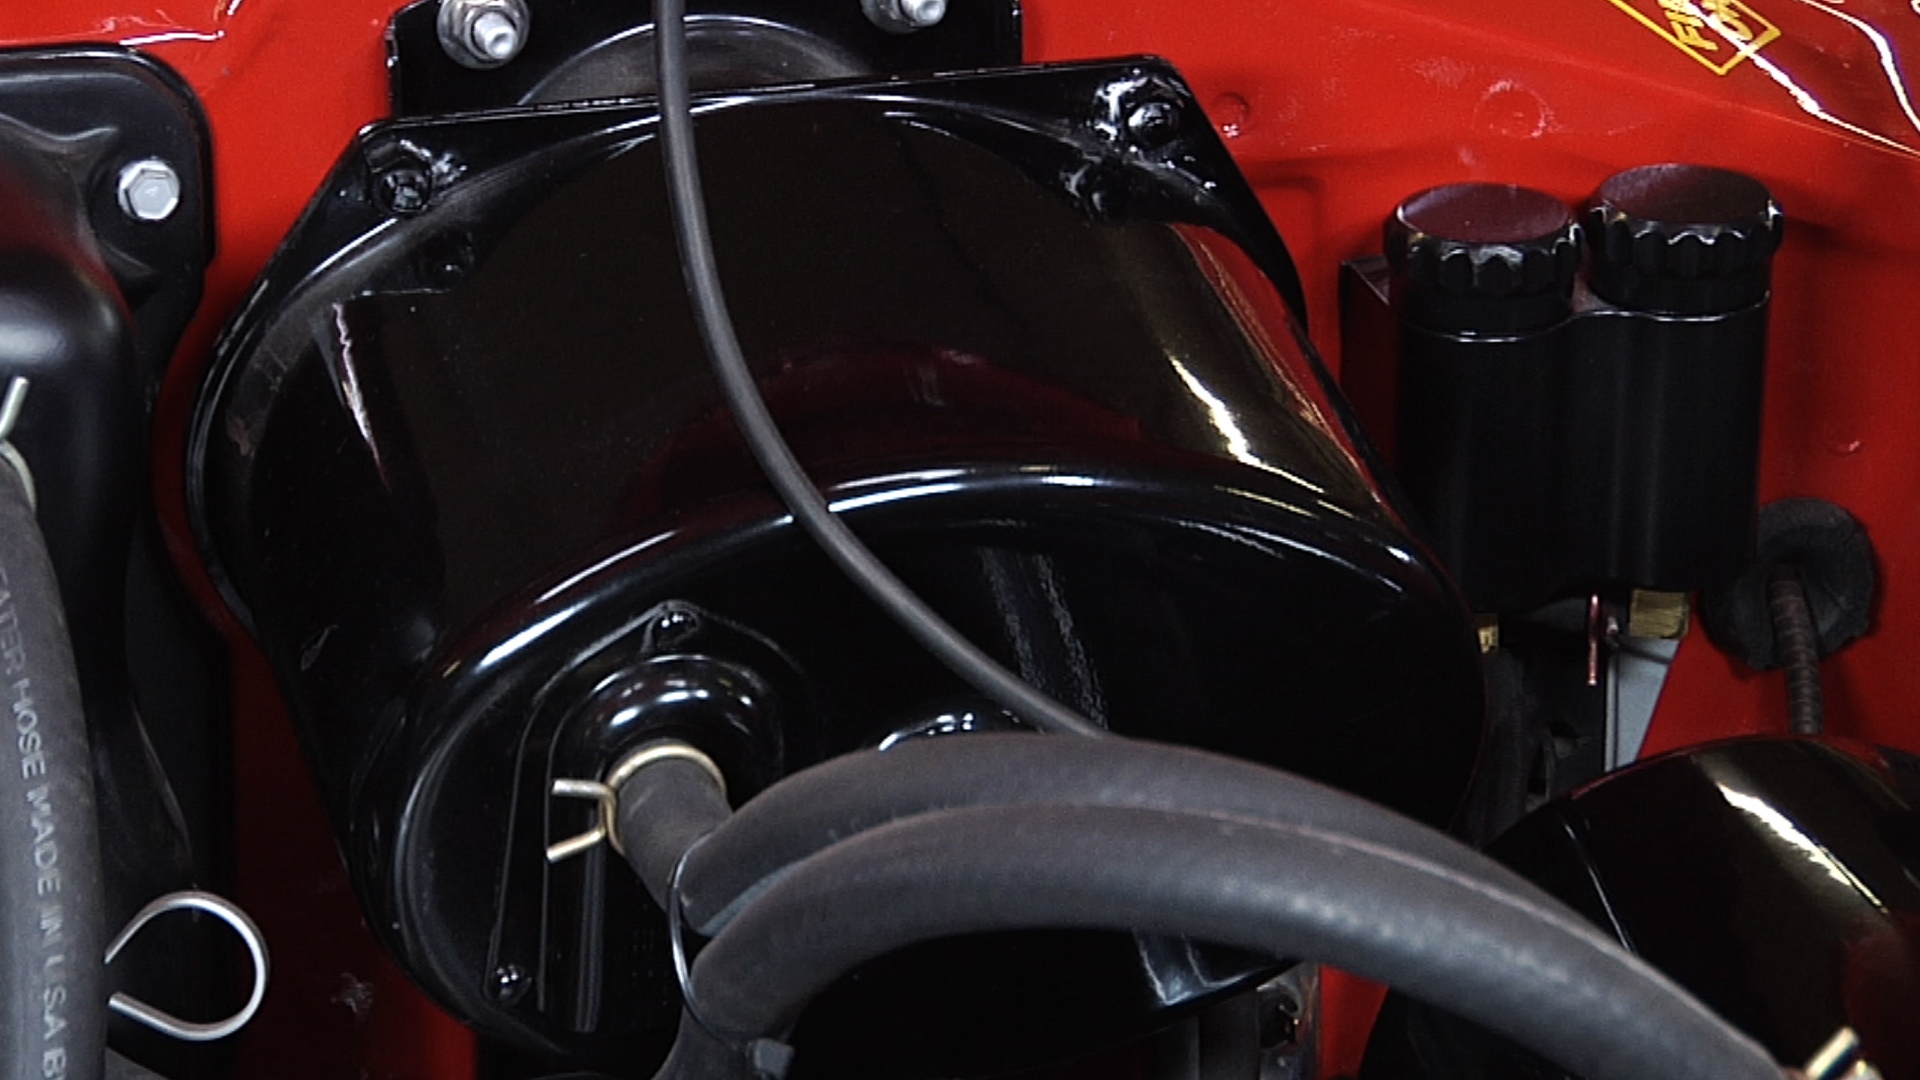
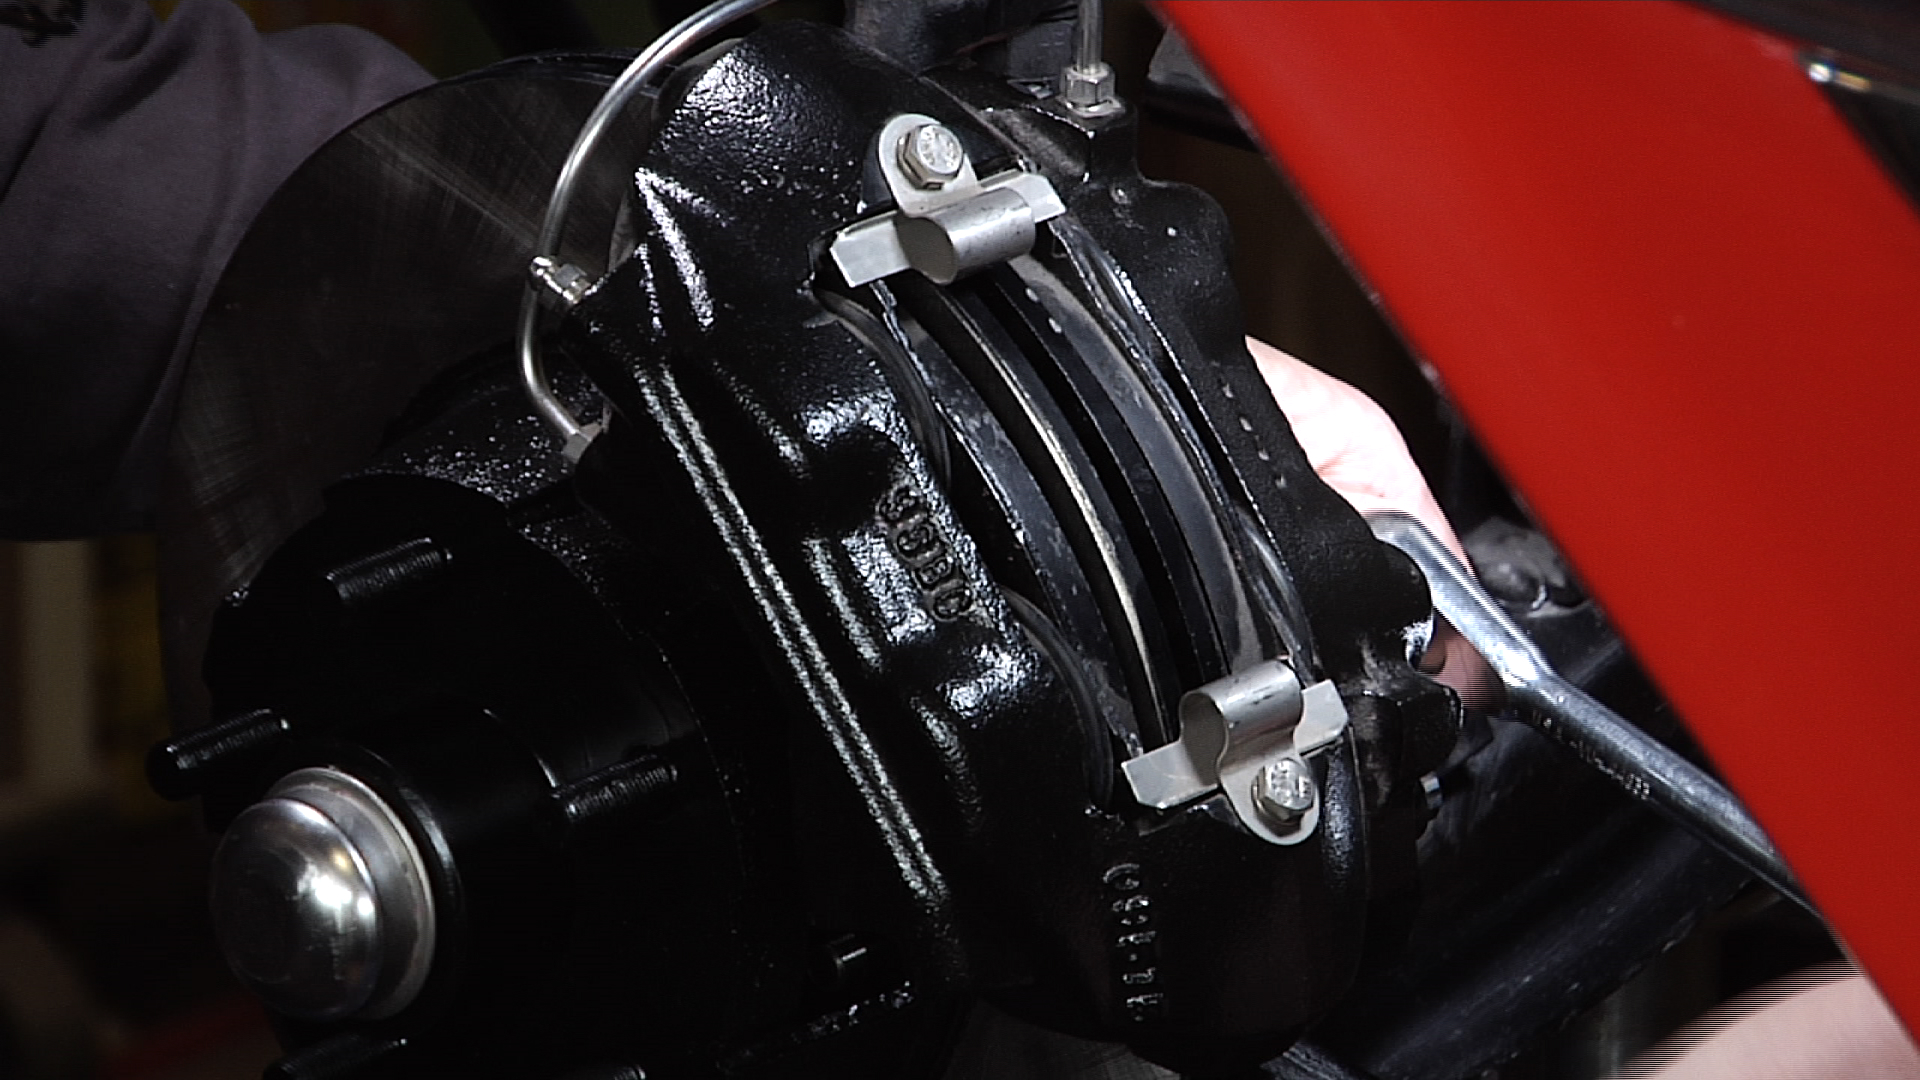
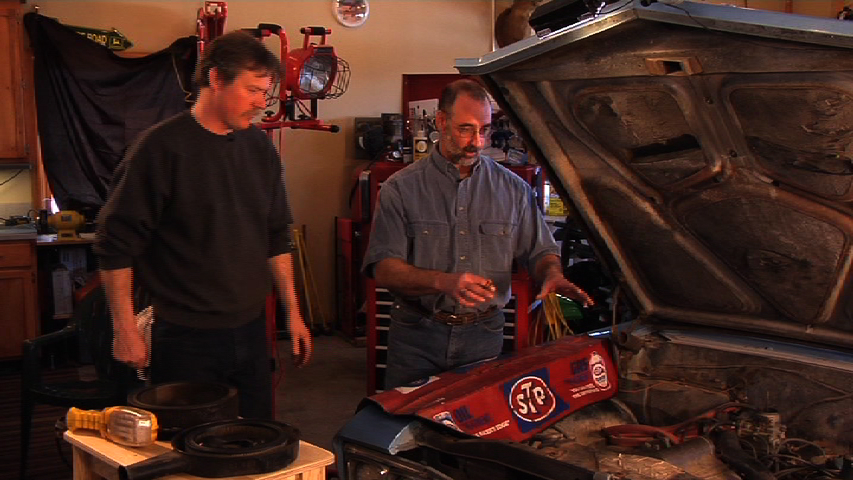
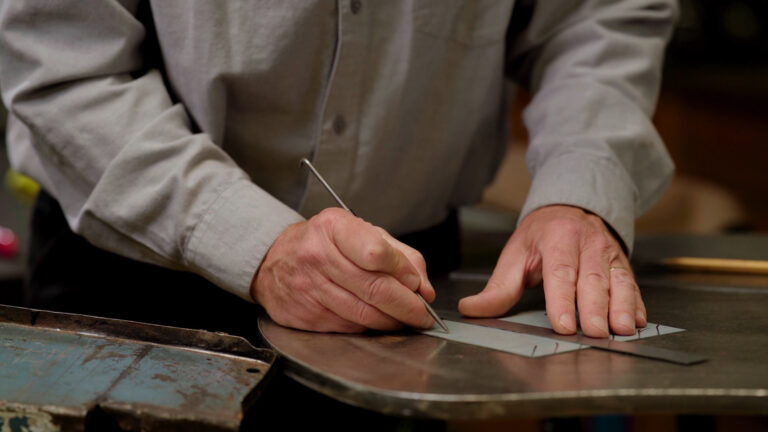
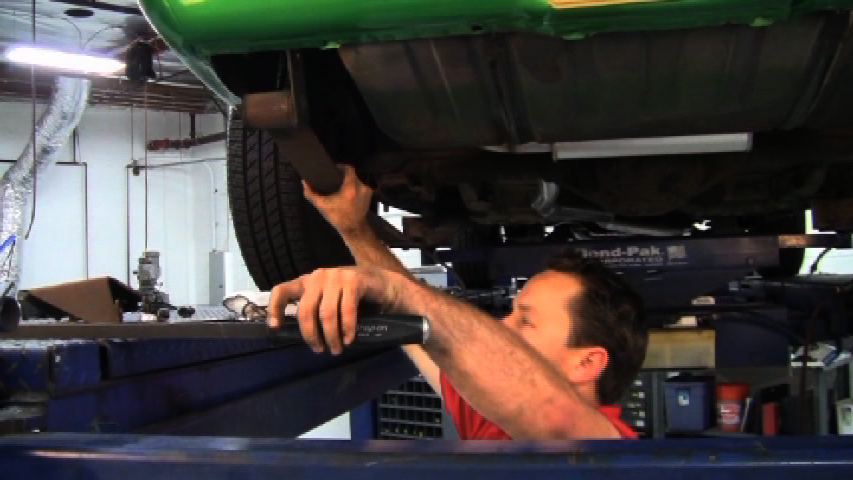
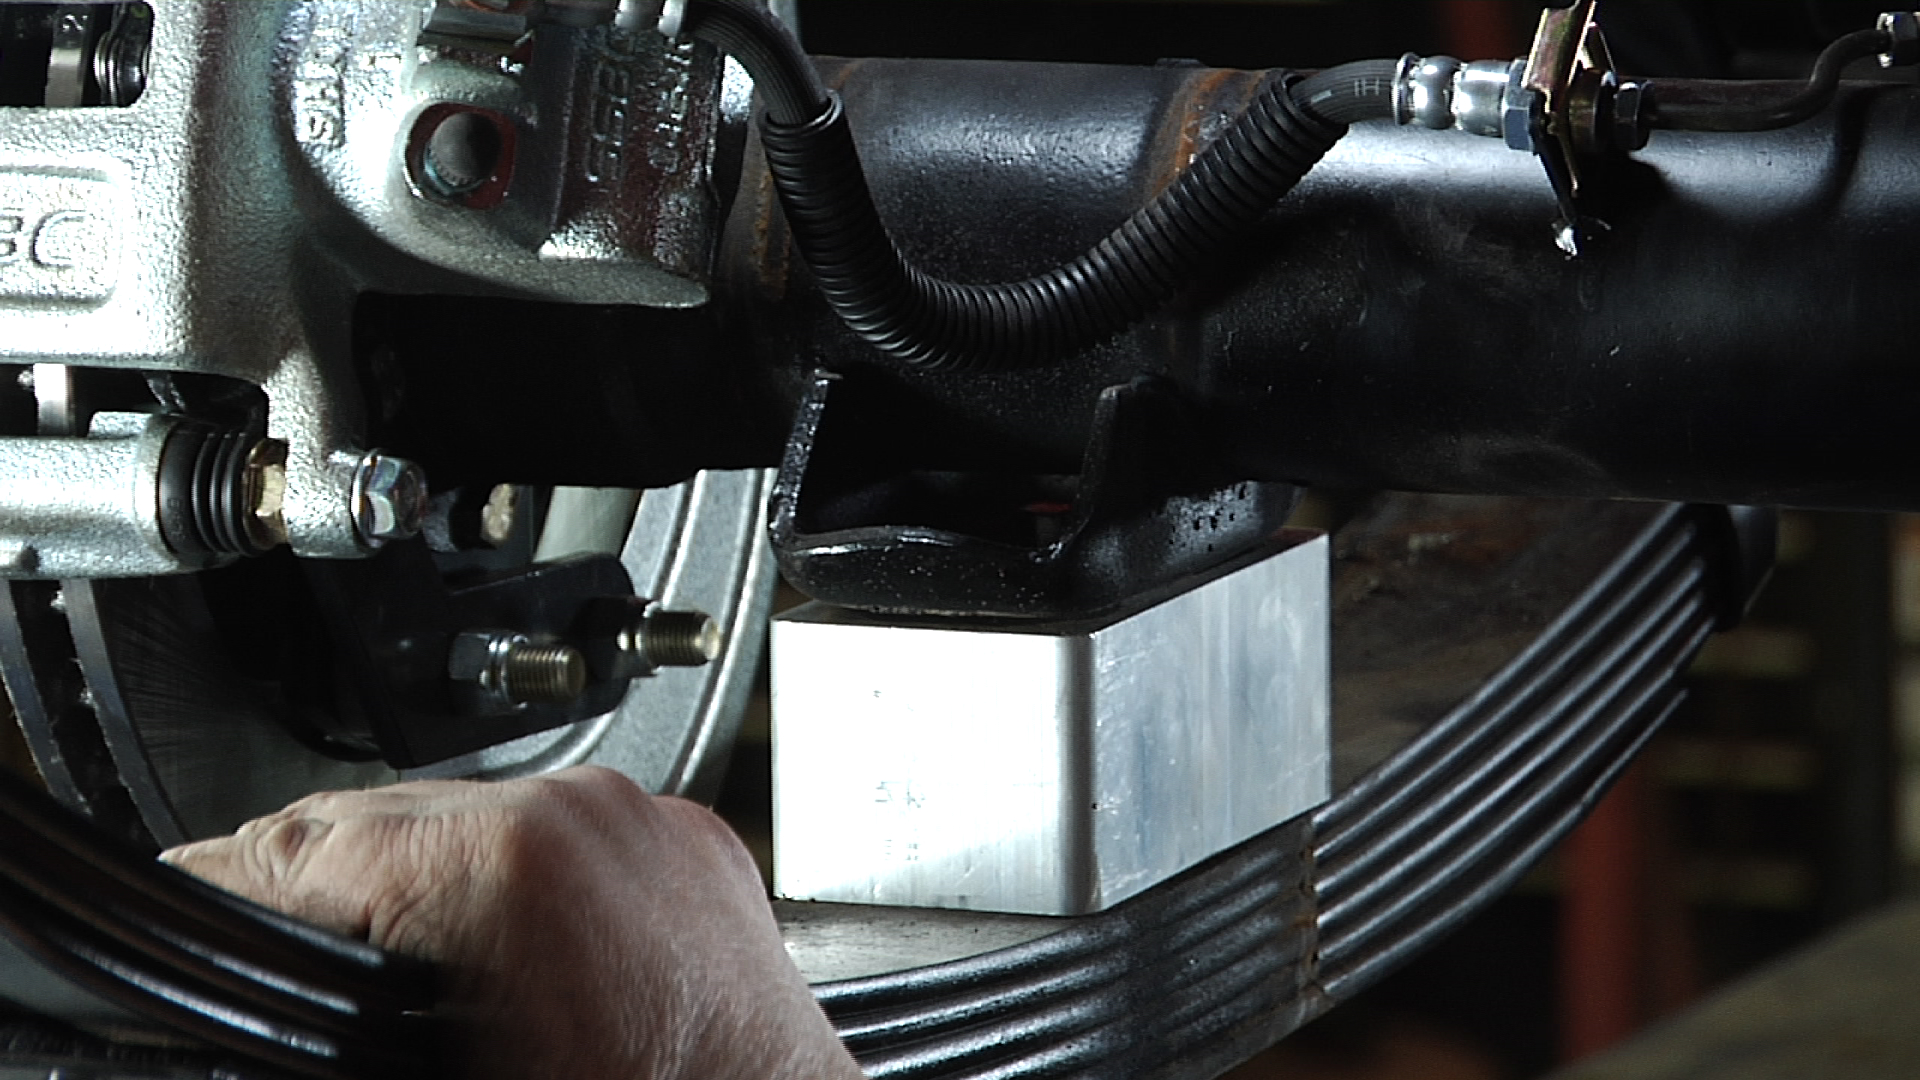
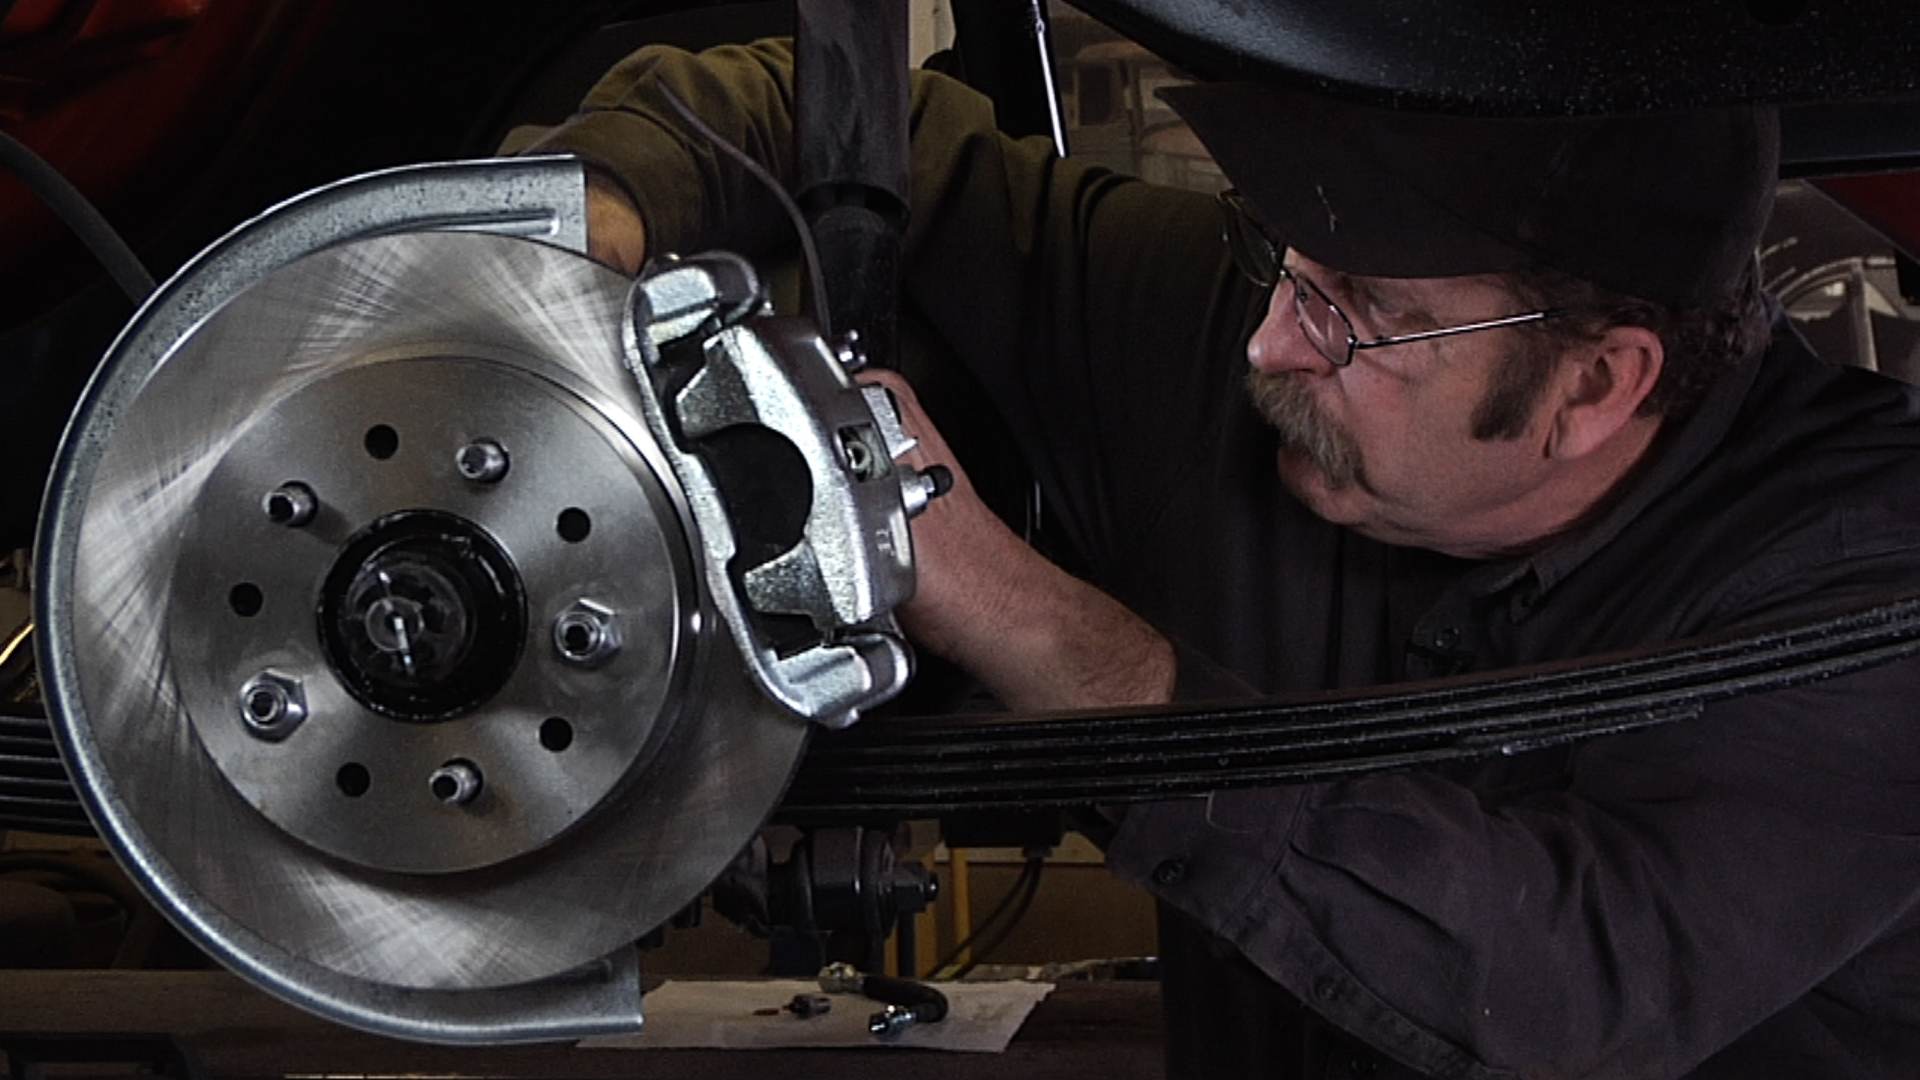
Mark SimpsonWhile front disc brake conversions are popular on classic cars, rear brakes can be equally as important and should not be overlooked. Mark Simpson takes us through the process to remove the original rear drums and hardware from our project ’57 DeSoto, including the use of a drum puller. Then starting with a clean slate he takes us through the process of installing new caliper brackets, dust shields, rotors and calipers. While rear brakes only account for 30% of the stopping power of your car, Mark reminds us that should the front brakes fail the rear brakes become 100% of the ability of you to stop your car safely.
Explore videos by Mark Simpson
You may be interested in
Premium Membership
Unlock exclusive member content from our industry experts.
- 24/7 Access to Premium Videos, Tips, and Techniques
- Step-by-Step Instructional Demos, Guides, and Tutorials
- 50% Off Video Downloads Purchased in the Classic Car Restoration Shop
- Access to Ask the Expert Program
Unlock exclusive member content from our industry experts.
- 24/7 Access to Premium Videos, Tips, and Techniques
- Step-by-Step Instructional Demos, Guides, and Tutorials
- 2 Full-Length Video Downloads to Watch Offline
- 50% Off Video Downloads Purchased in the Classic Car Restoration Shop
- Access to Ask the Expert Program
Gold Membership
$304 Value
Get everything included in Premium plus exclusive Gold Membership benefits.
- 24/7 Access to Premium Videos, Tips, and Techniques
- Step-by-Step Instructional Demos, Guides, and Tutorials
- 10 Full-Length Video Downloads, added to your account, to Watch Offline
- ‘Wheel Bolt Circle’ Downloadable Guide, added to your account
- Discounts on Purchase-to-Own Content in the Classic Car Restoration Club Shop
- Access to Ask the Expert Program
Purchase Video
Purchase video and add to your personal library with on-demand video access.
- Enjoy on-demand video access to this content anytime, anywhere for the one-time cost below.
- You won’t lose access, with or without an active current Membership
Replacing Rear Disc Brakes
with Mark Simpson