Welding Tips: Floorpan Lap and Butt Welds
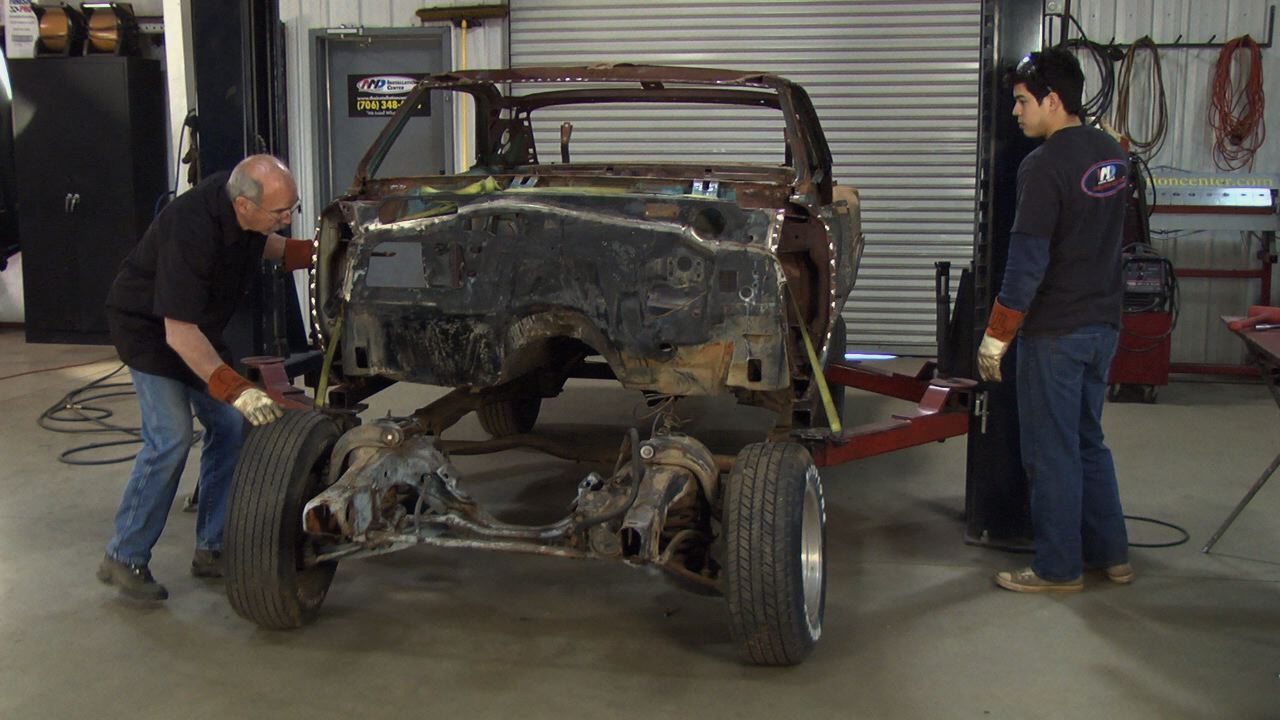
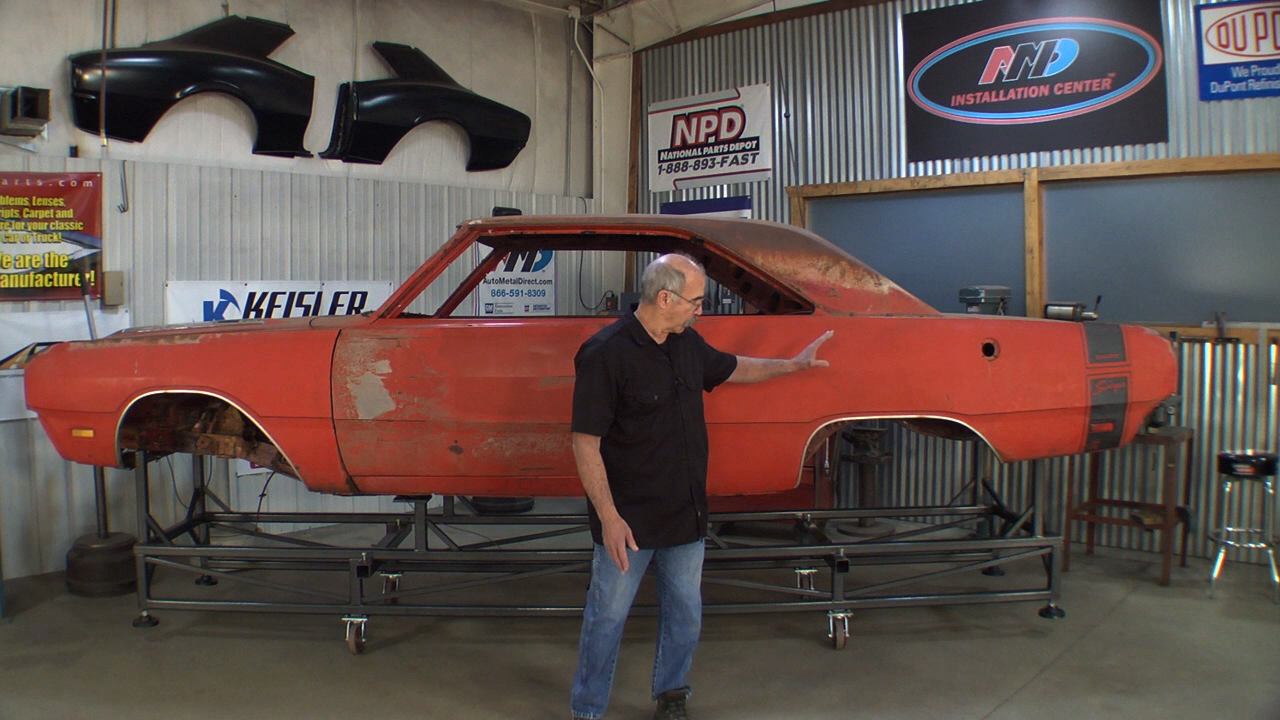
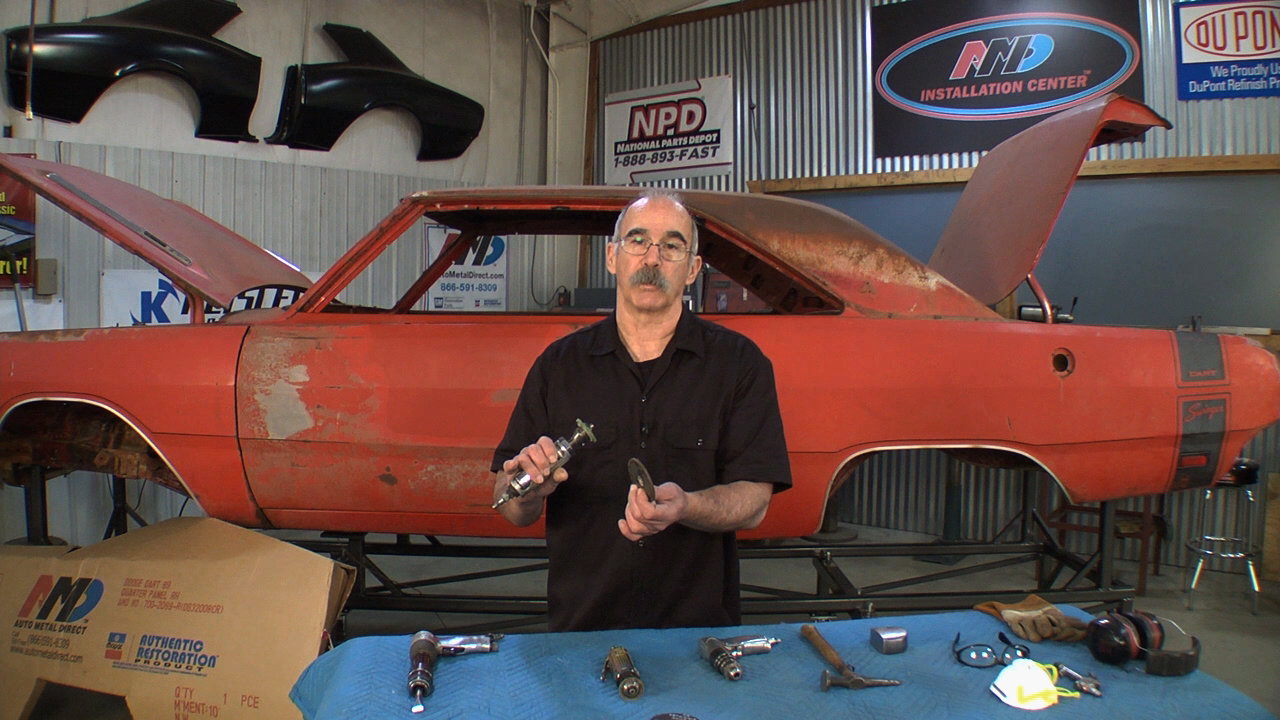
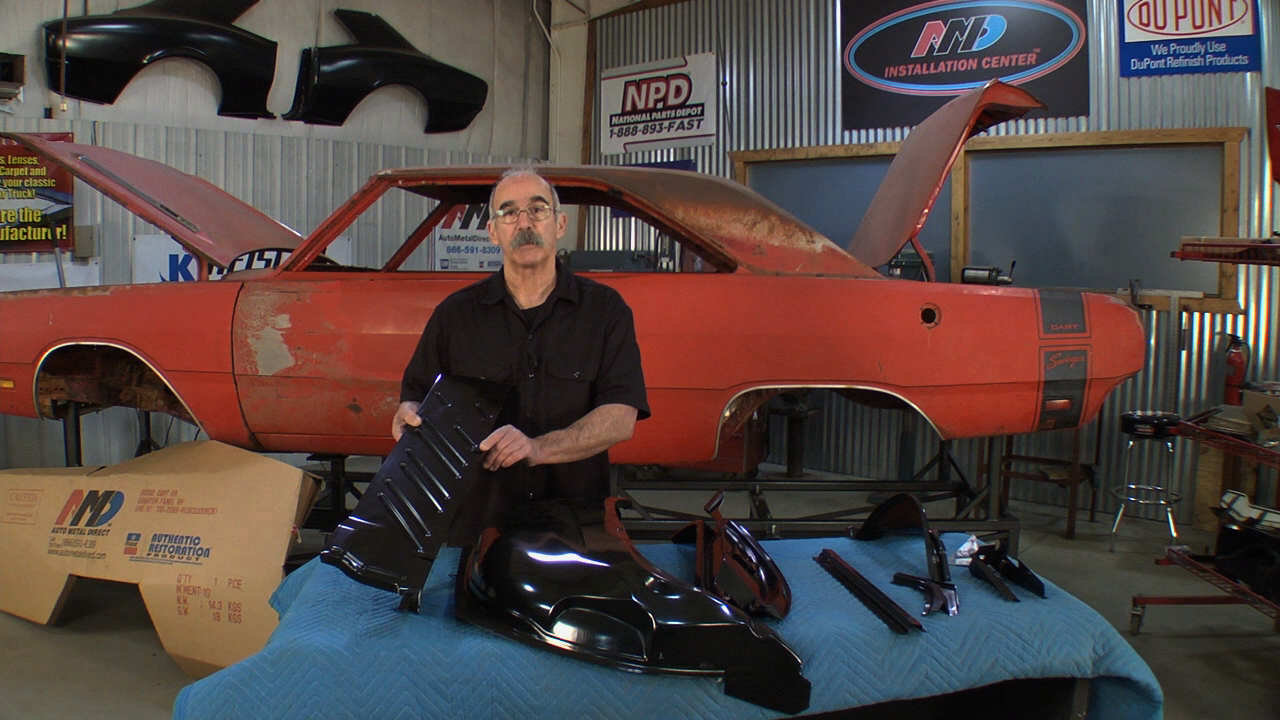
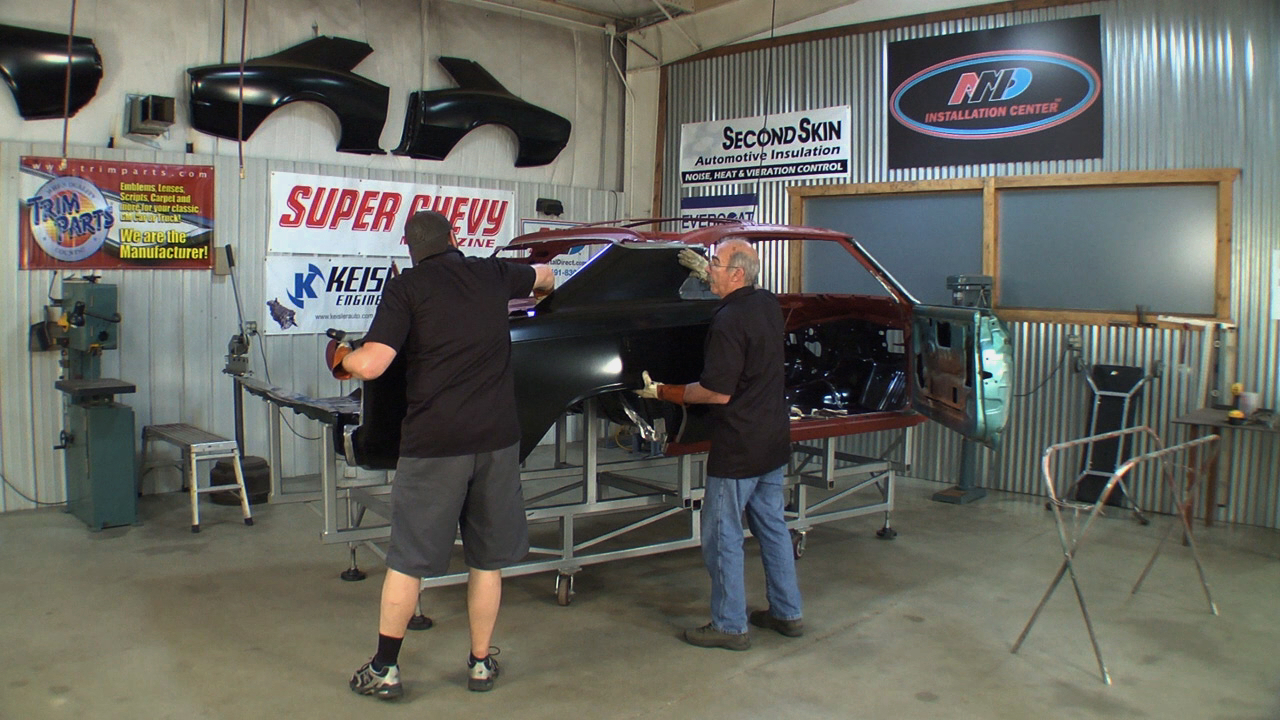
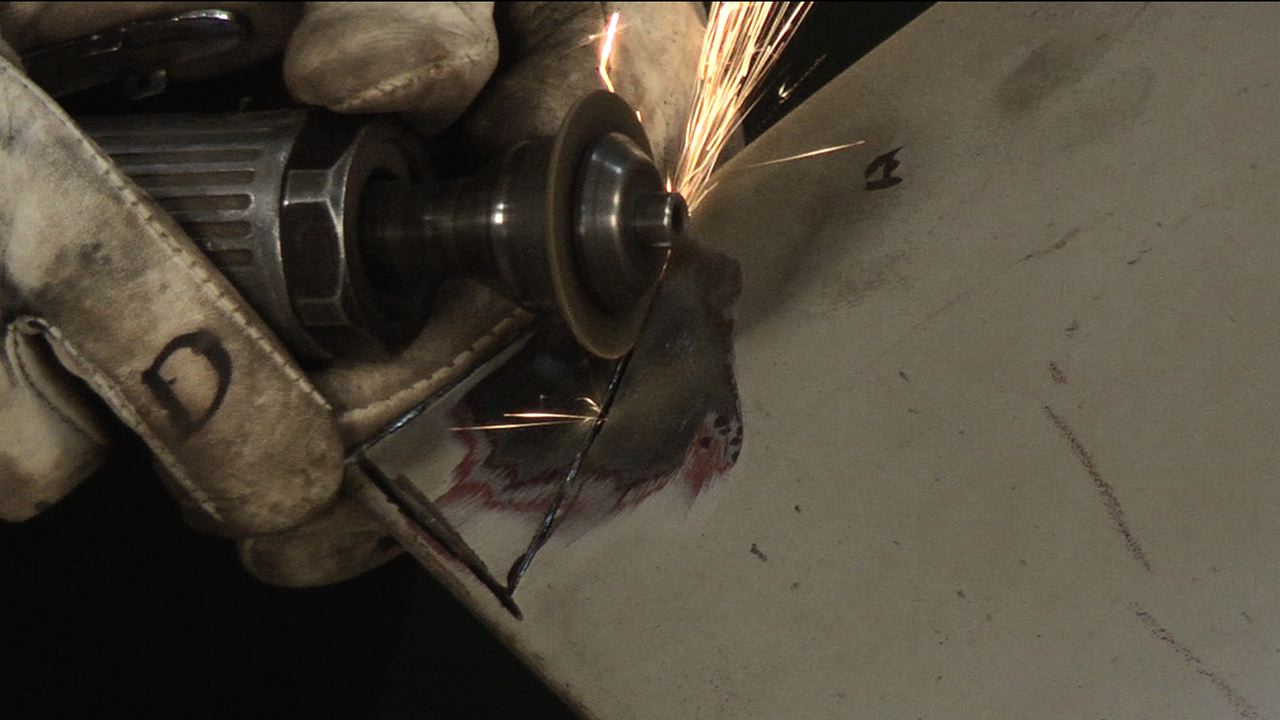
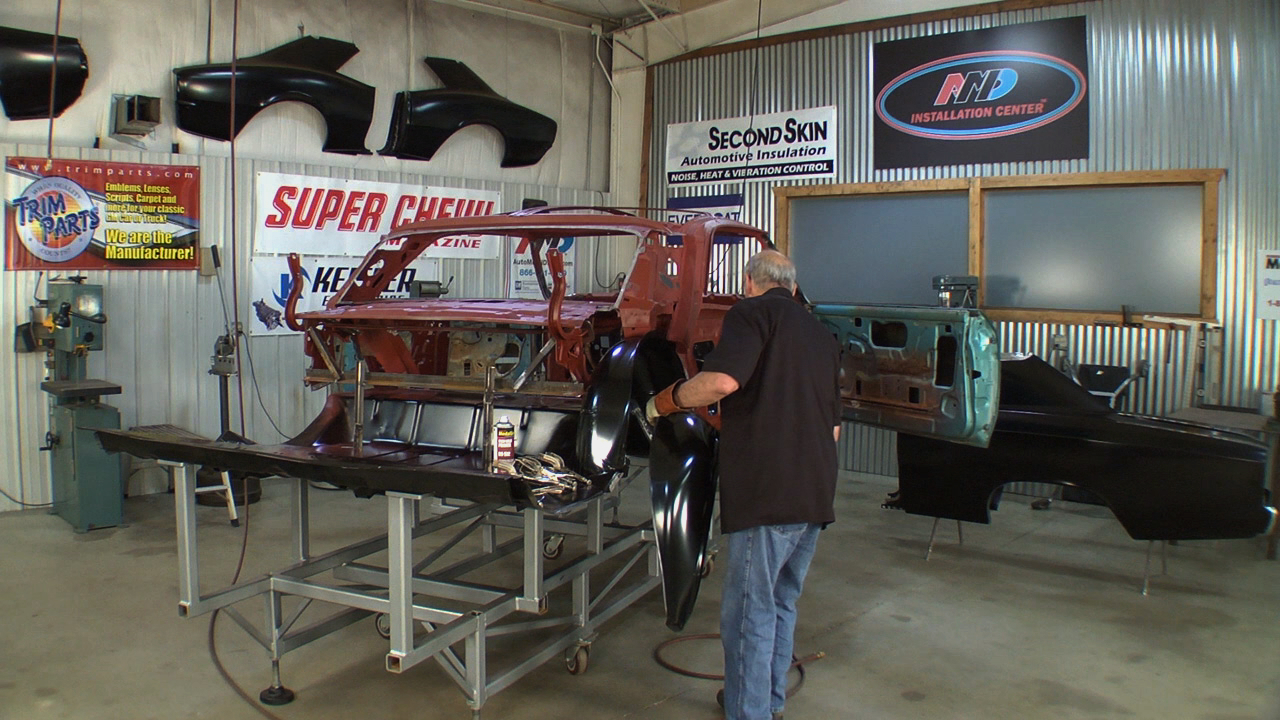
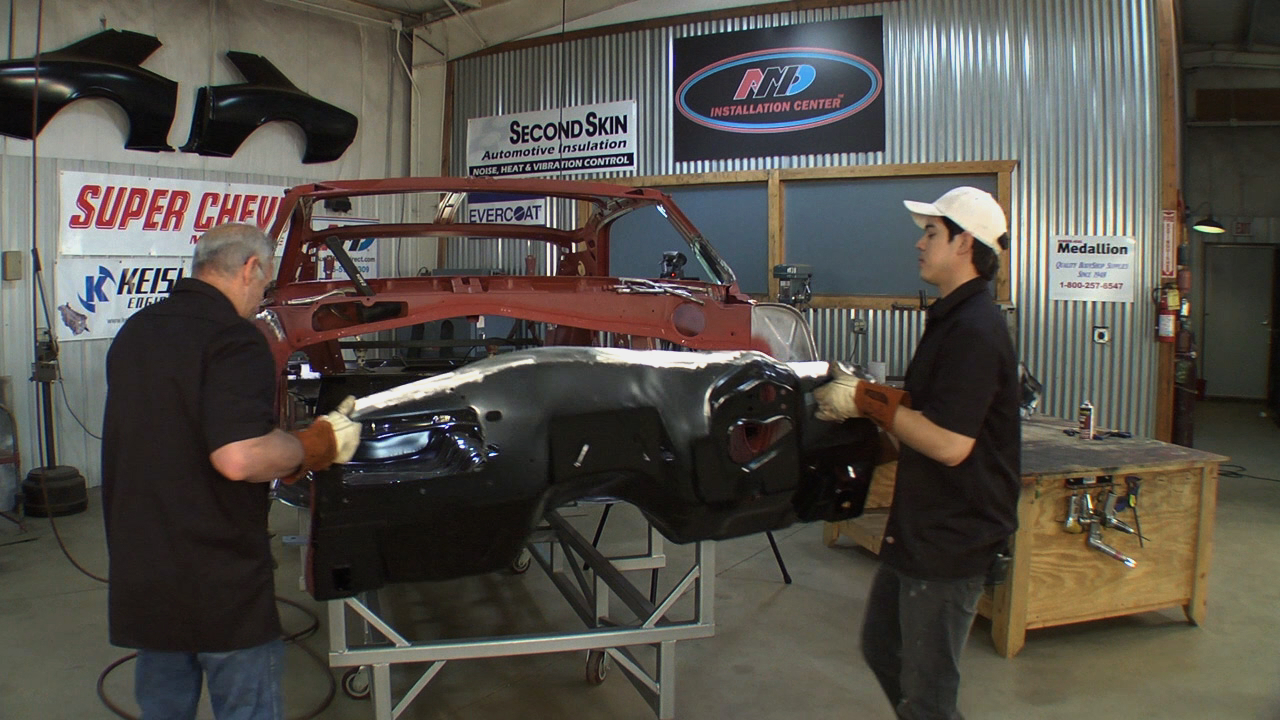
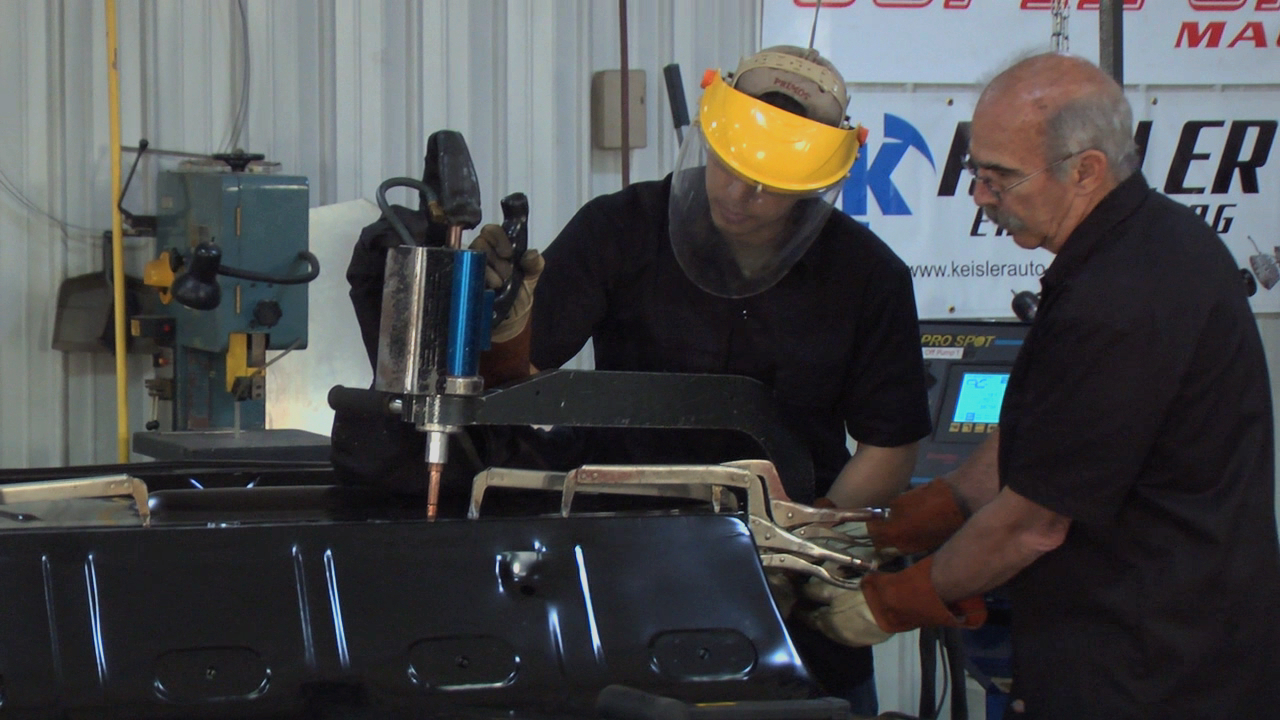
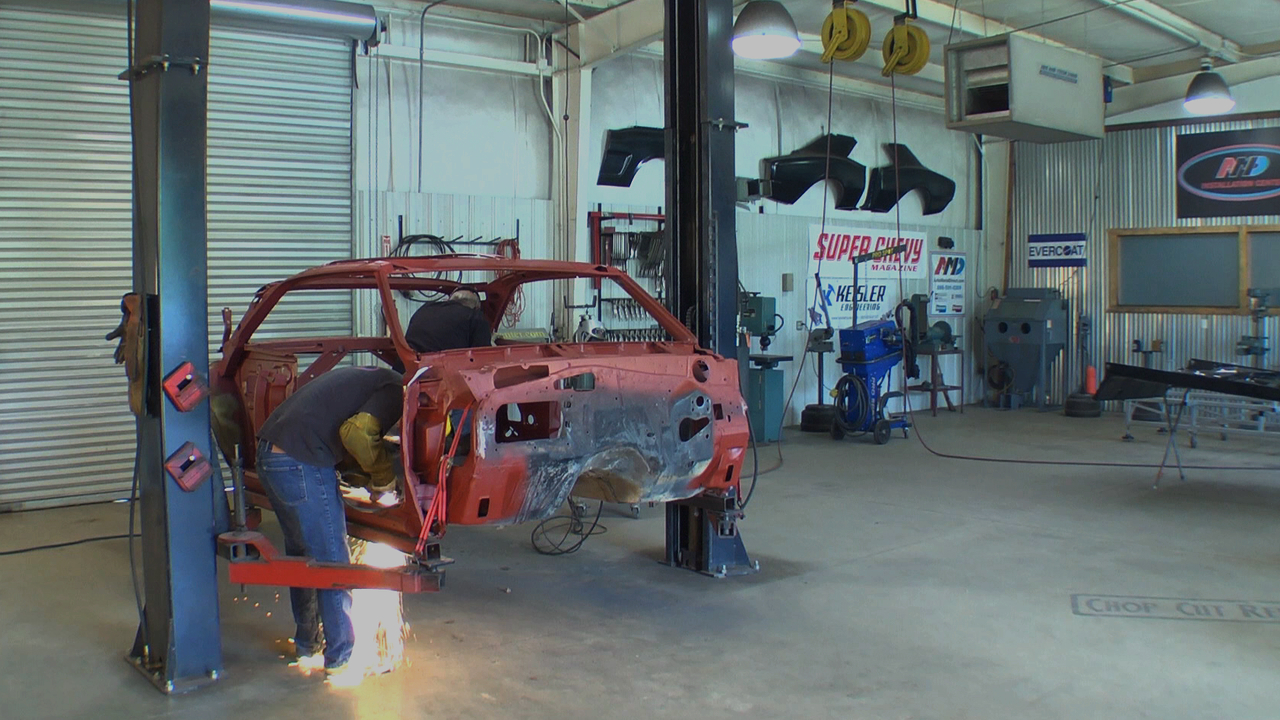
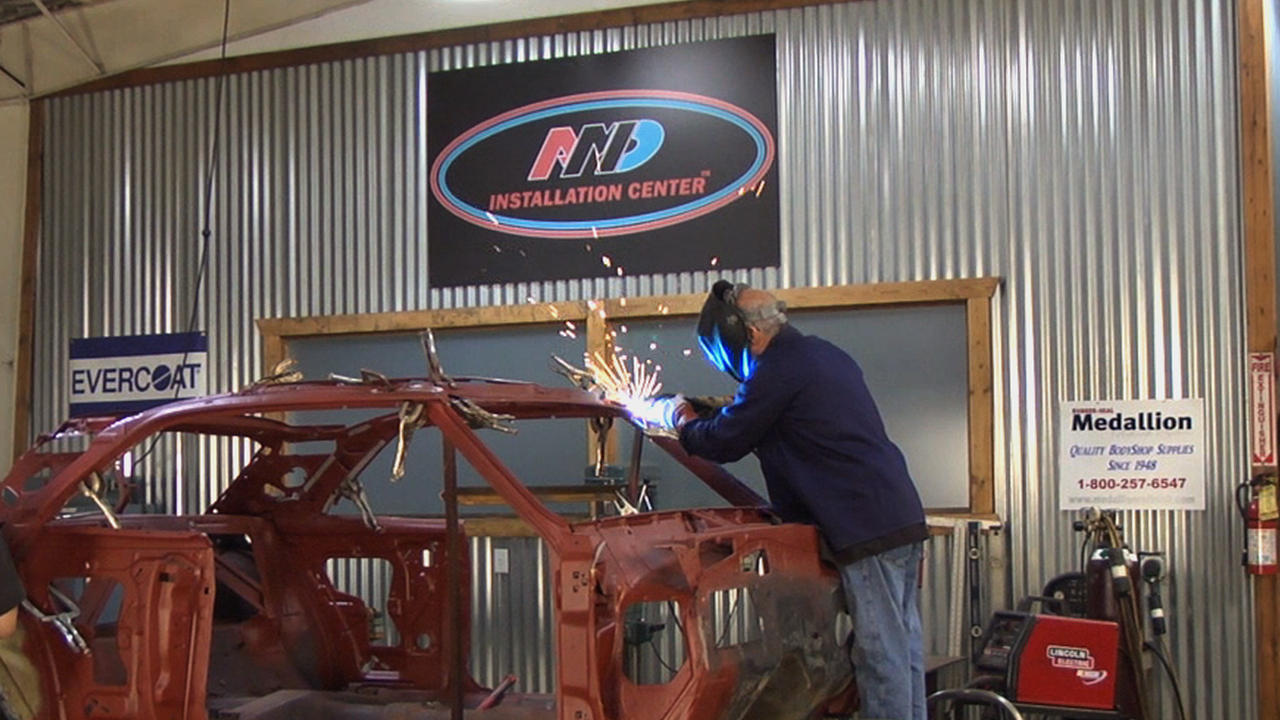
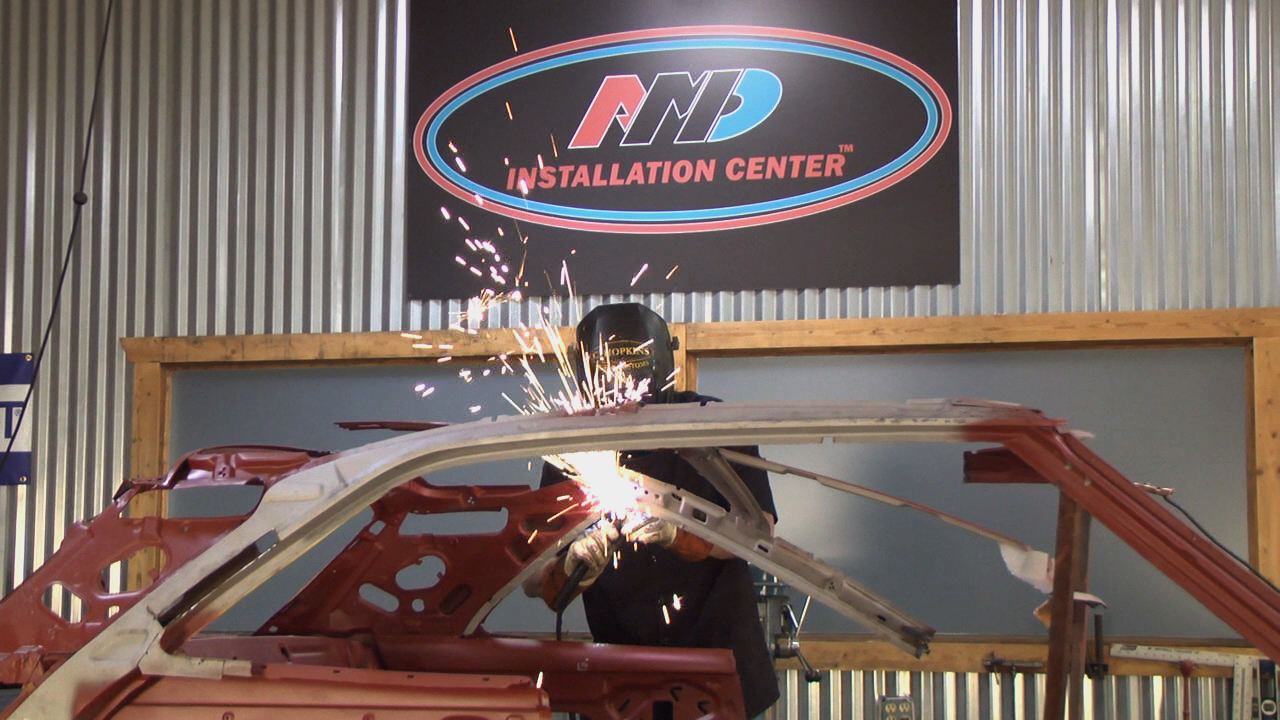
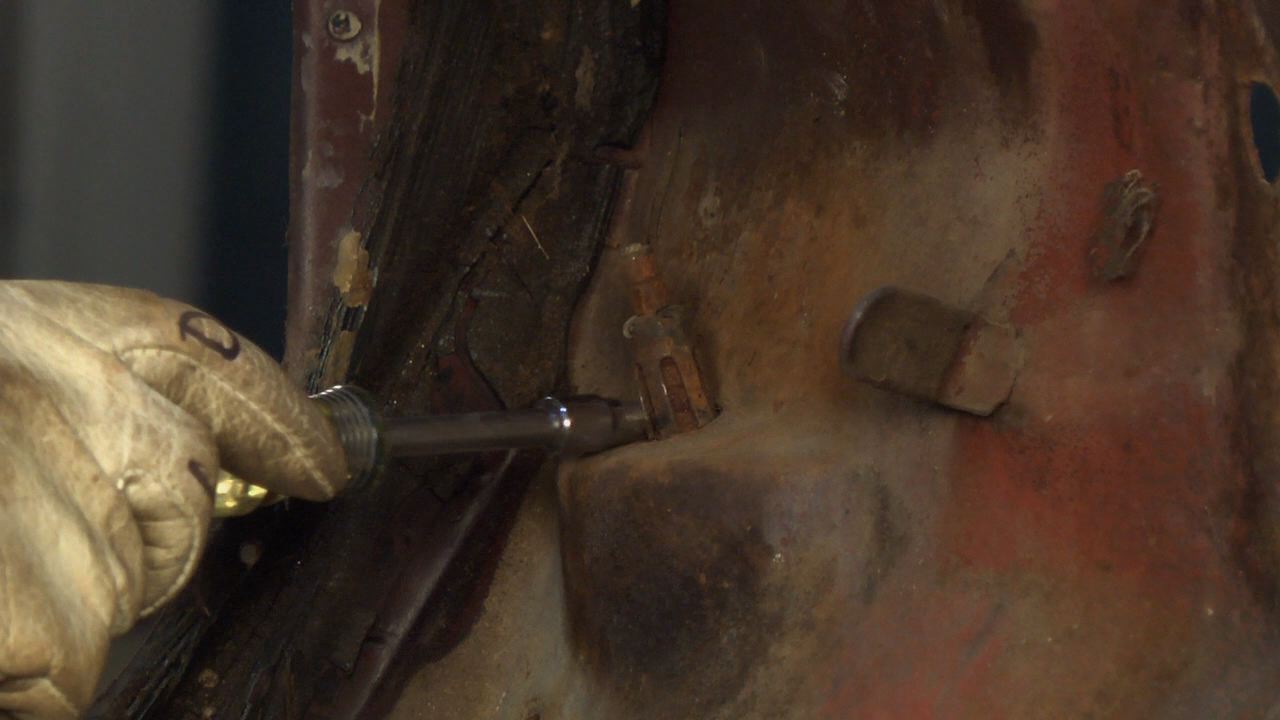
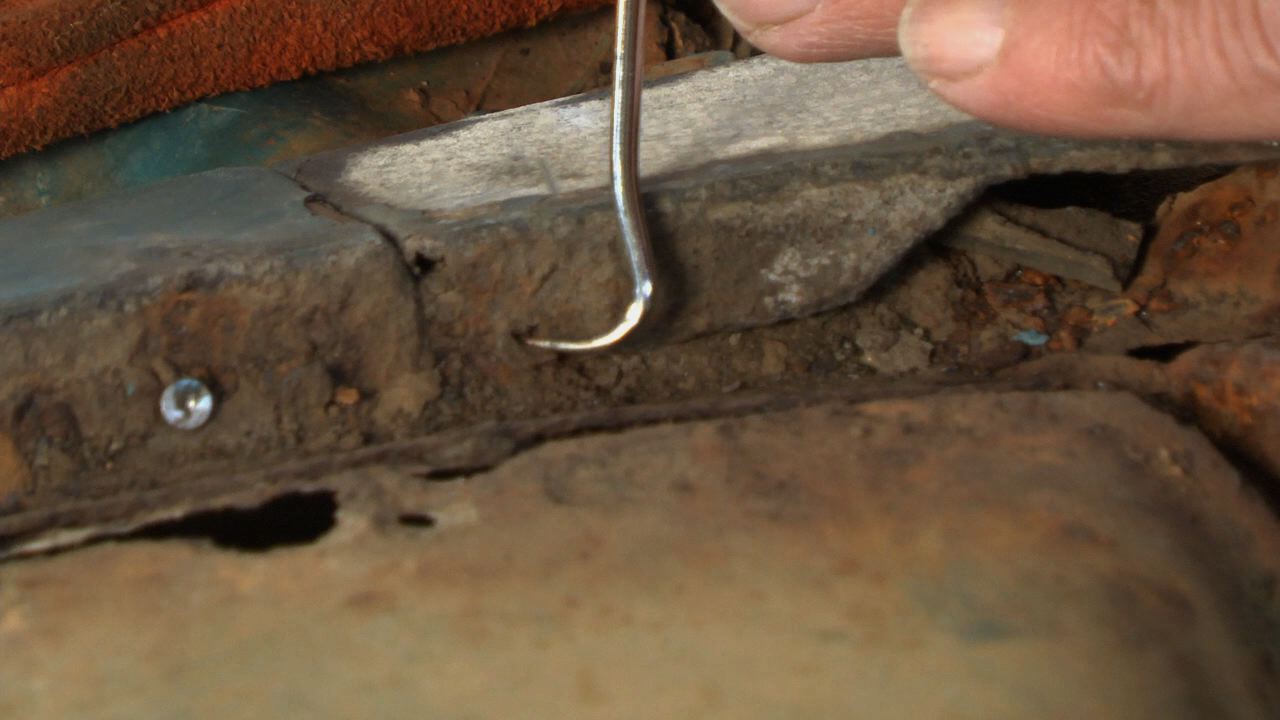
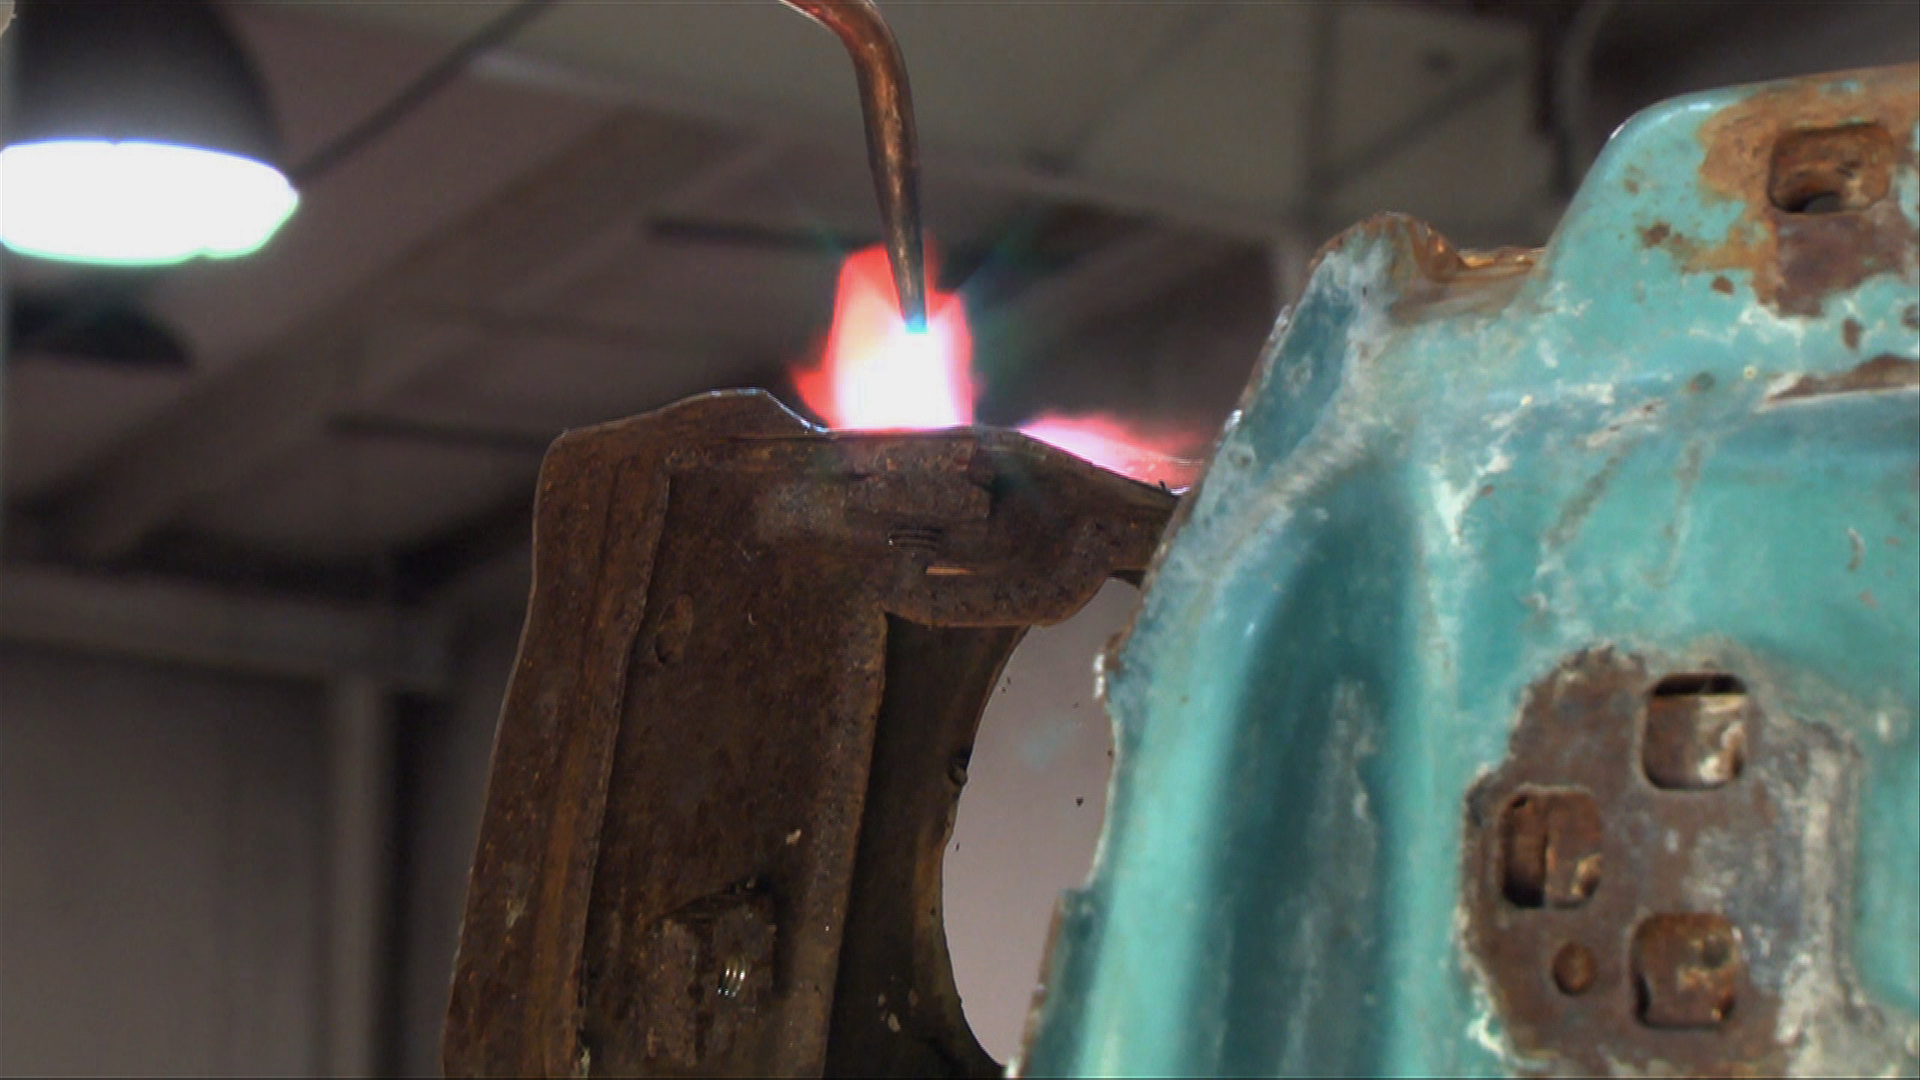
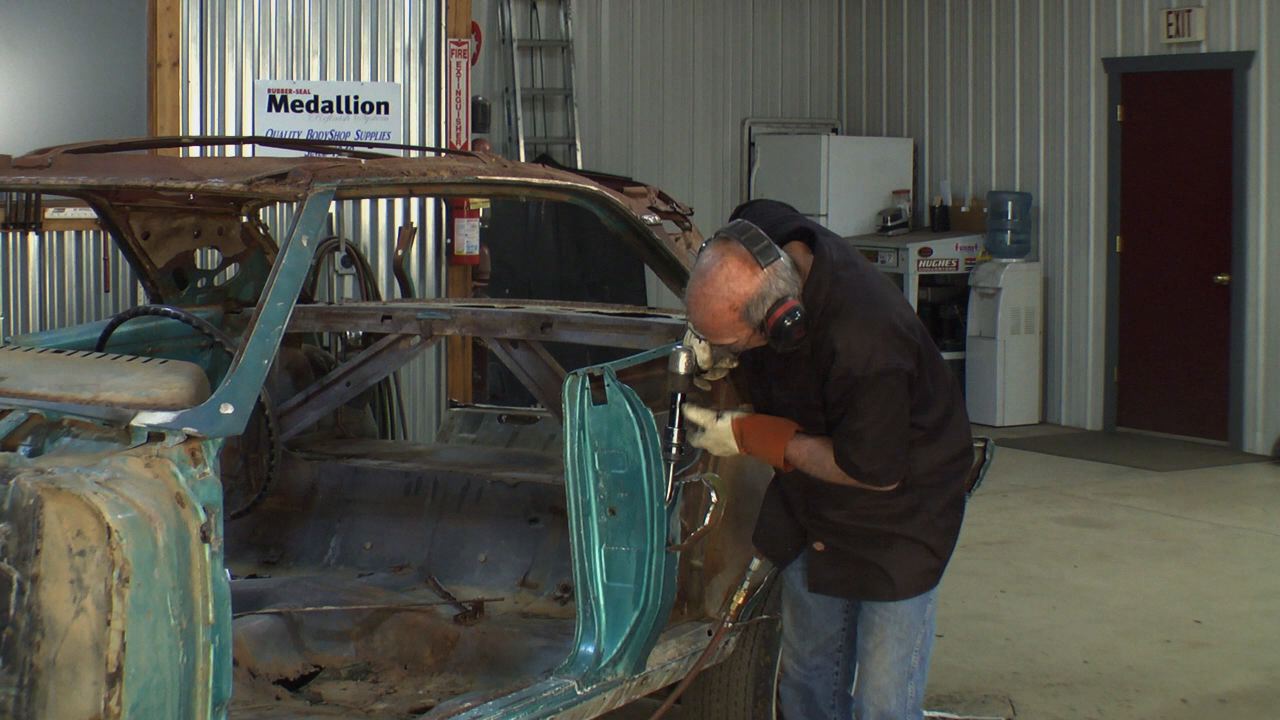
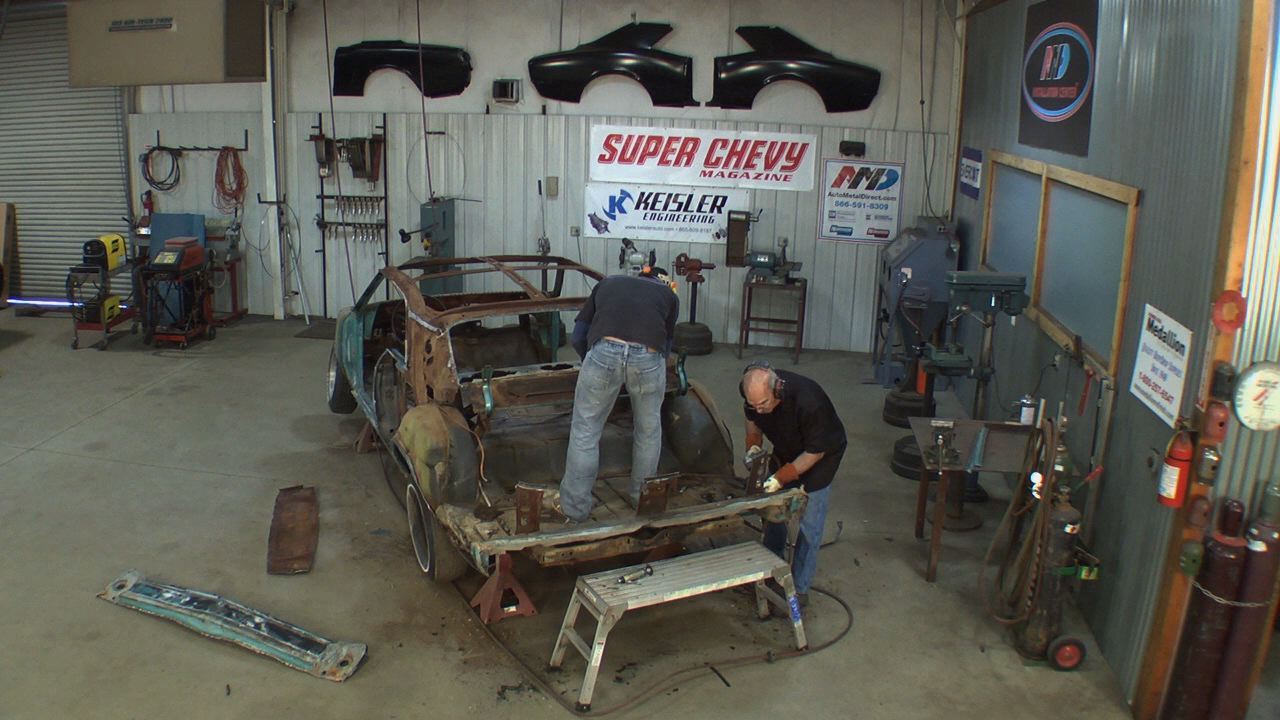
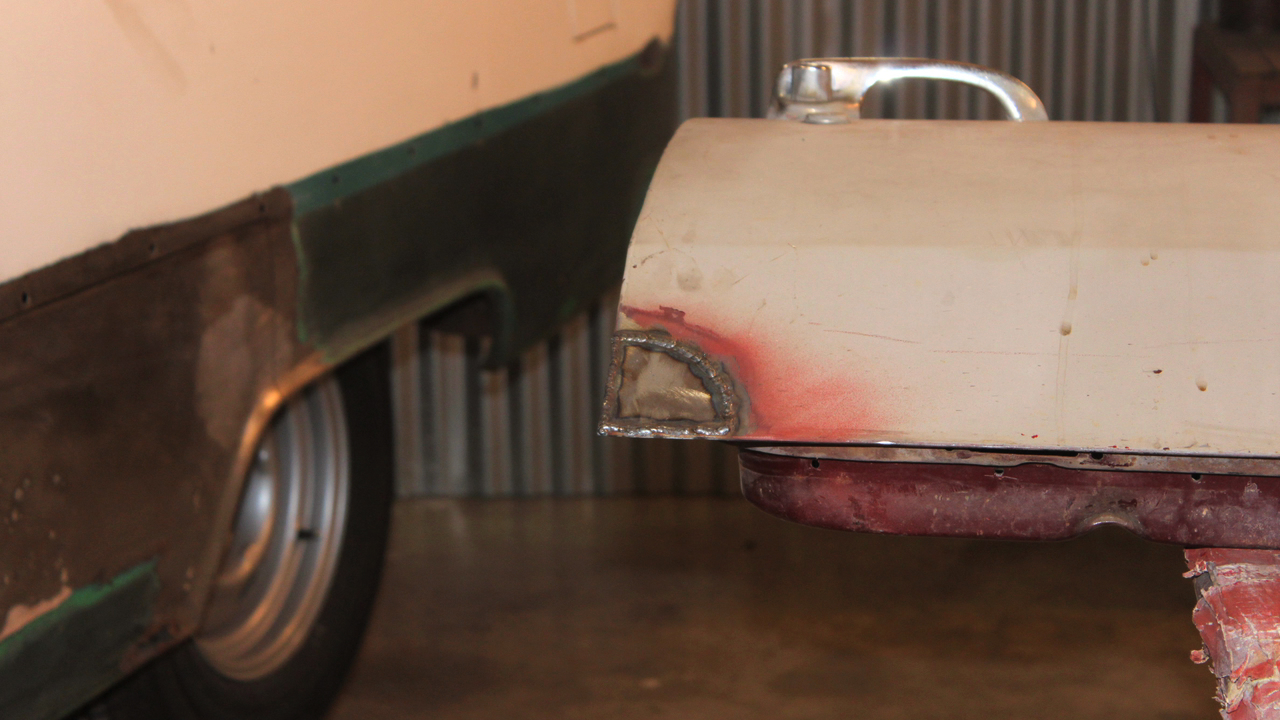
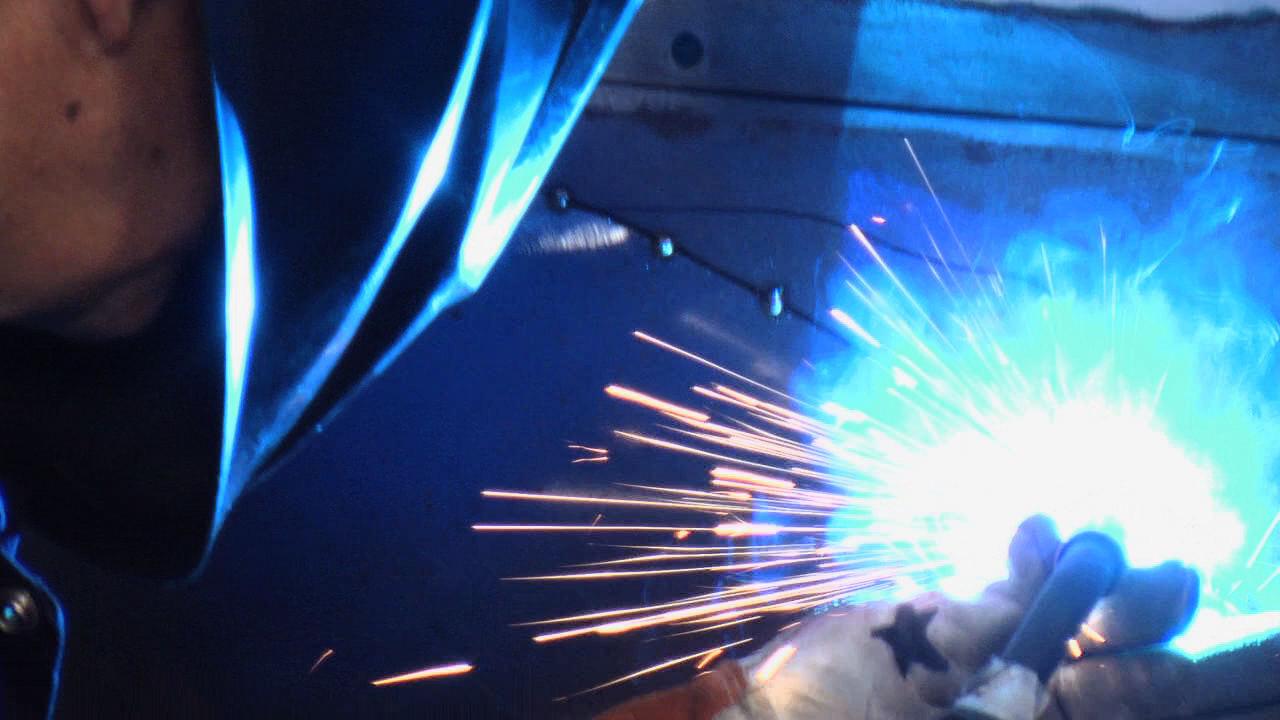
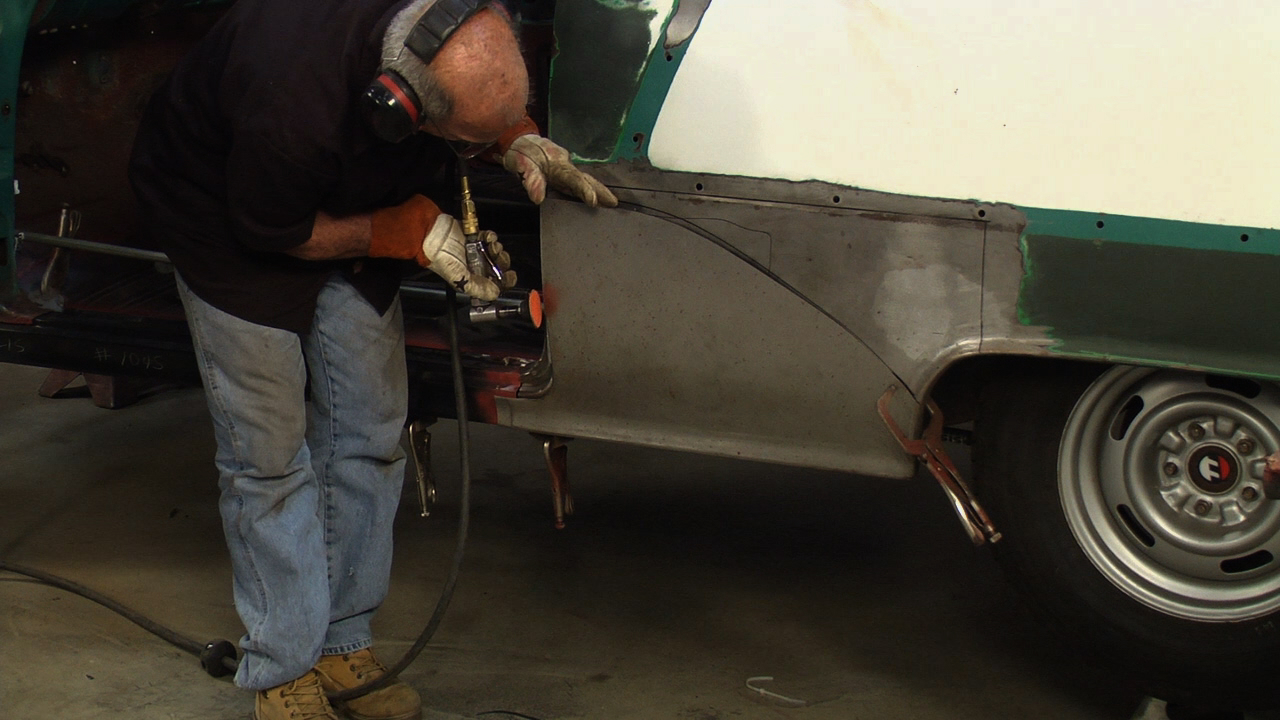
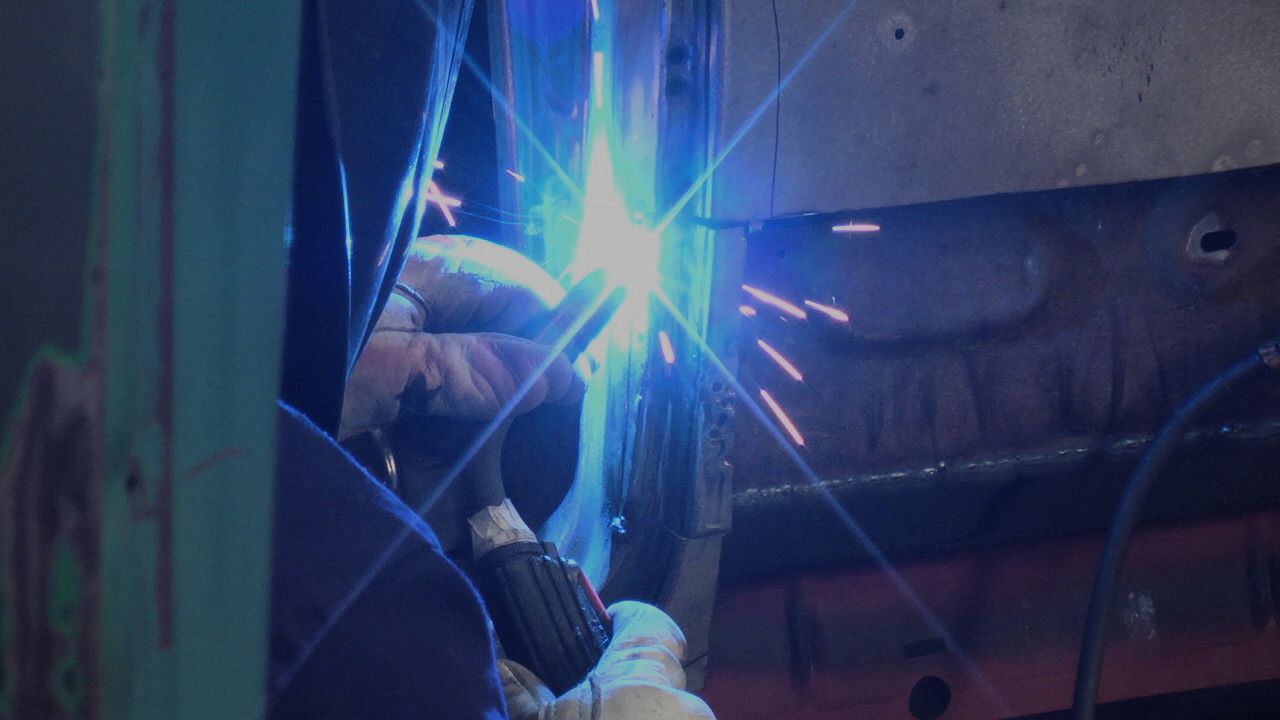
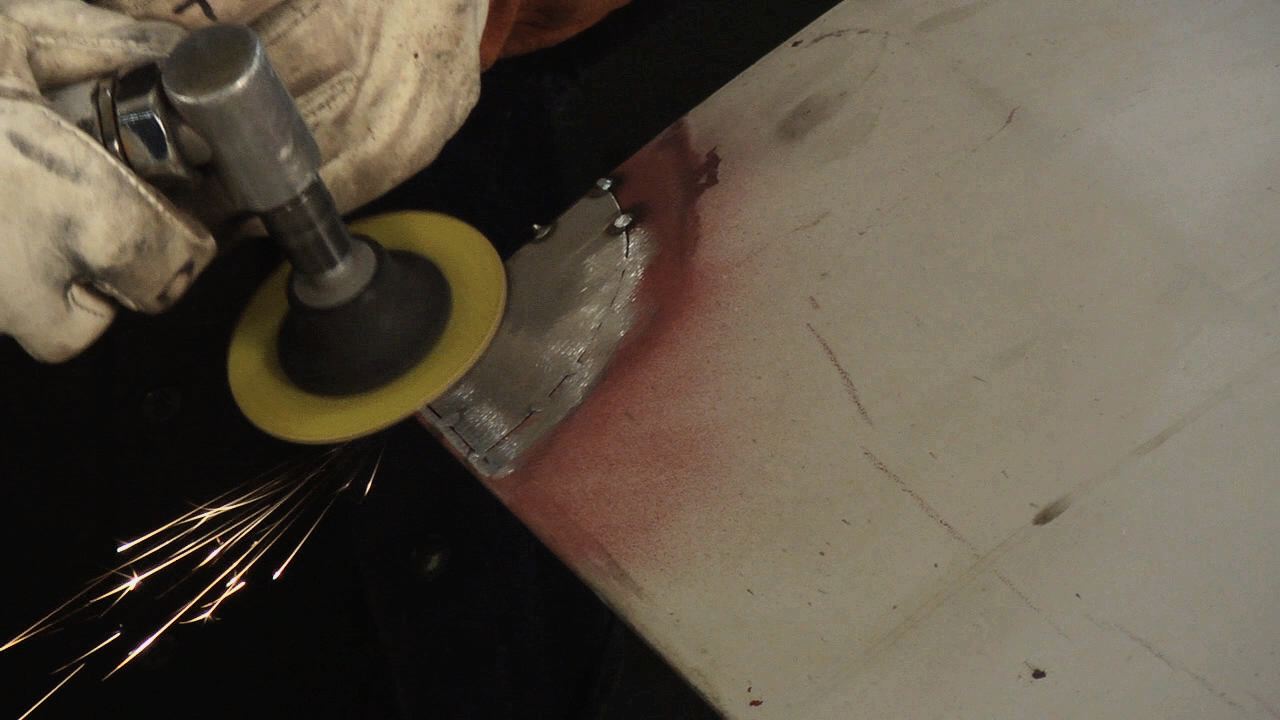
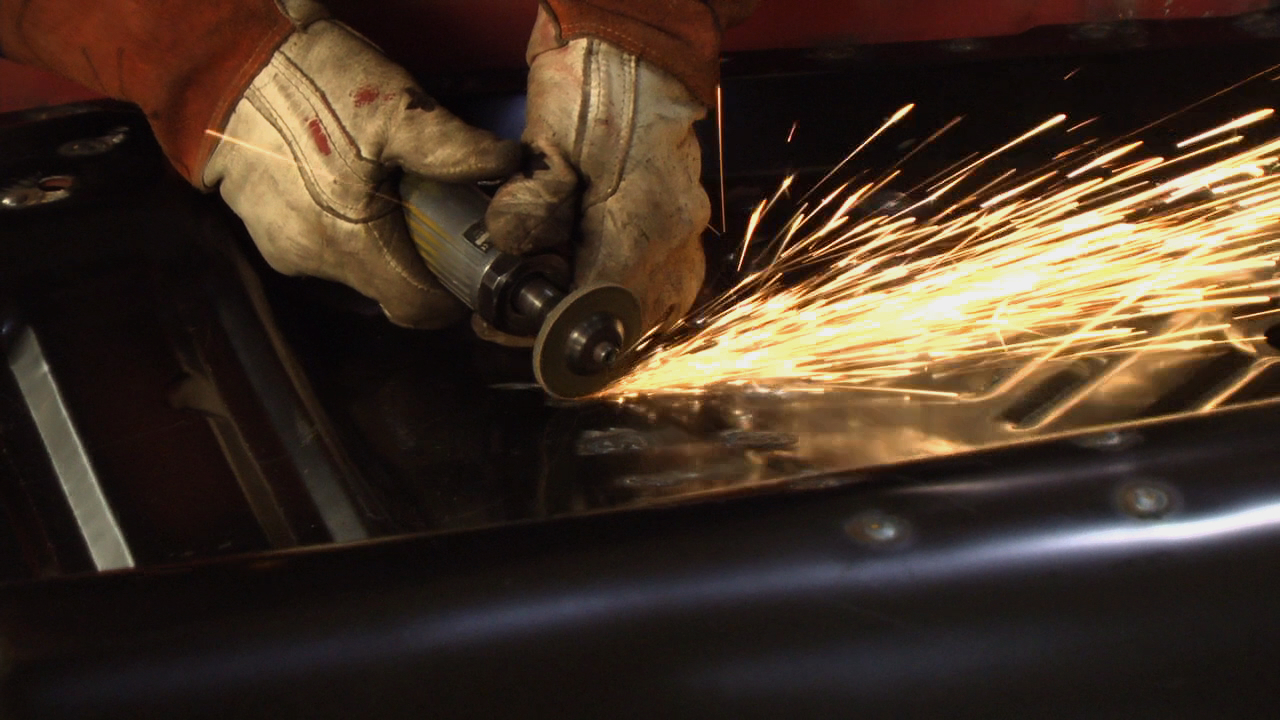
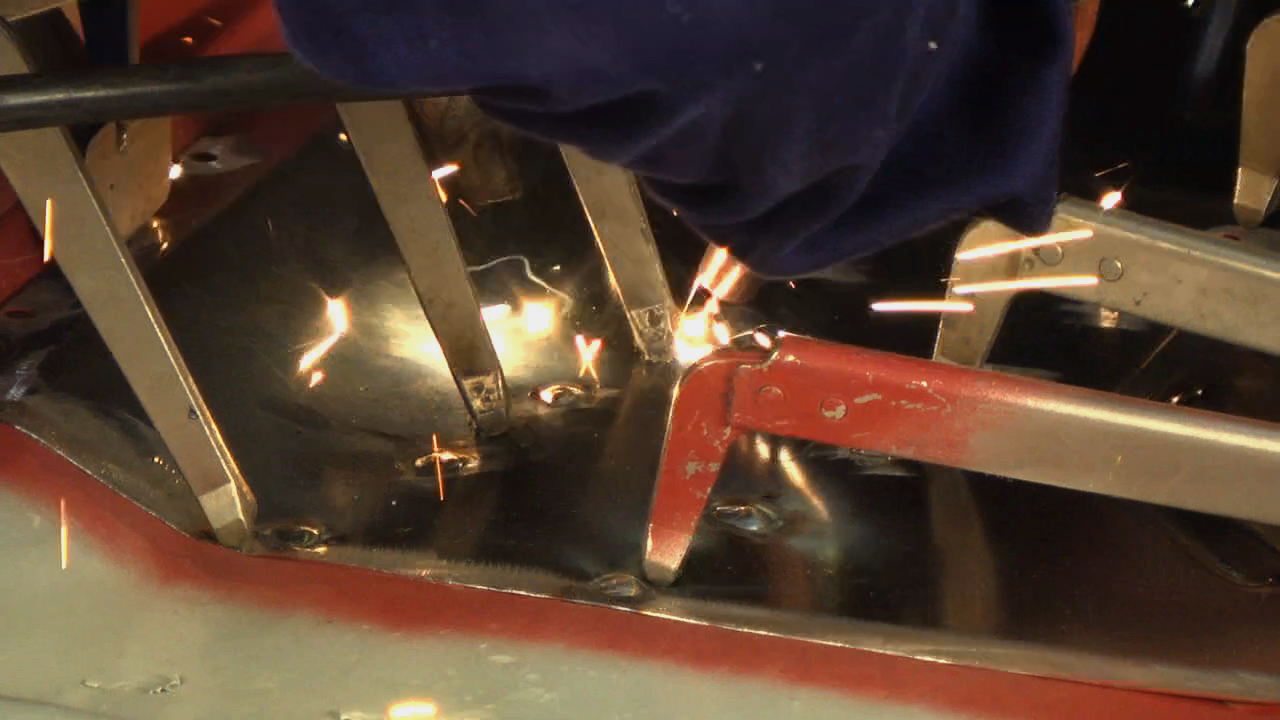
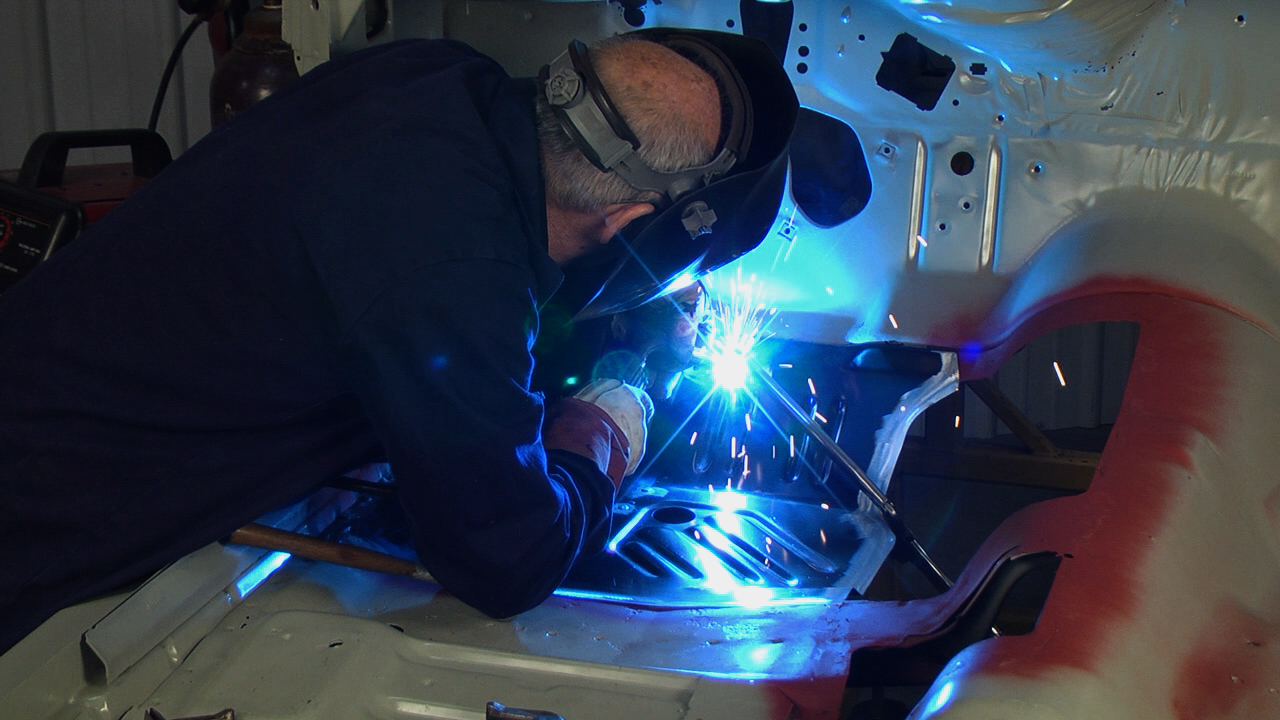
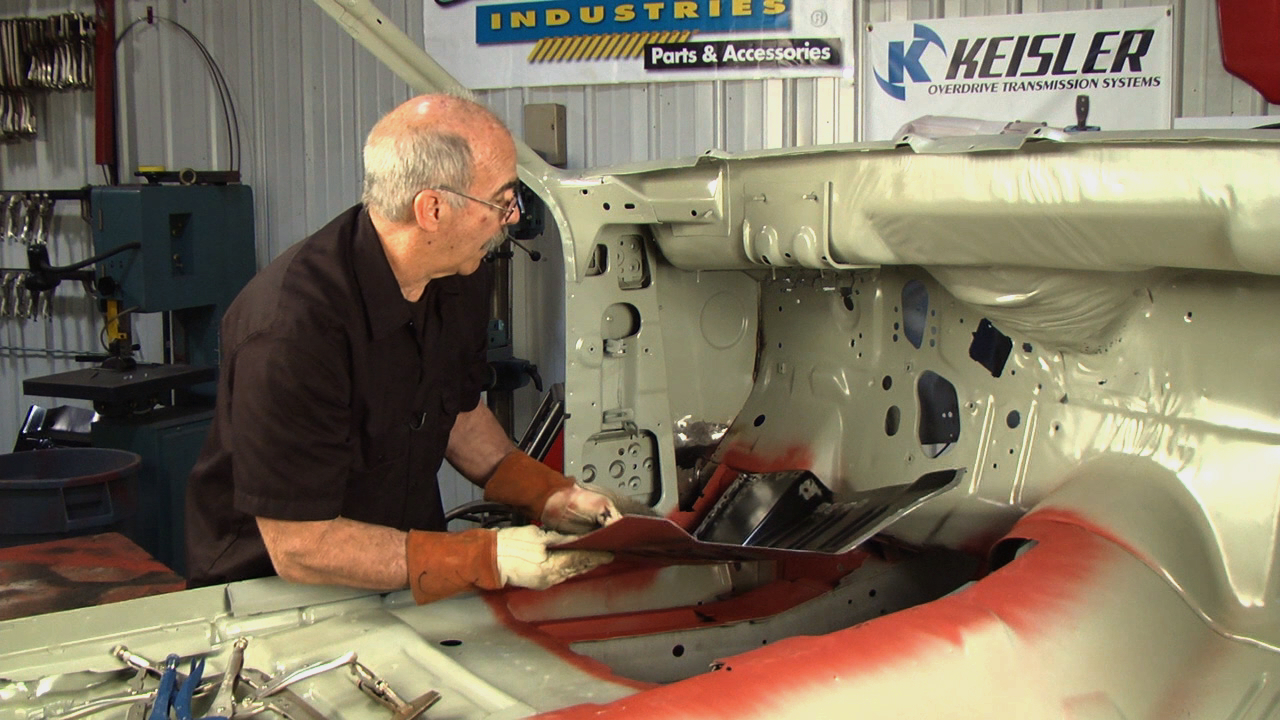
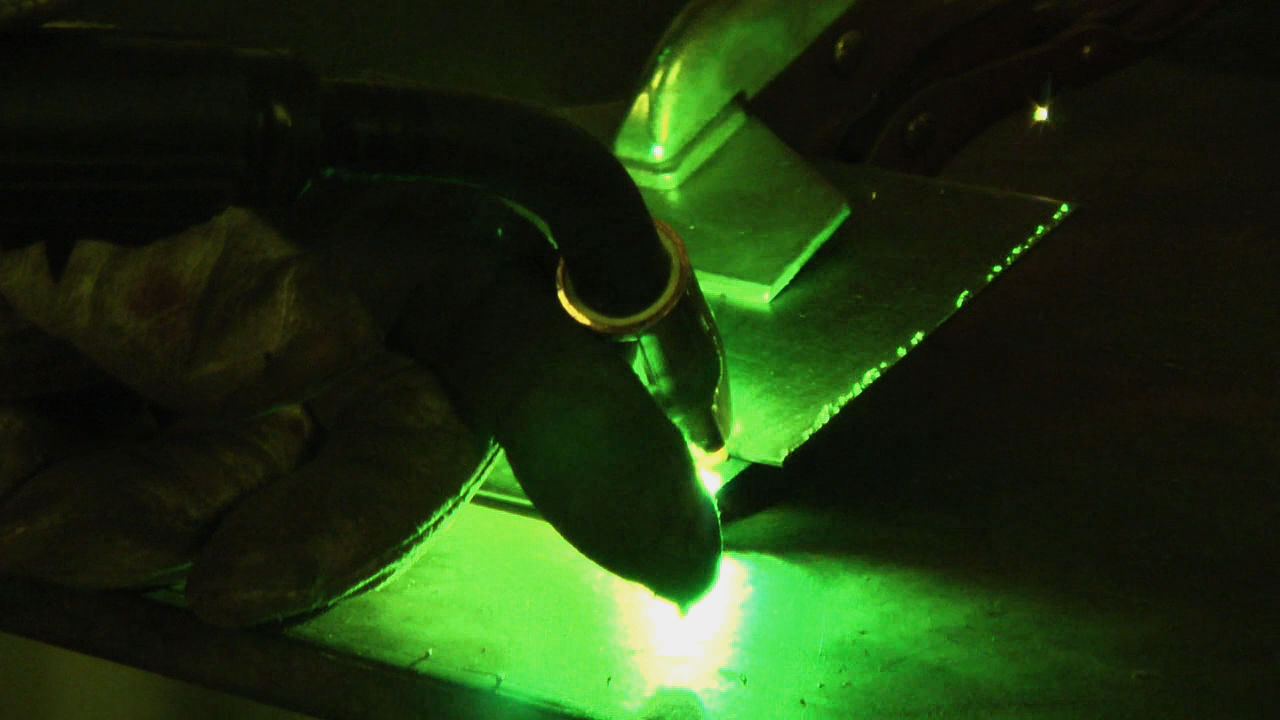
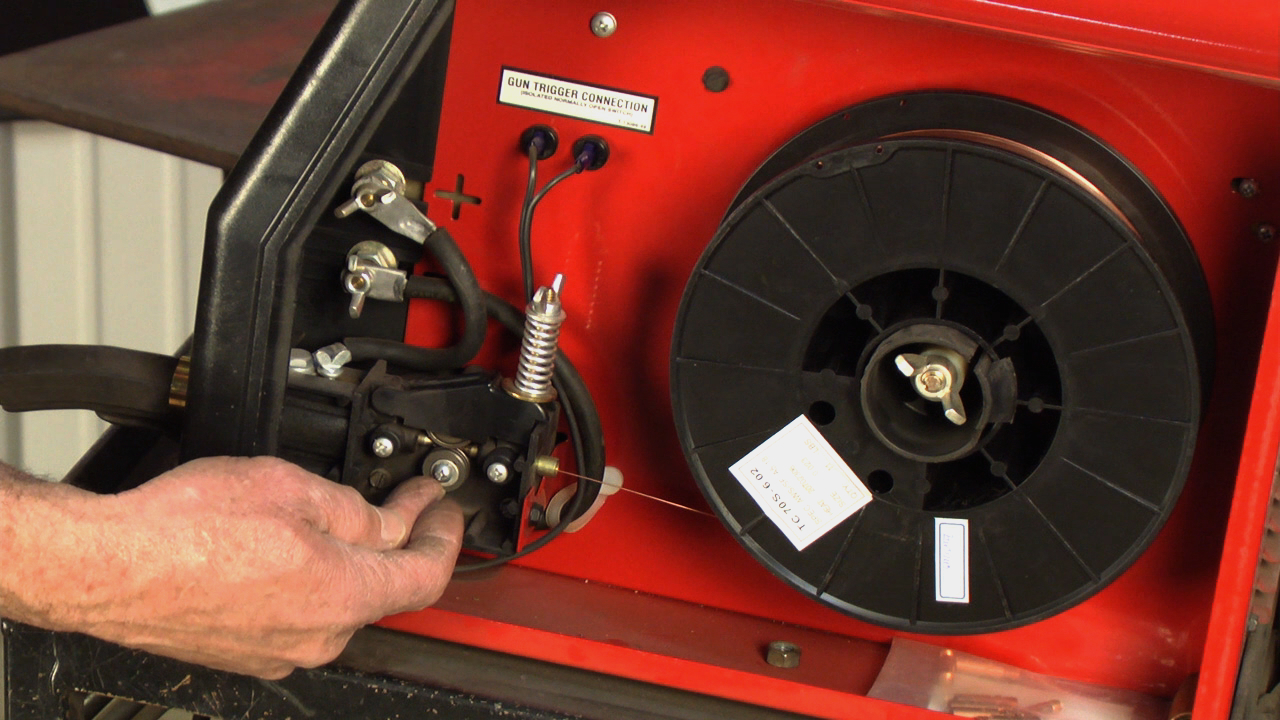
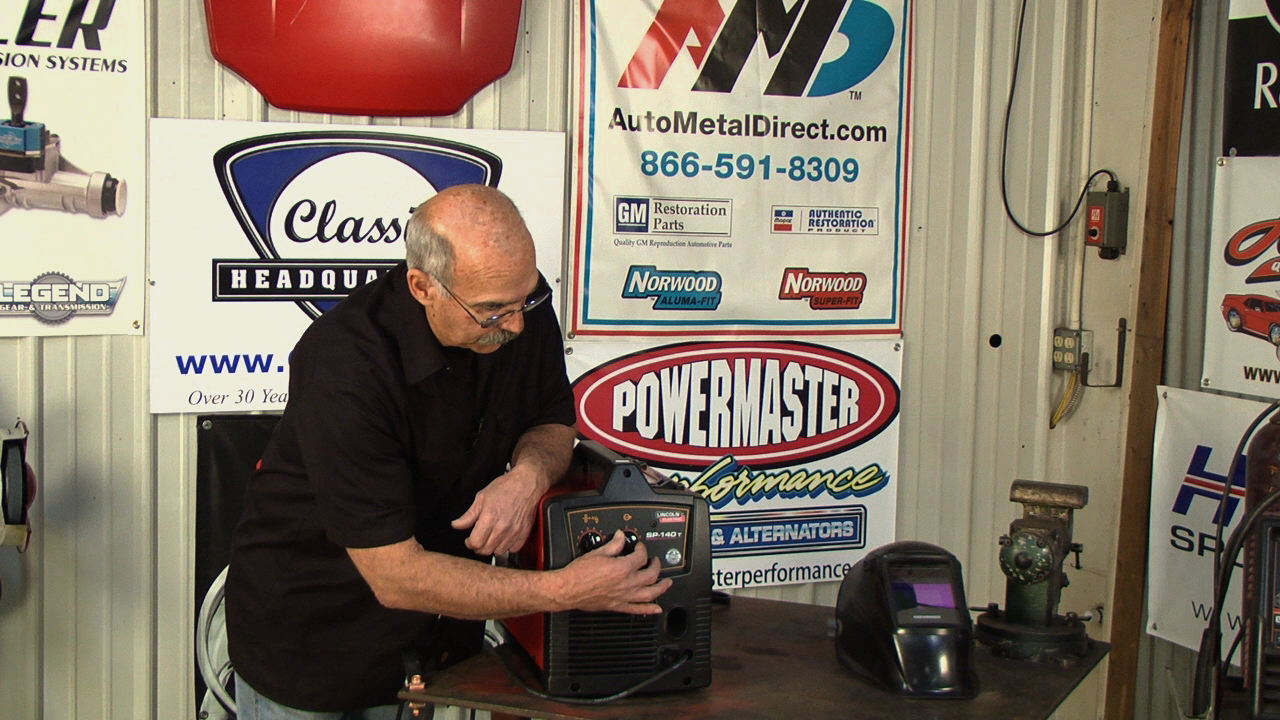
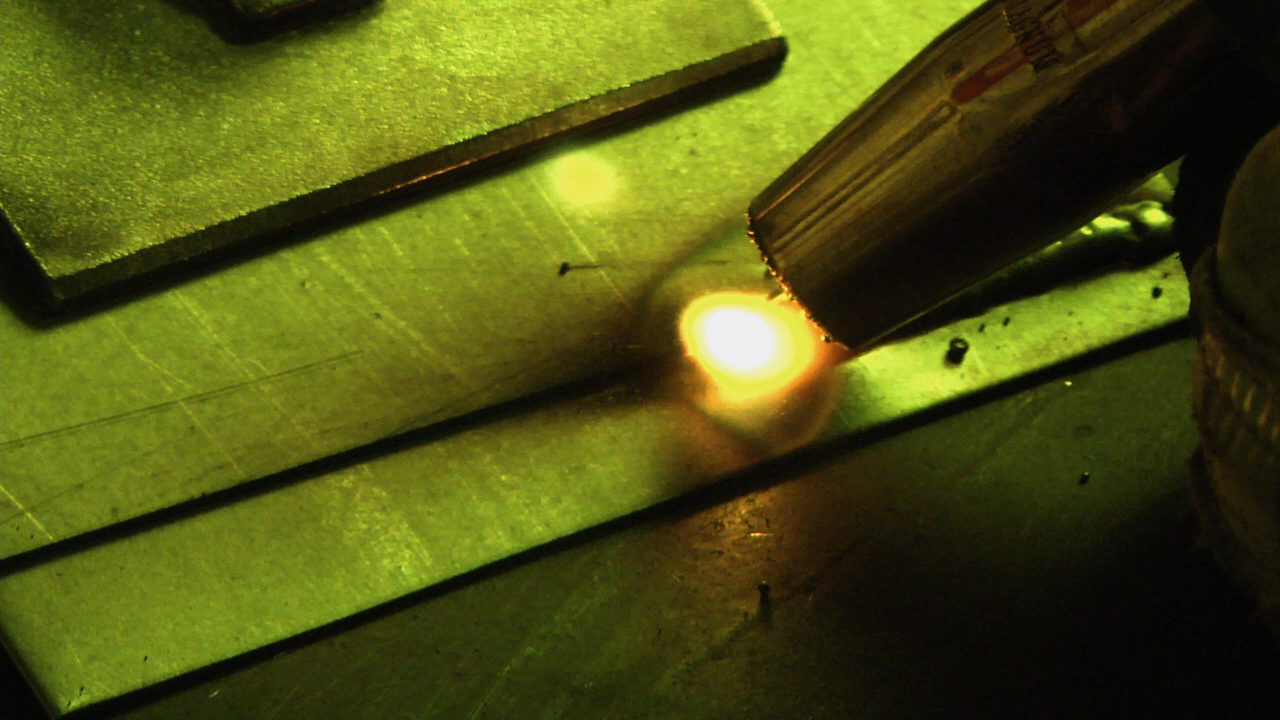
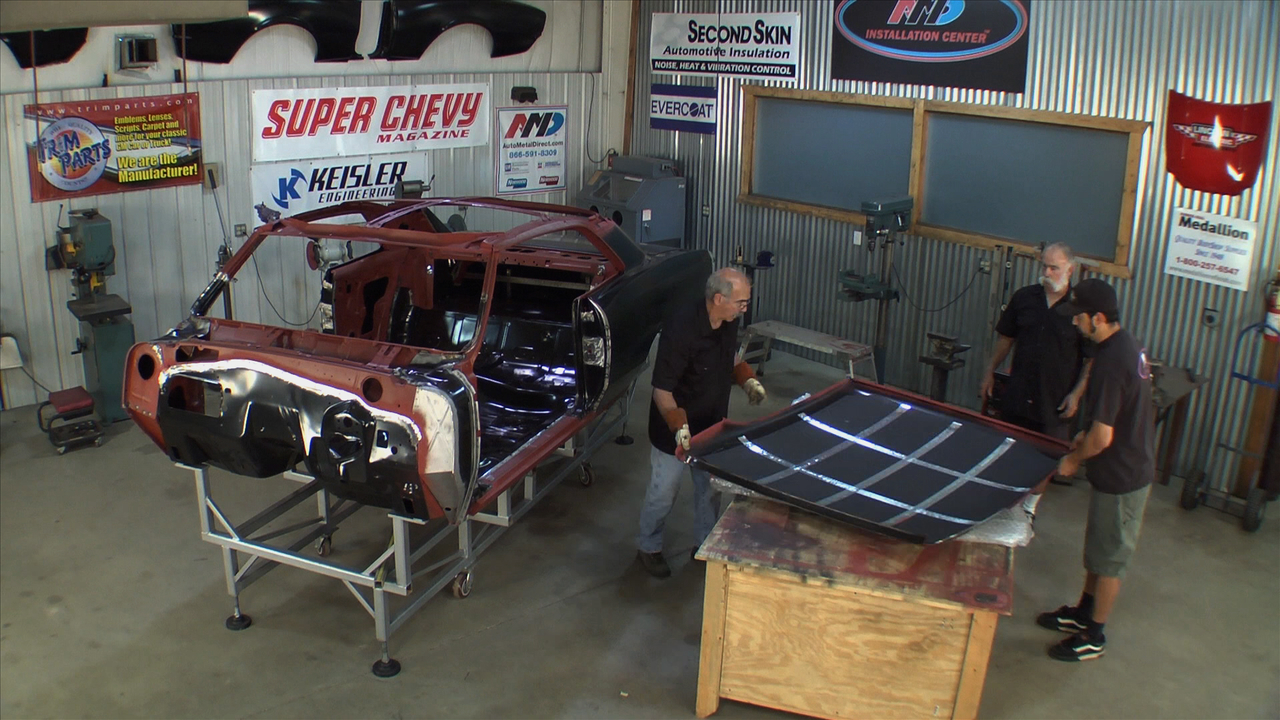
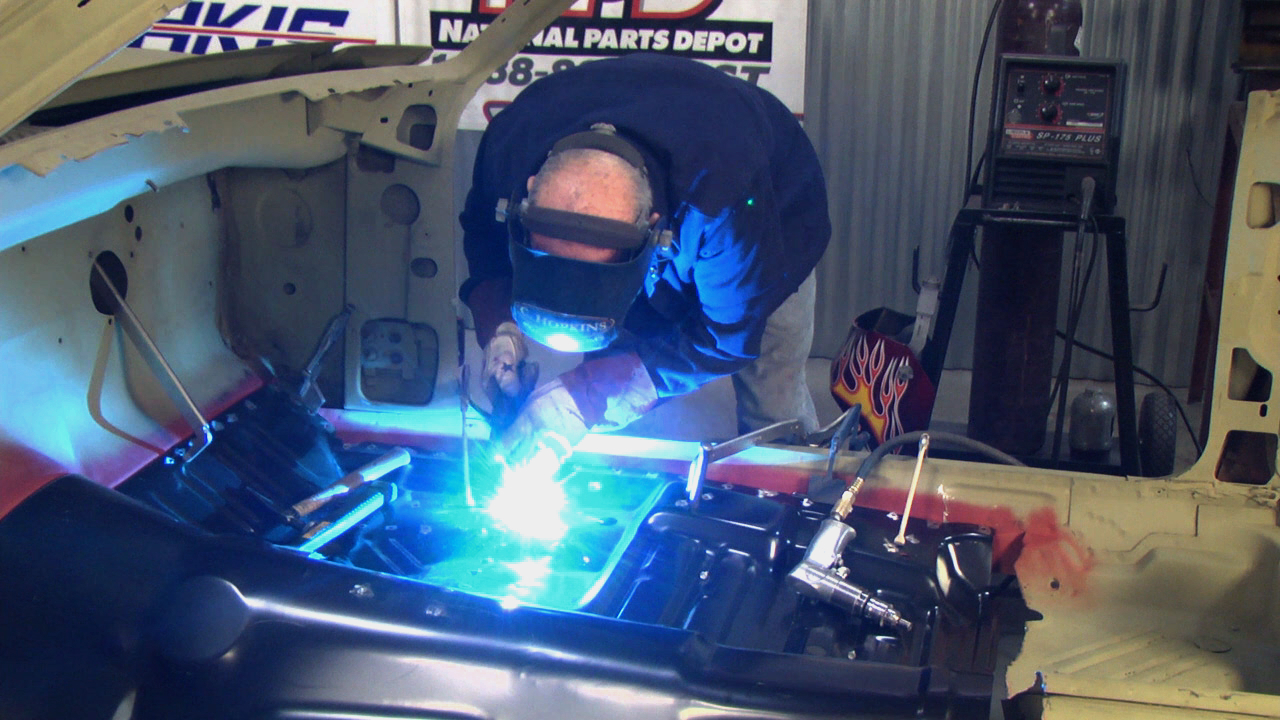
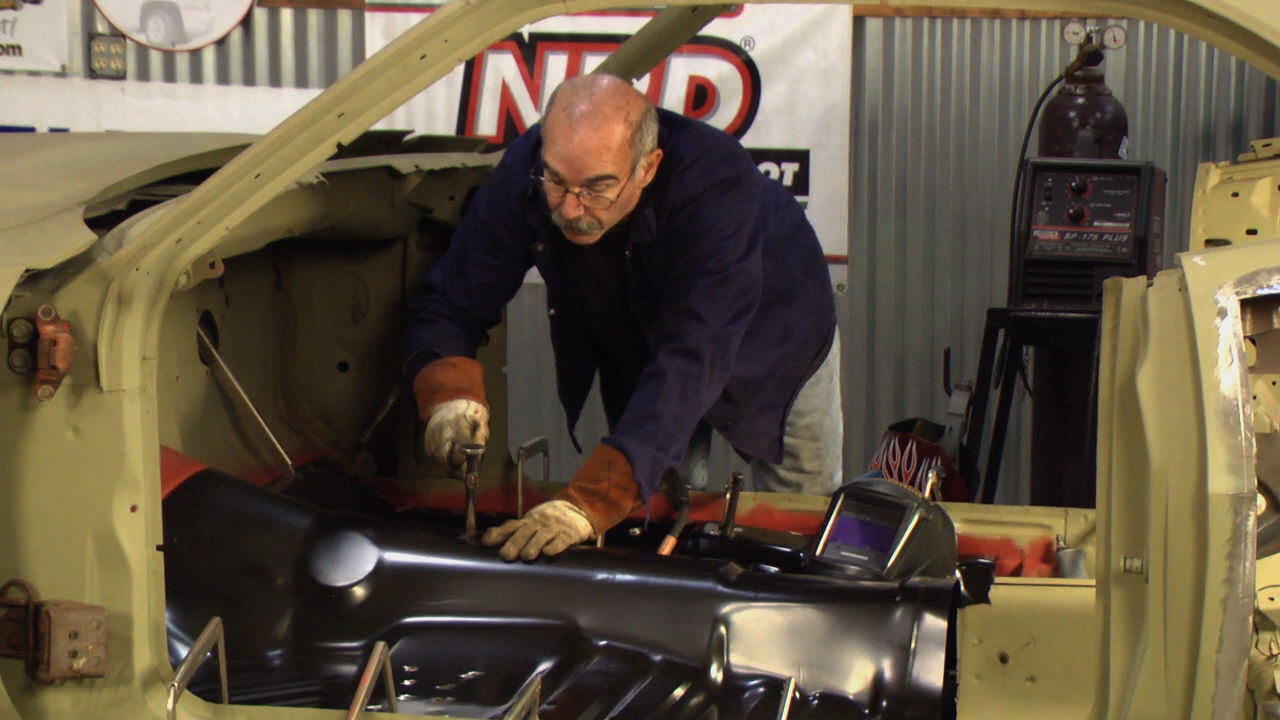
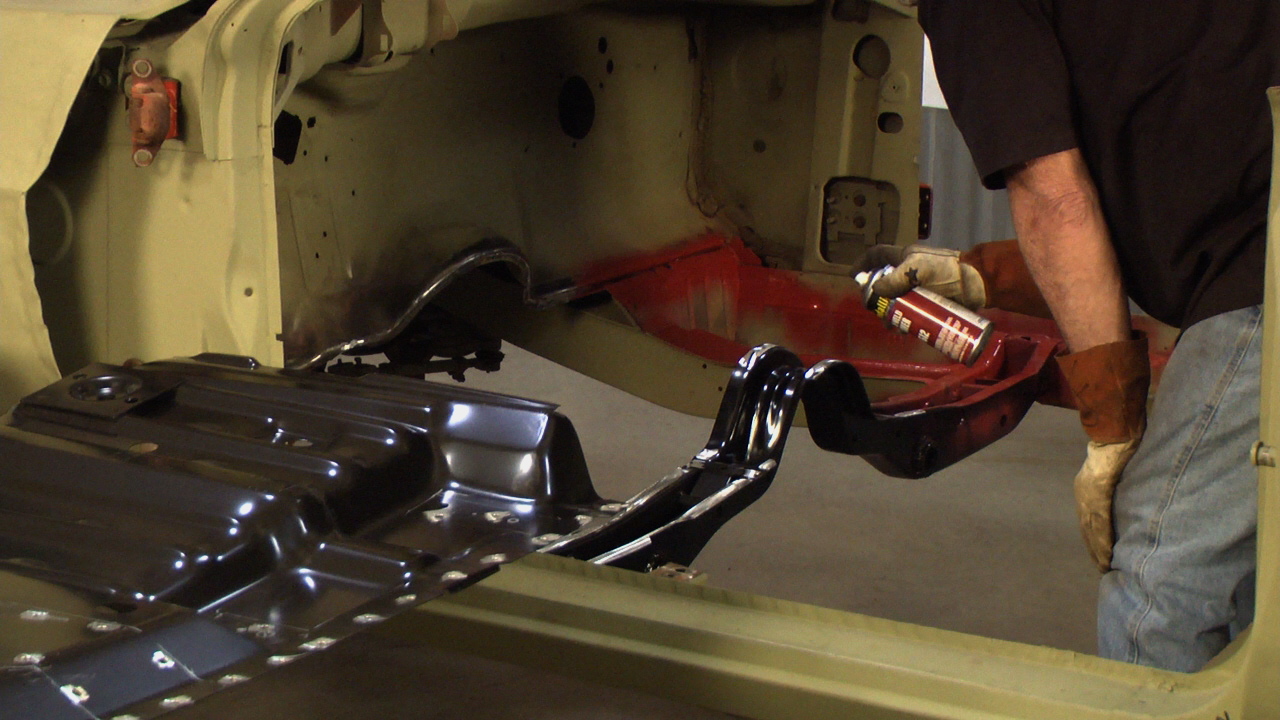
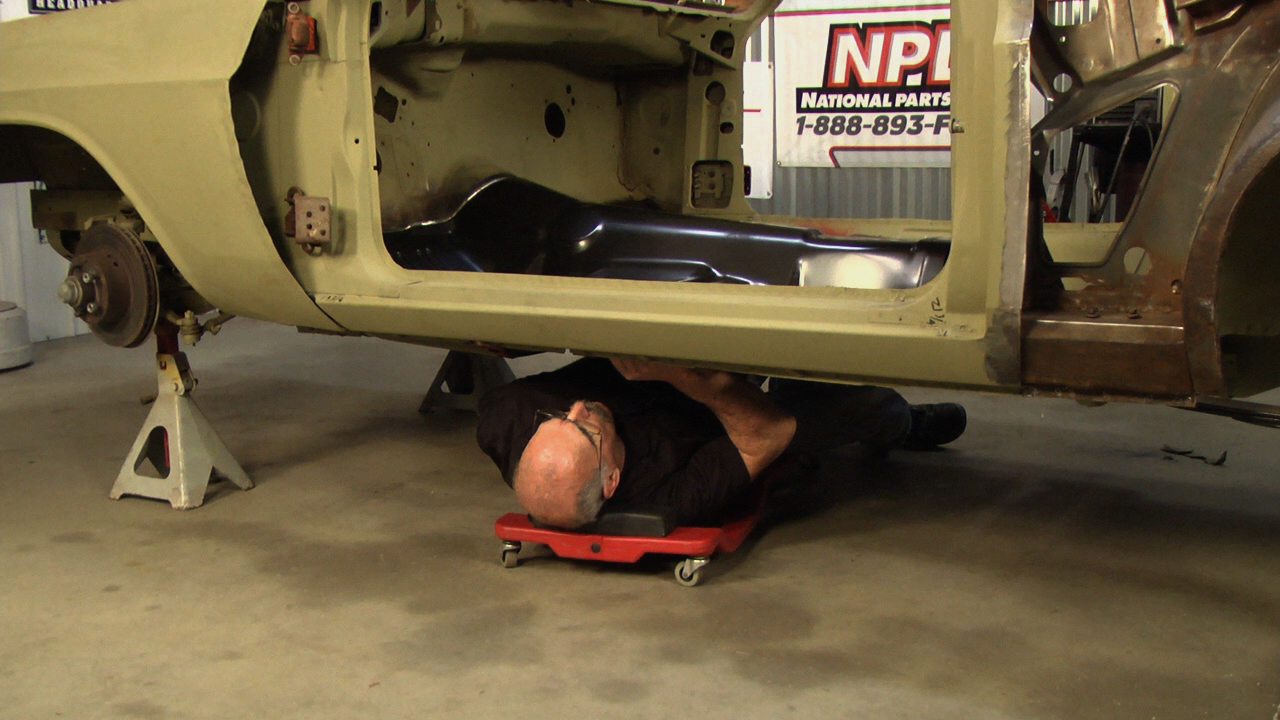
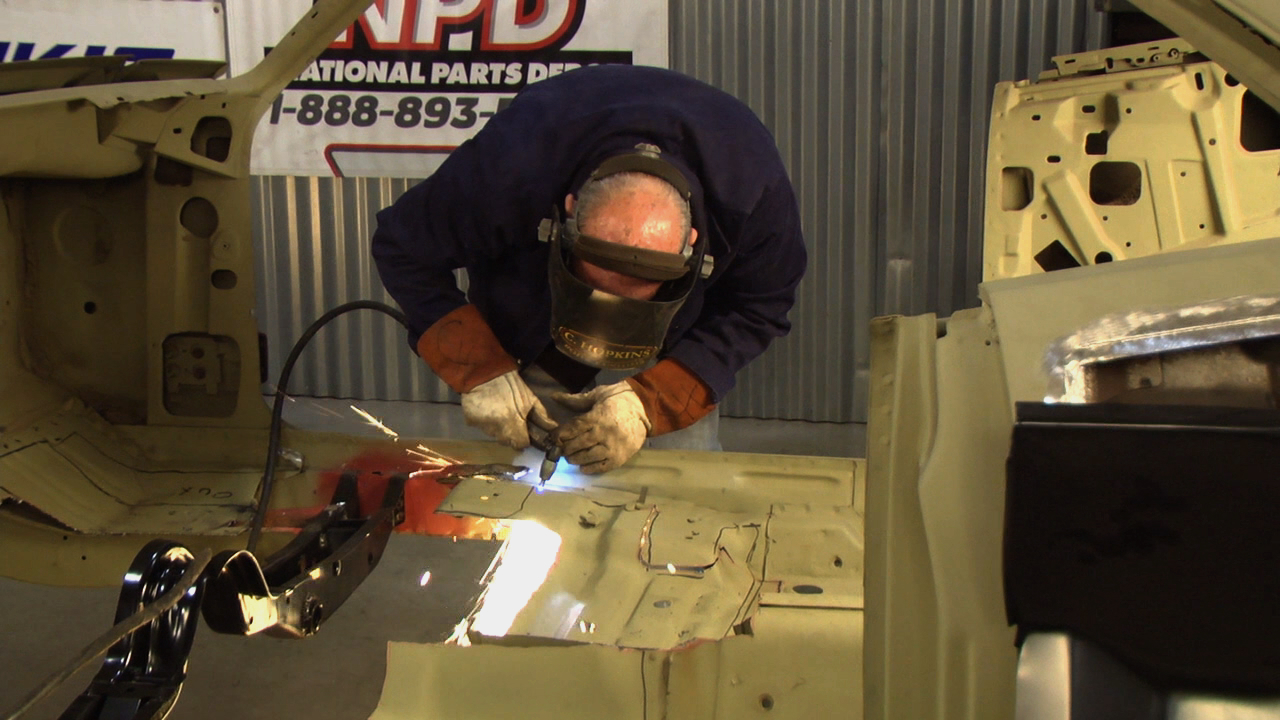
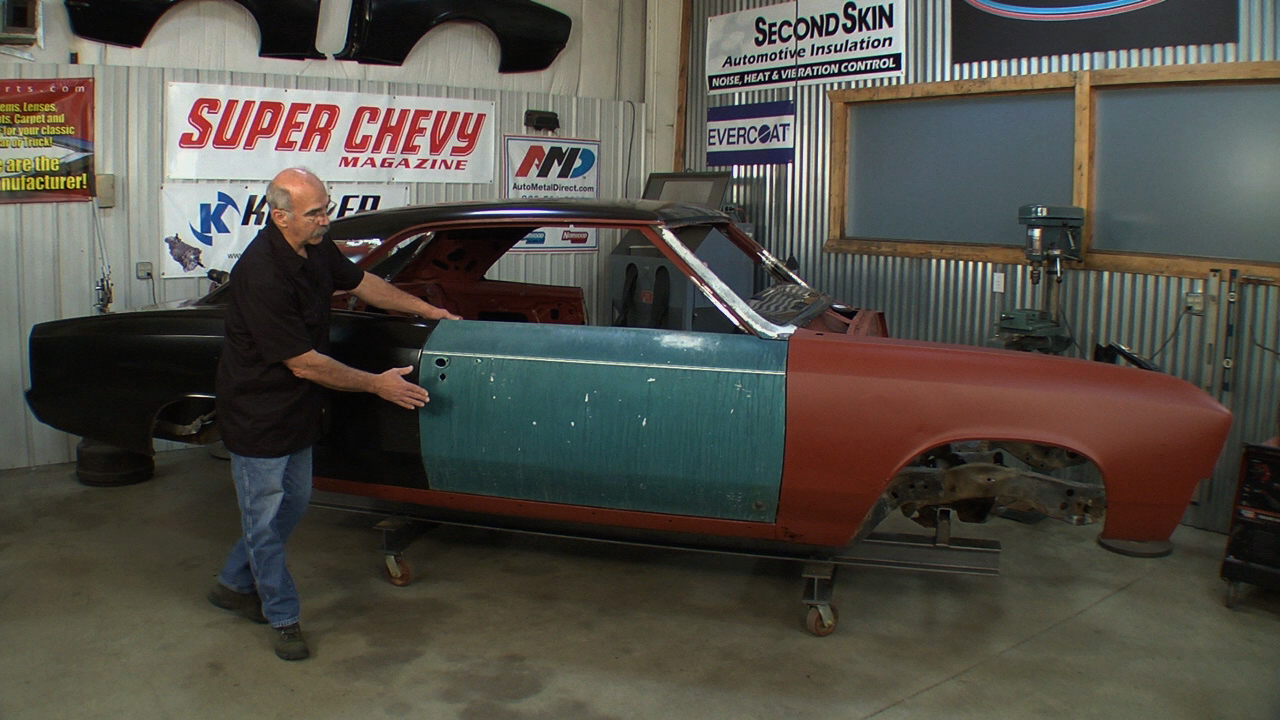
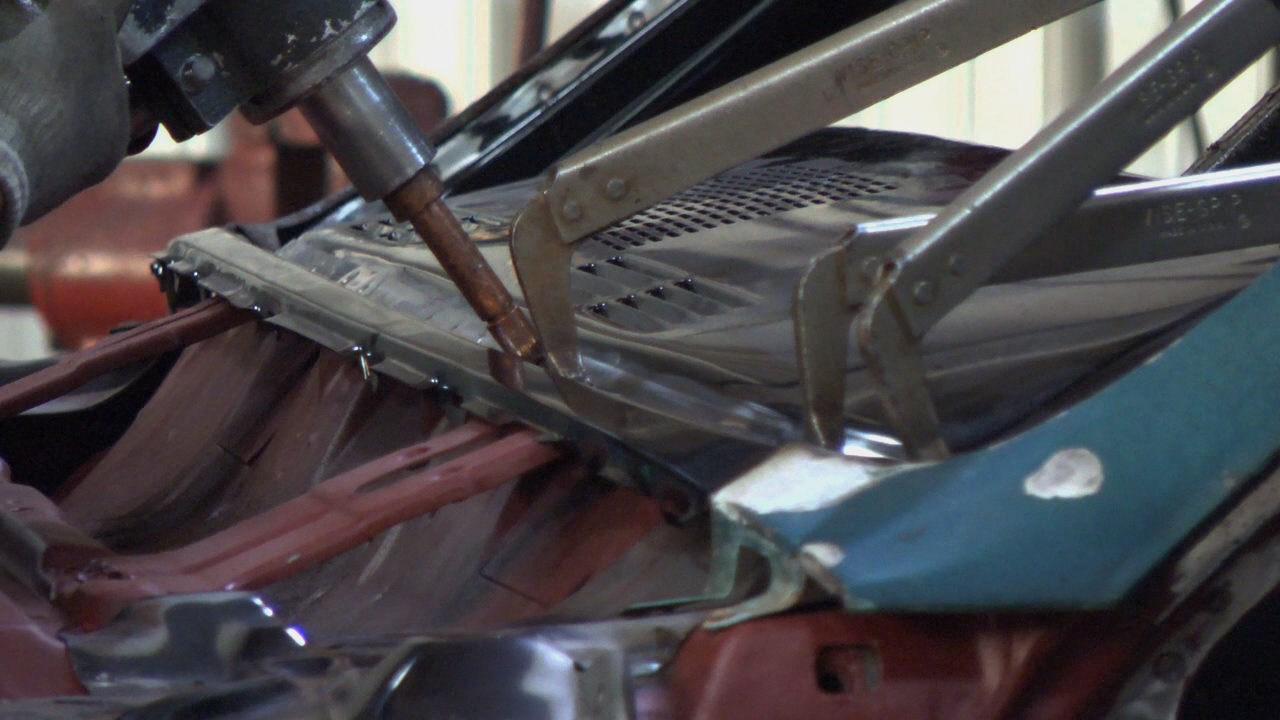
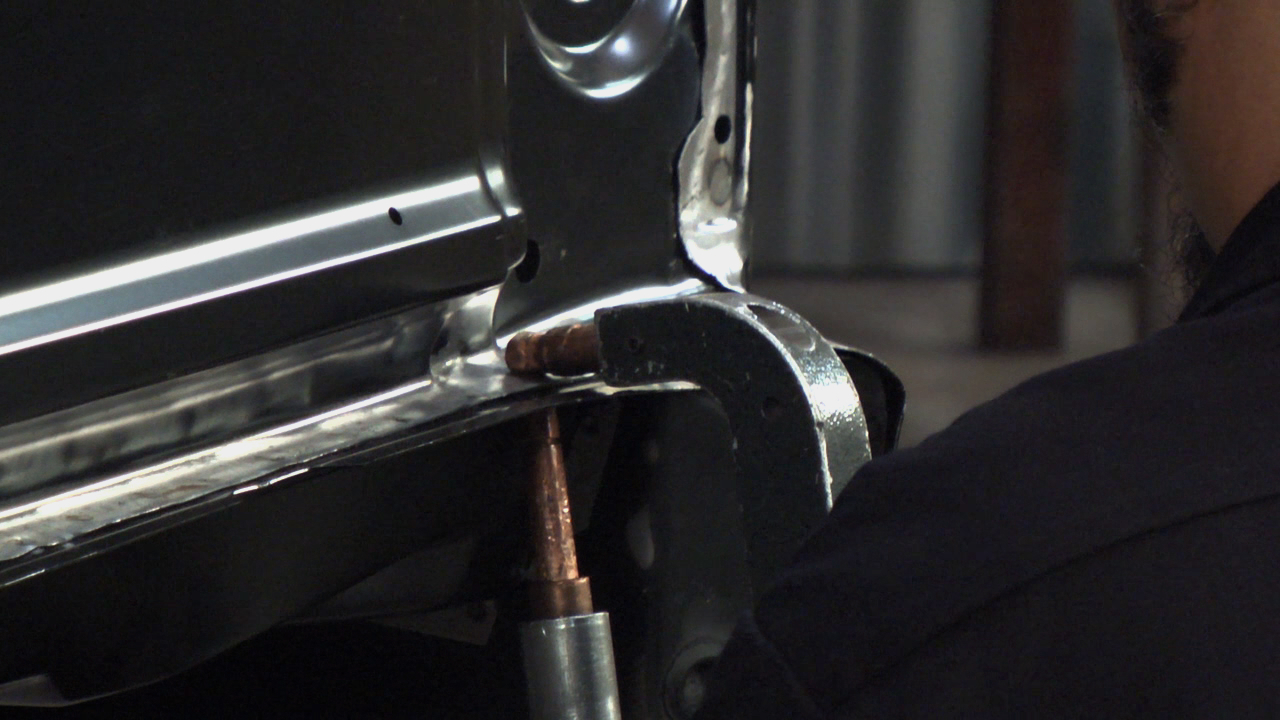
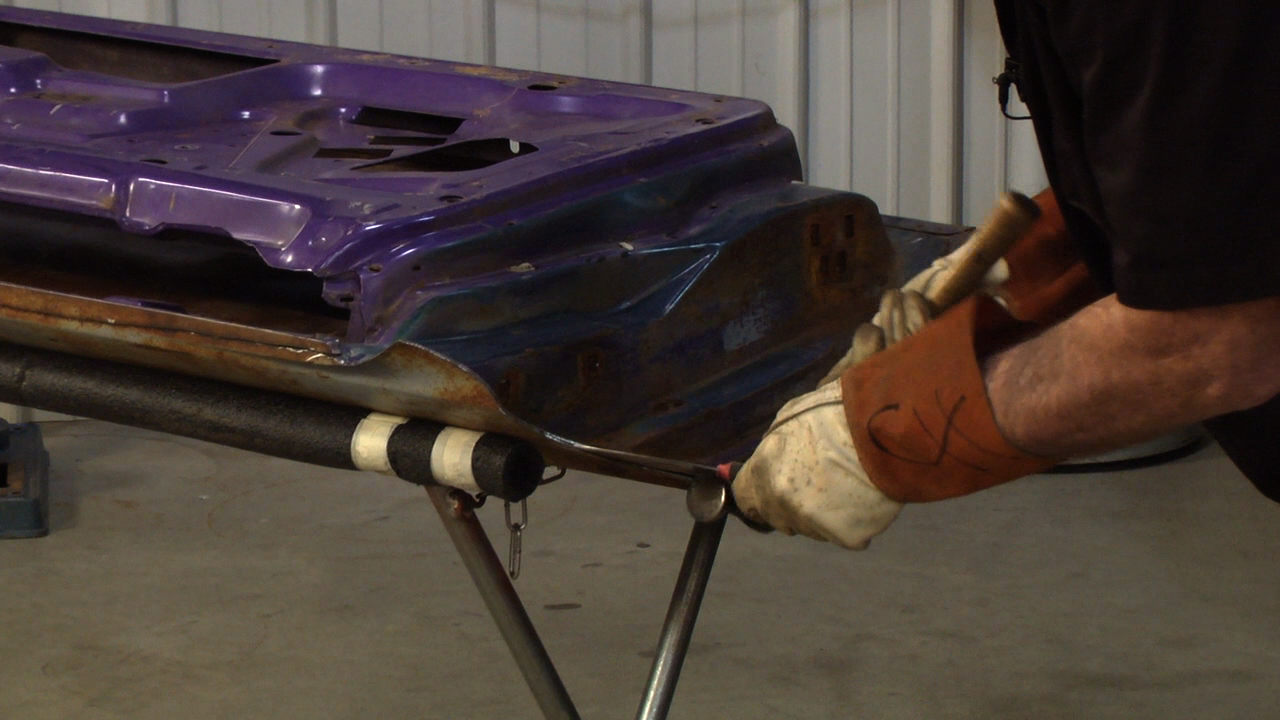
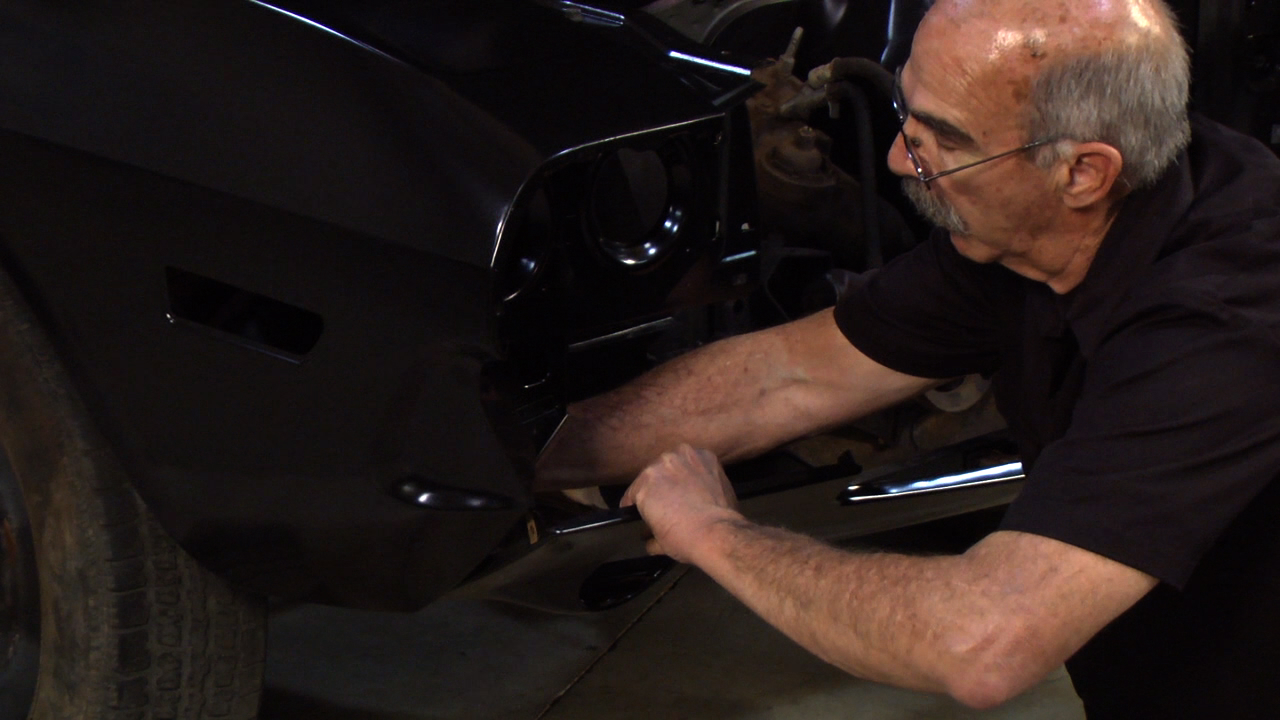
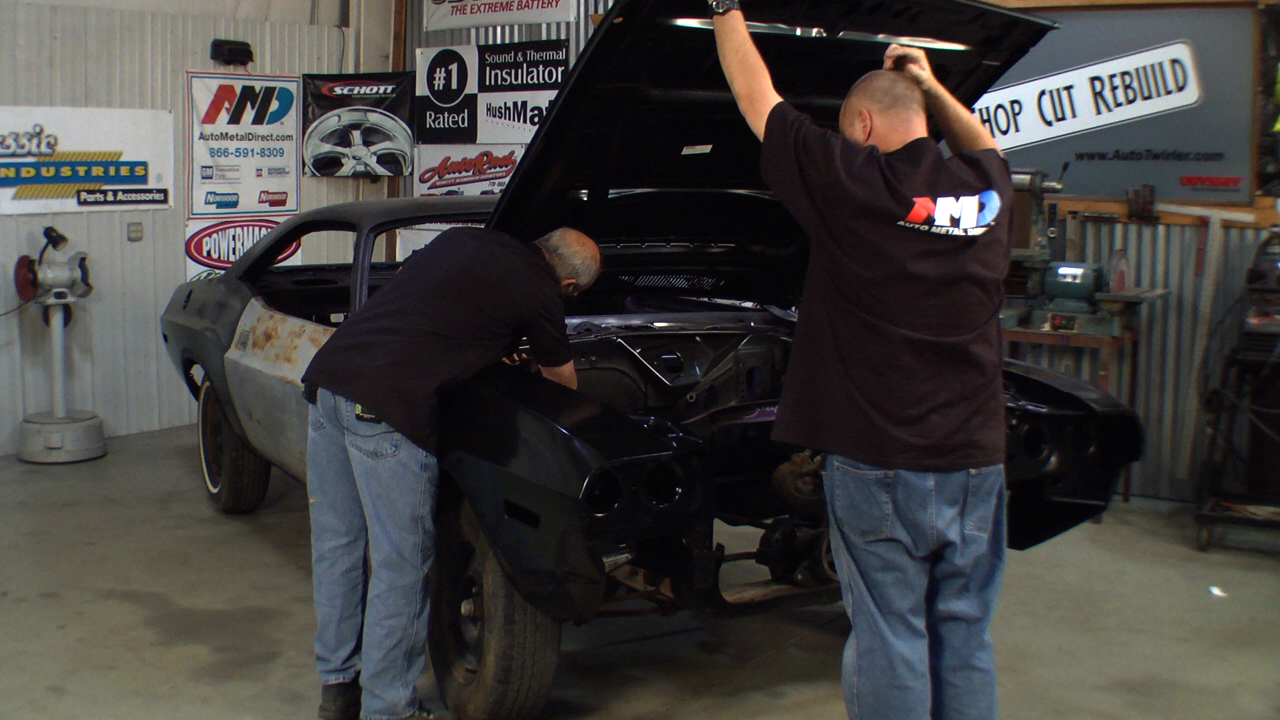
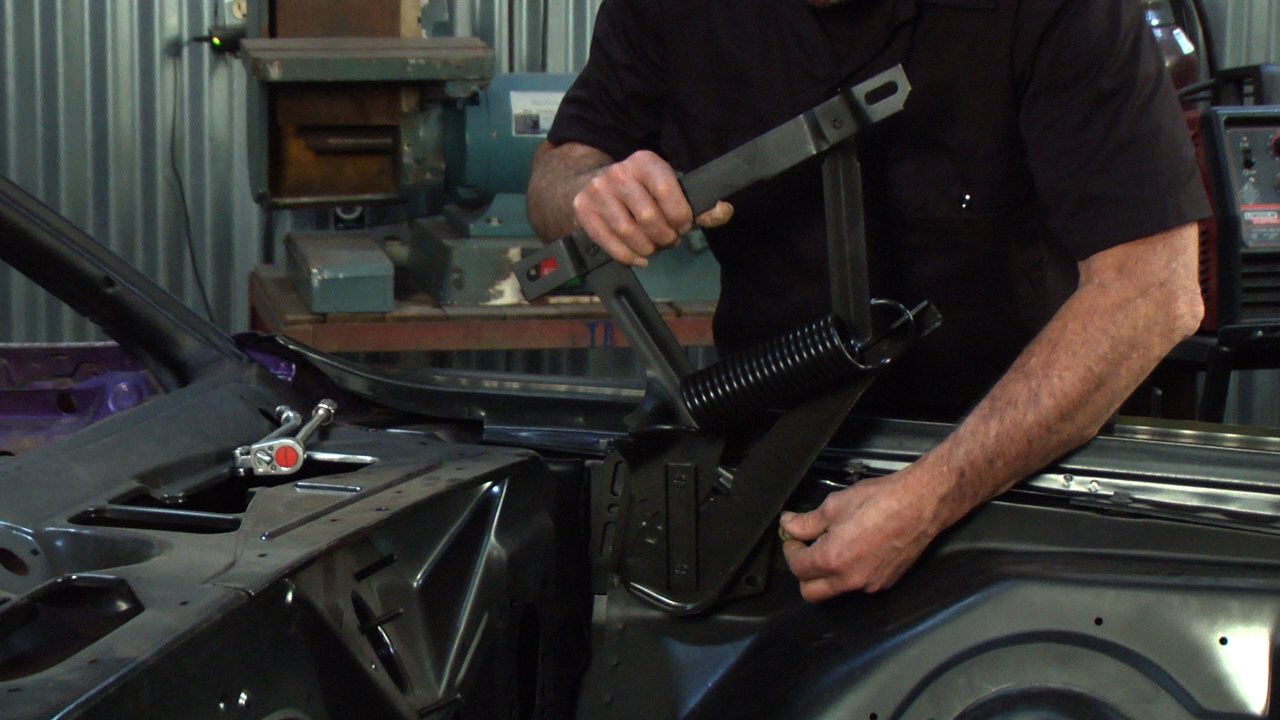
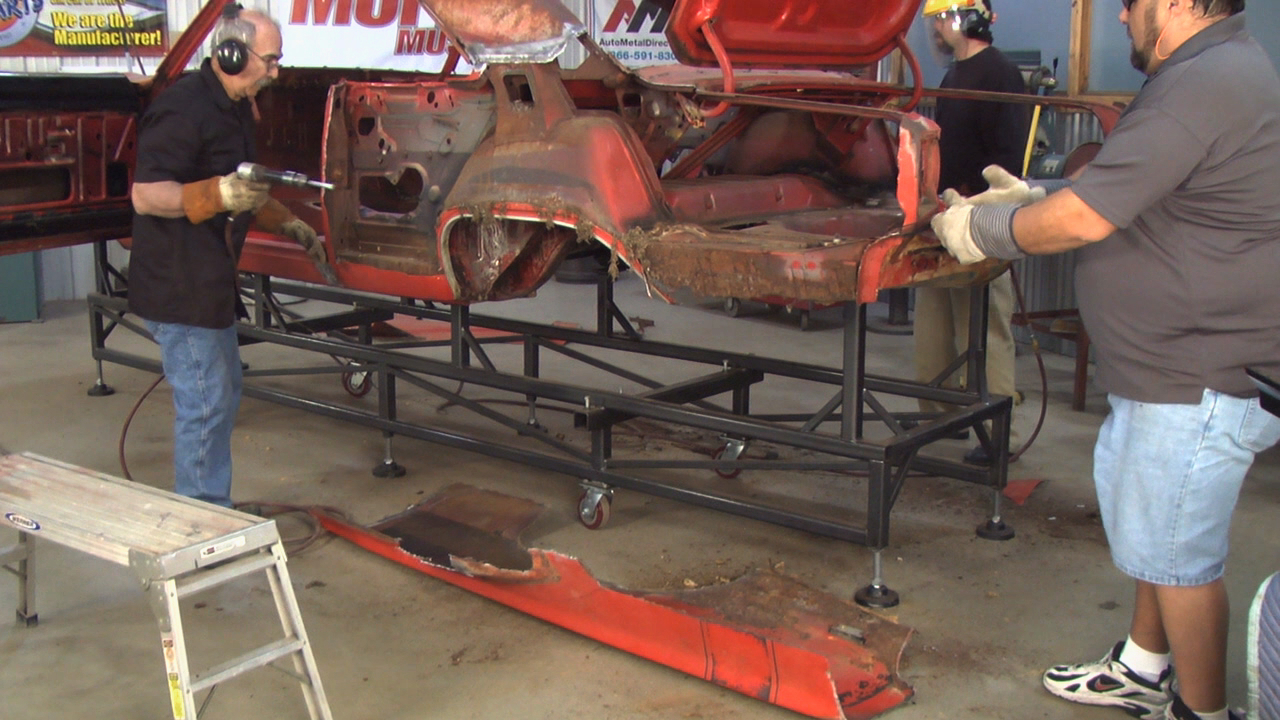
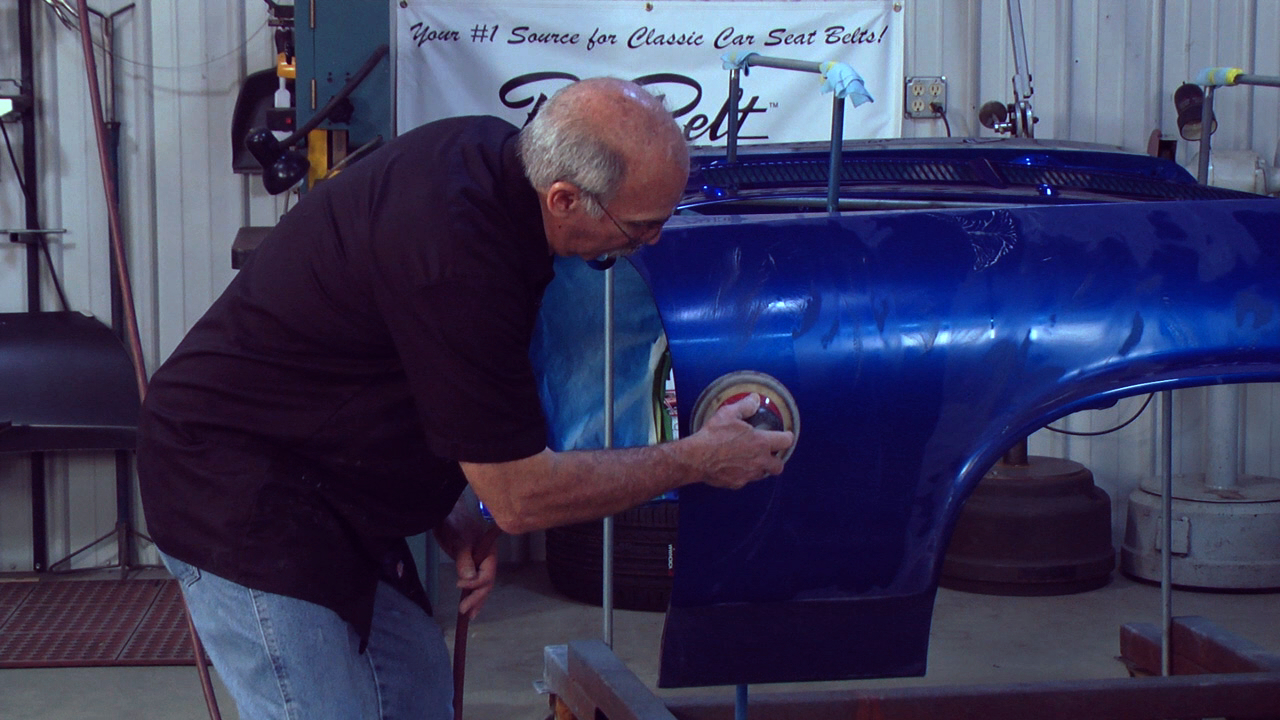
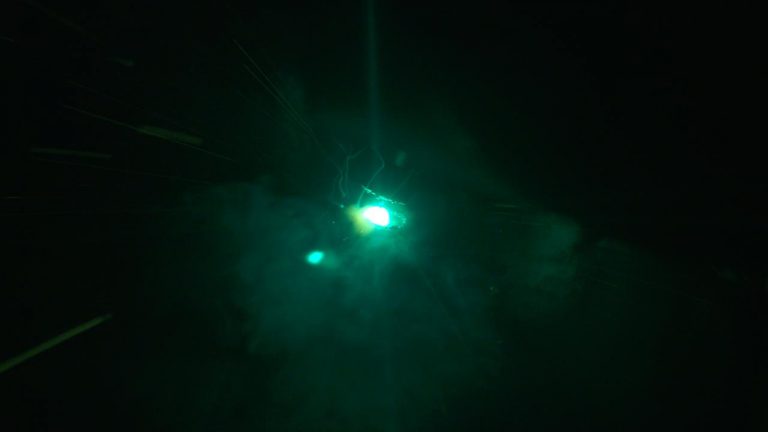
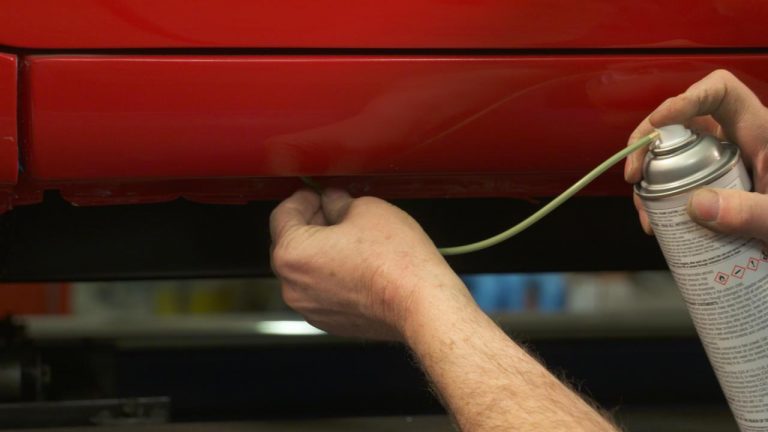
Craig HopkinsCraig Hopkins uses his helmet cam to give you an up-close look of the timing, spacing and location of a proper weld. He starts by using a 3 inch grinder to flatten welds out, and then shows you how to create lap and butt welds that are four beads long. Use this helpful welding tips provided to enhance your classic car.
Share tips, start a discussion or ask one of our experts or other students a question.
Make a comment:
Already a member? Sign in
4 Responses to “Welding Tips: Floorpan Lap and Butt Welds”
Explore videos by Craig Hopkins
You may be interested in
Premium Membership
Unlock exclusive member content from our industry experts.
- 24/7 Access to Premium Videos, Tips, and Techniques
- Step-by-Step Instructional Demos, Guides, and Tutorials
- 50% Off Video Downloads Purchased in the Classic Car Restoration Shop
- Access to Ask the Expert Program
Unlock exclusive member content from our industry experts.
- 24/7 Access to Premium Videos, Tips, and Techniques
- Step-by-Step Instructional Demos, Guides, and Tutorials
- 2 Full-Length Video Downloads to Watch Offline
- 50% Off Video Downloads Purchased in the Classic Car Restoration Shop
- Access to Ask the Expert Program
Gold Membership
$304 Value
Get everything included in Premium plus exclusive Gold Membership benefits.
- 24/7 Access to Premium Videos, Tips, and Techniques
- Step-by-Step Instructional Demos, Guides, and Tutorials
- 10 Full-Length Video Downloads, added to your account, to Watch Offline
- ‘Wheel Bolt Circle’ Downloadable Guide, added to your account
- Discounts on Purchase-to-Own Content in the Classic Car Restoration Club Shop
- Access to Ask the Expert Program
Get exclusive premium content! Sign up for a membership now!
why a lap weld ? wont that trap moisture? why cool the weld, wont that shrink the metal?
Great videos as alawys Ben!Did you perchance use your wireless lavs while recording the video? I can here quite a bit of EM interference in the audio. Which isn't surprising with the Inverter having a spark gap, and the fact that you're welding in front of a camera.Try using a wired lav if you have one, hopefully with some sort of shielded cable, it might reduce EM noise getting picked up. Also make sure none of the camera/audio cables are laying across any power cables.Best case would be a shotgun mic some distance away pointed at your head, but that would require $$$.
Many years ago I used a miller dc itevrner ( gold seal 140) to weld cans together. Electrode positive only and using scratch start. Back then welding cans together was a challenge for even an experienced welder but today's itevrners with balance control ,freq settings and arc stability at low amps means its an easy task. I own a miller dynasty200dx and by my third attempt my machine was set to correct parameters and welding cans was achieved. I even ran beads along the side of the can but you'll find you need to clean the side of the can well then hold the filler wire so its touching the can wall then strike your arc on the filler itself. Once the filler melts into the can and pools keep the wire in the pool constantly focusing most heat on the wire and move fast.
is there a video series on welding body panels?